Open Main Menu
Tor’s Pumpkin Launch

Tor’s Pumpkin Launch

Discovery Cube’s Fall Programming is brought into your home as Tor, a member of the Spooky Science Monster Academy, invites you to create your own Pumpkin Launch!

Part of our Monster Academy Badge

Educator Rating:
4.4
Parent Rating:
0

What I'll Learn

Catapults are simple machines that can accurately launch a payload and hit a target.  But they don’t all look the same!  As you design, test, and modify your design, you are participating in the Engineering Design Process.  Tor, a member of Discovery Cube’s Monster Academy team, invites you to think creatively about the materials you use.  While he provides you with a list of sample materials, have fun and experiment with other objects you already have.

What to Do

What I Need

What to Do: Step-by-Step Instructions

1

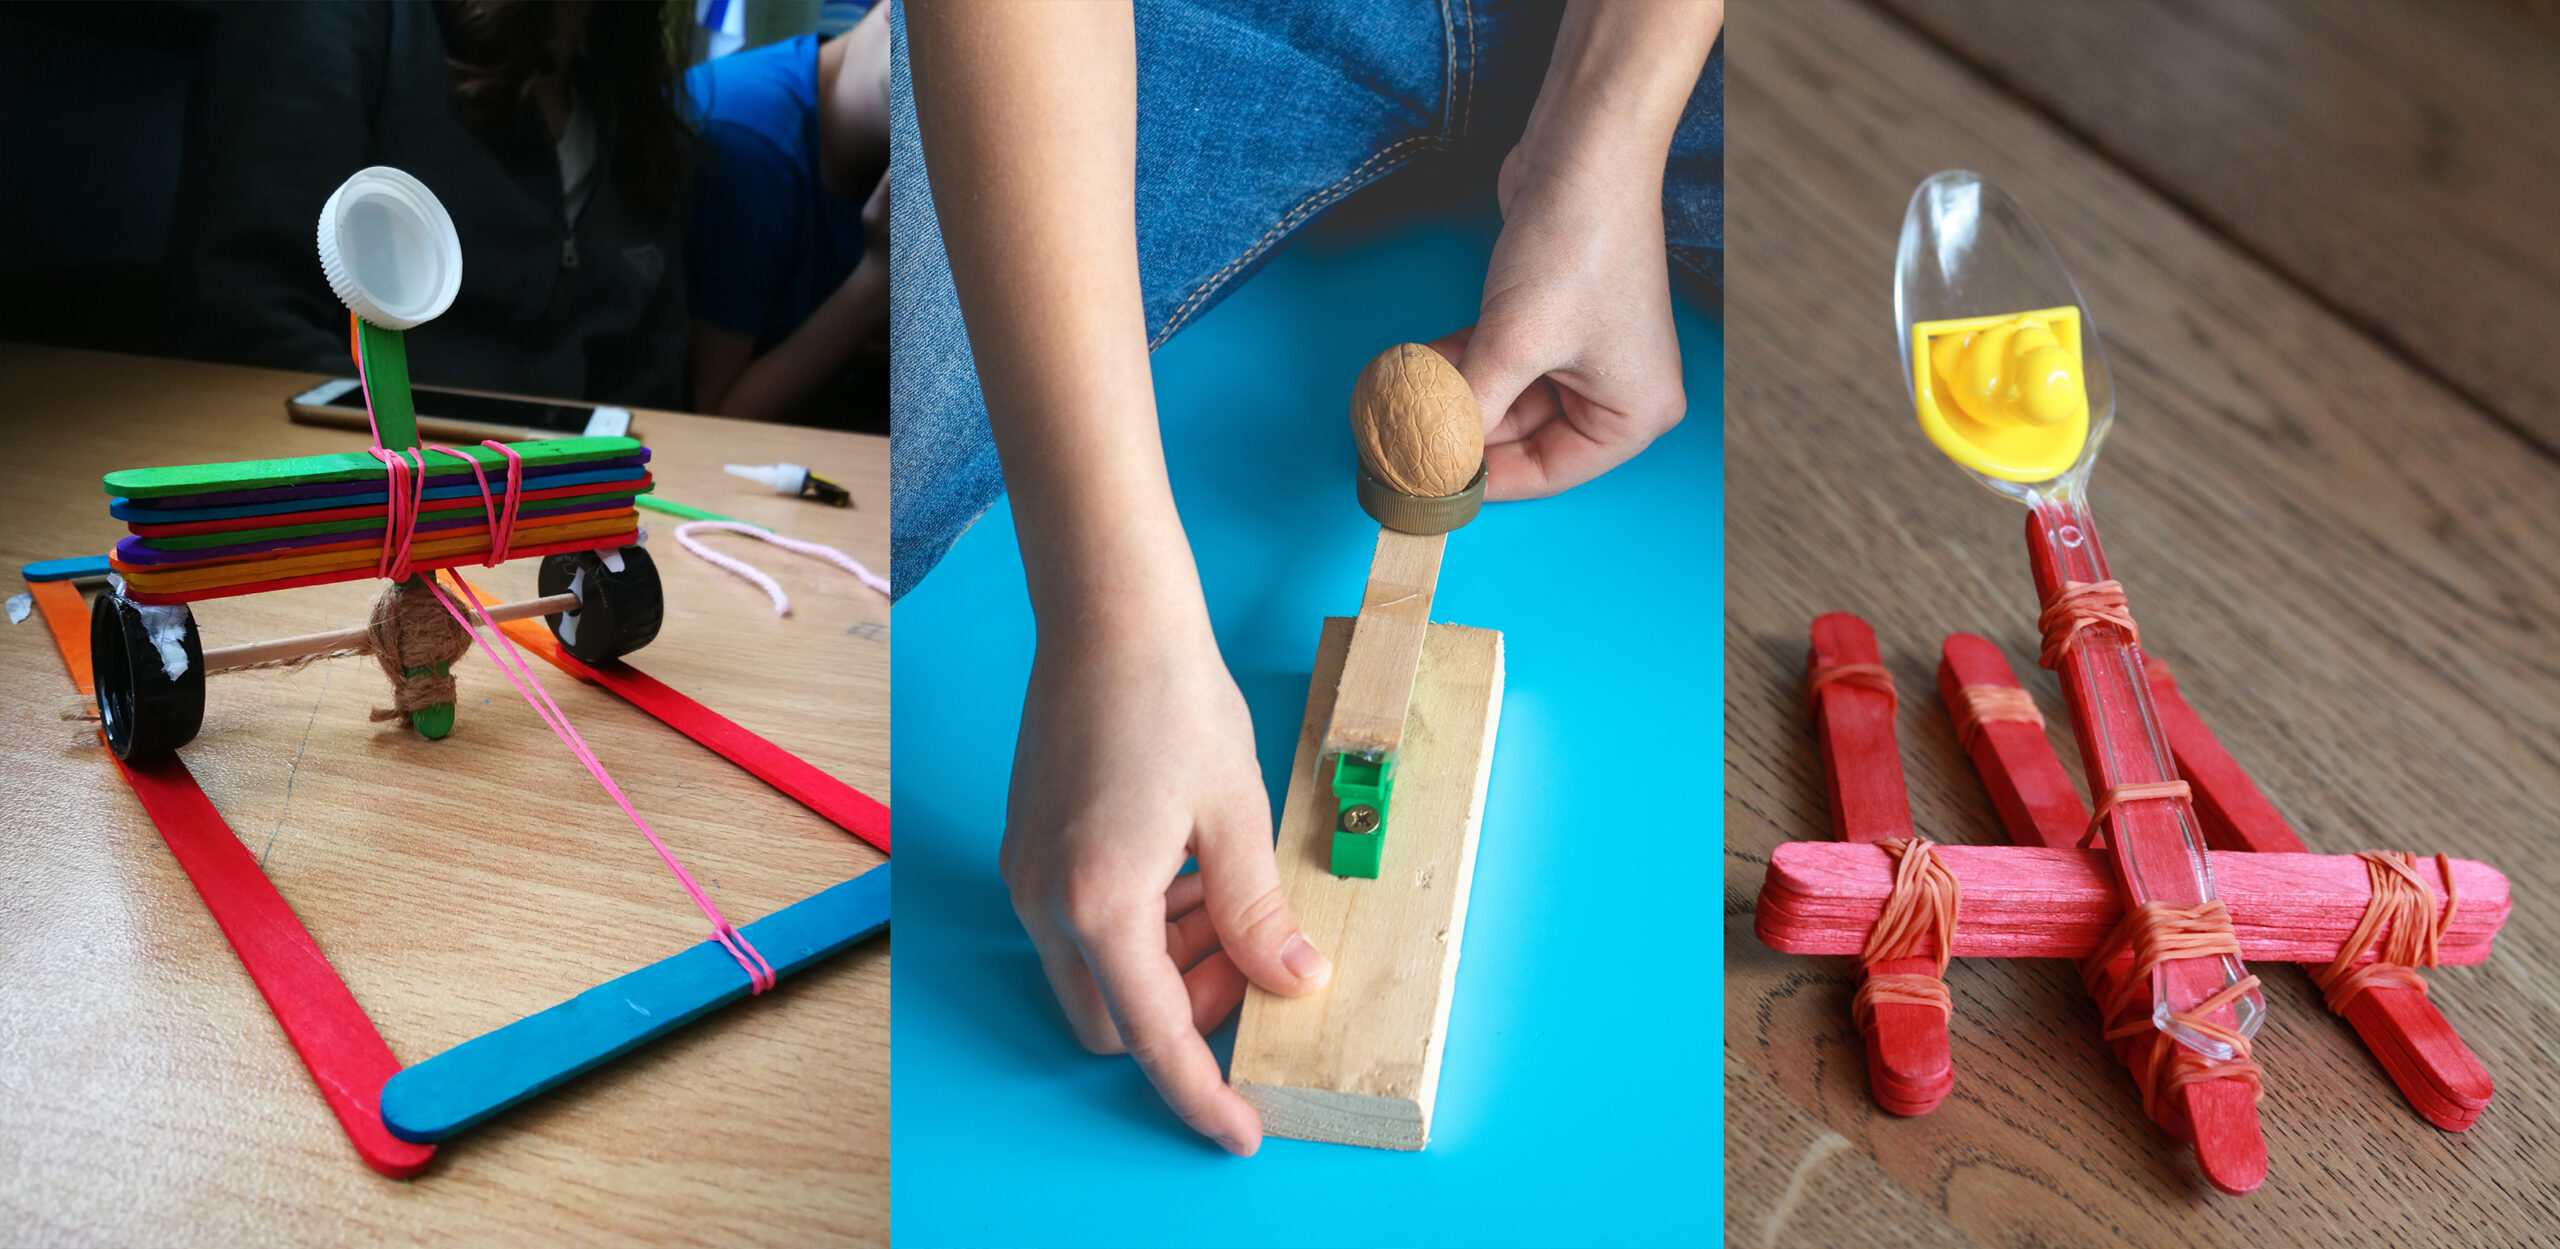
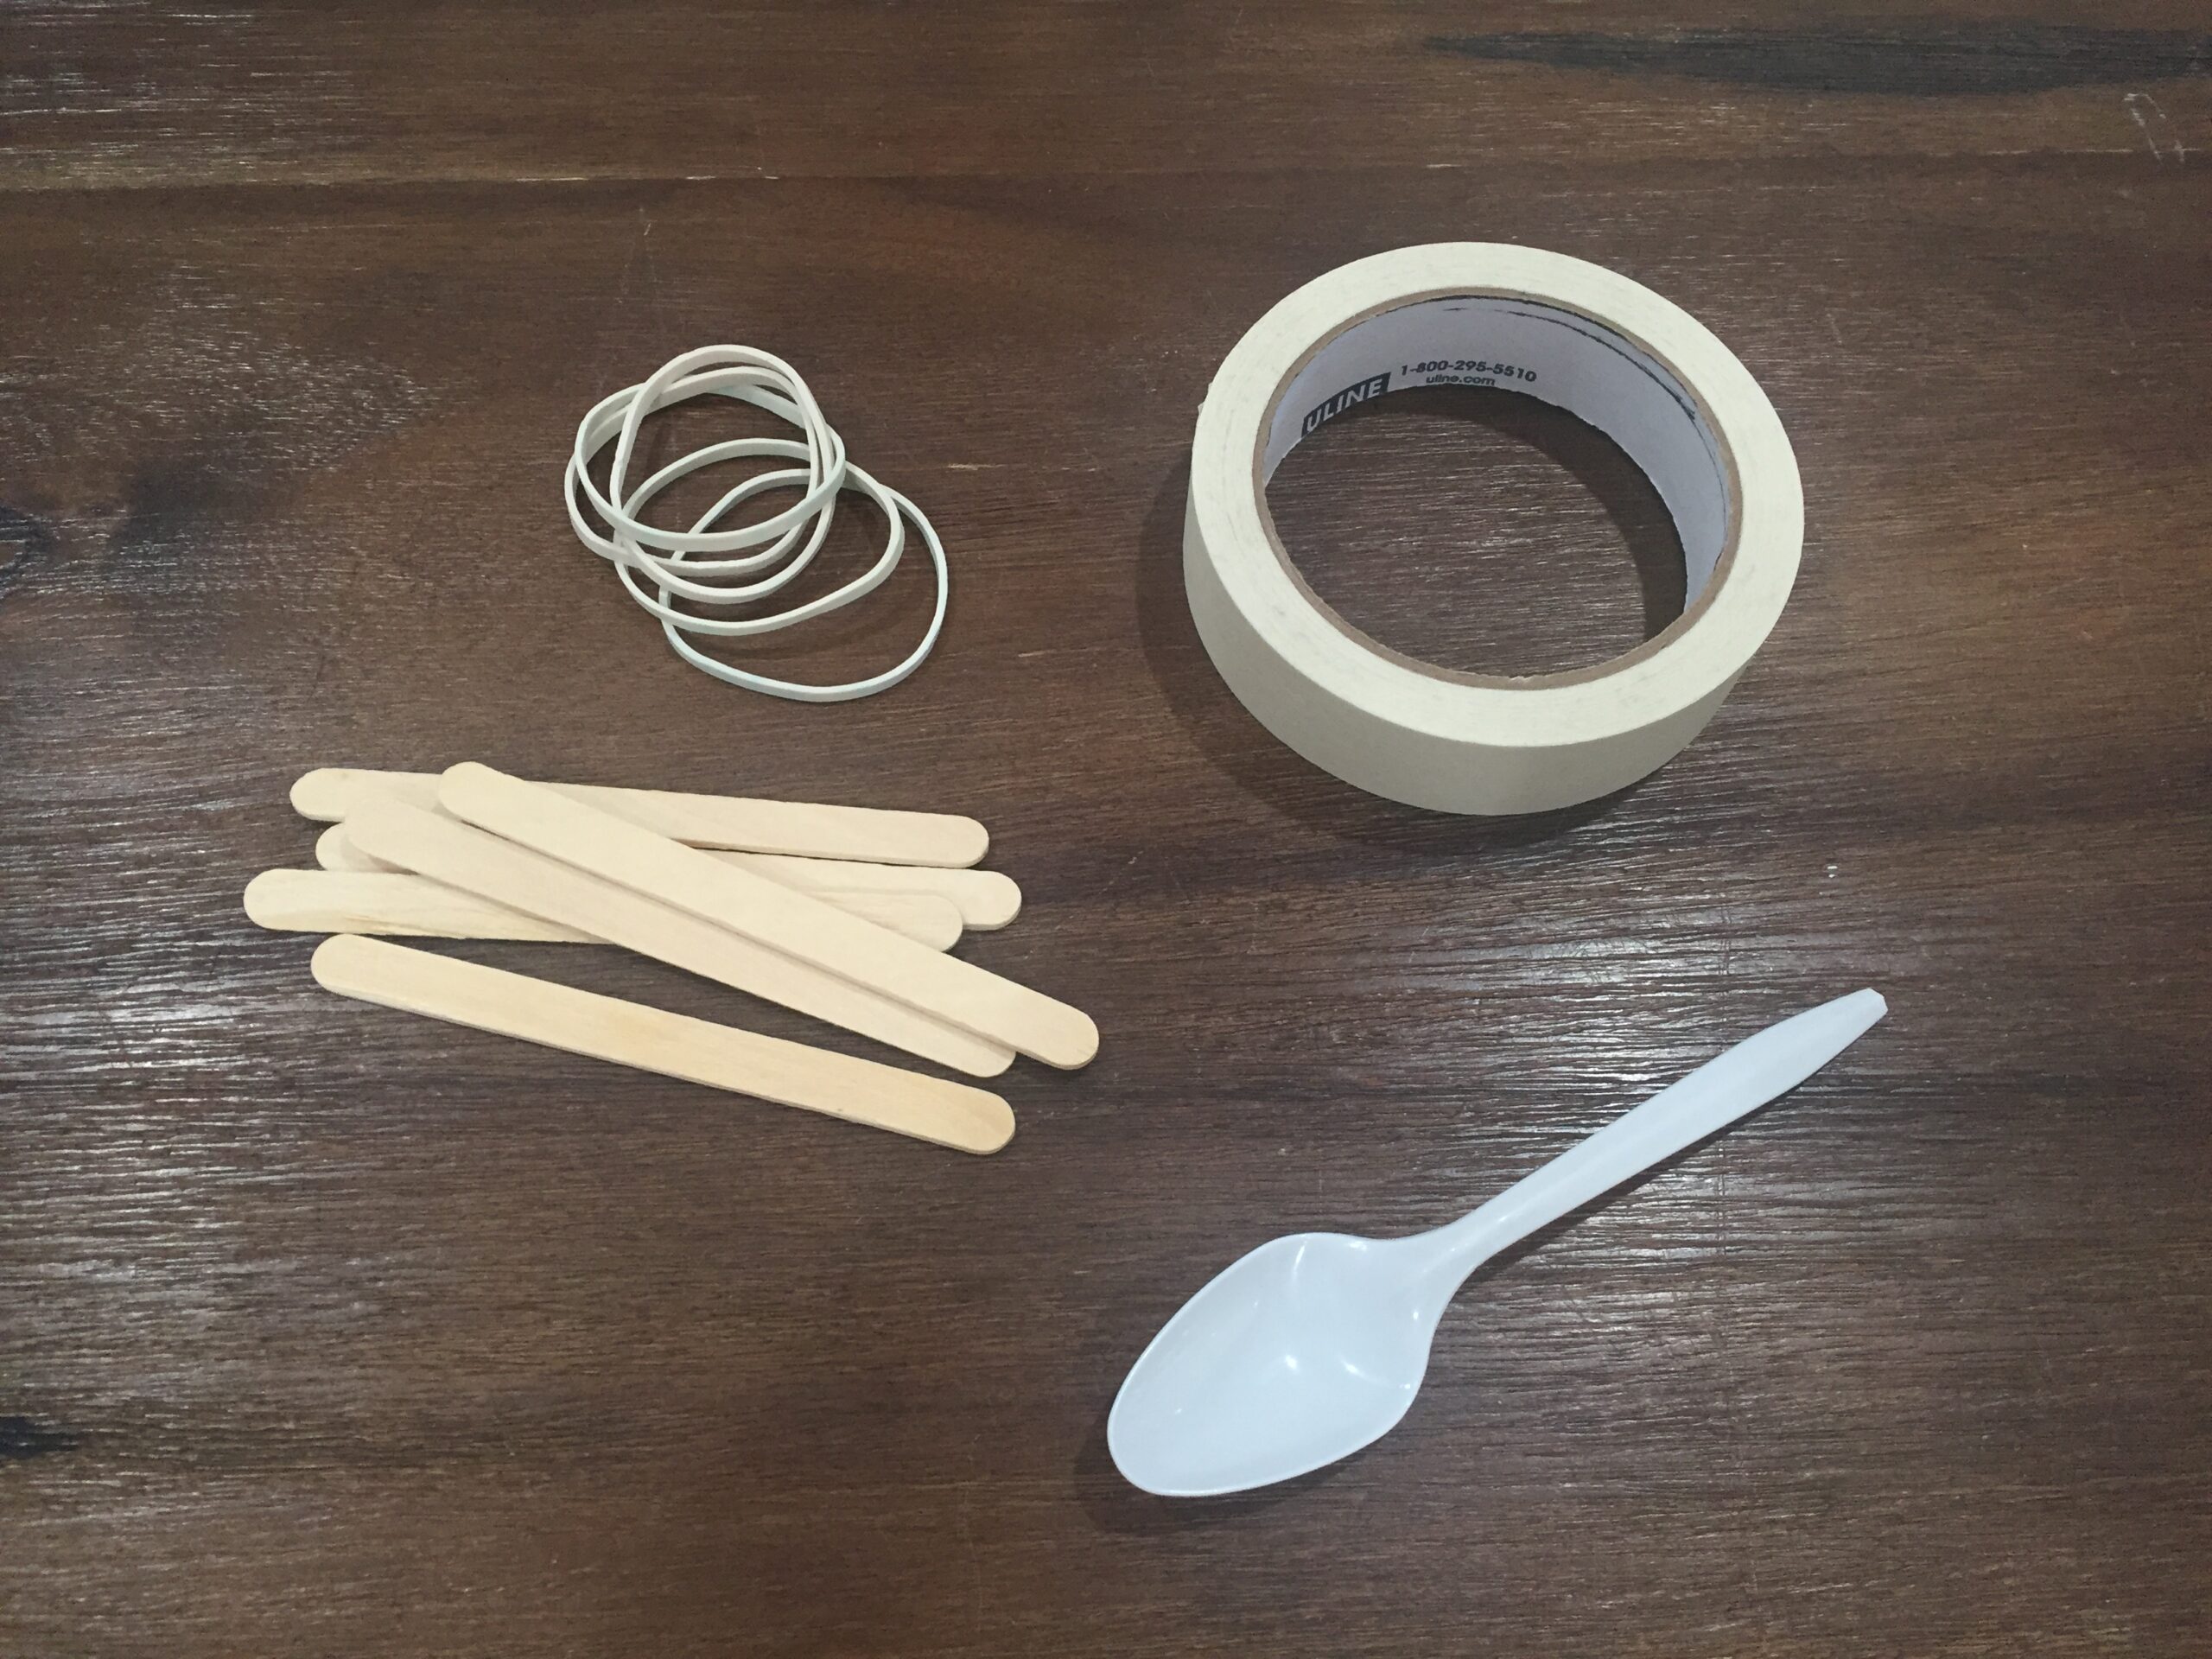
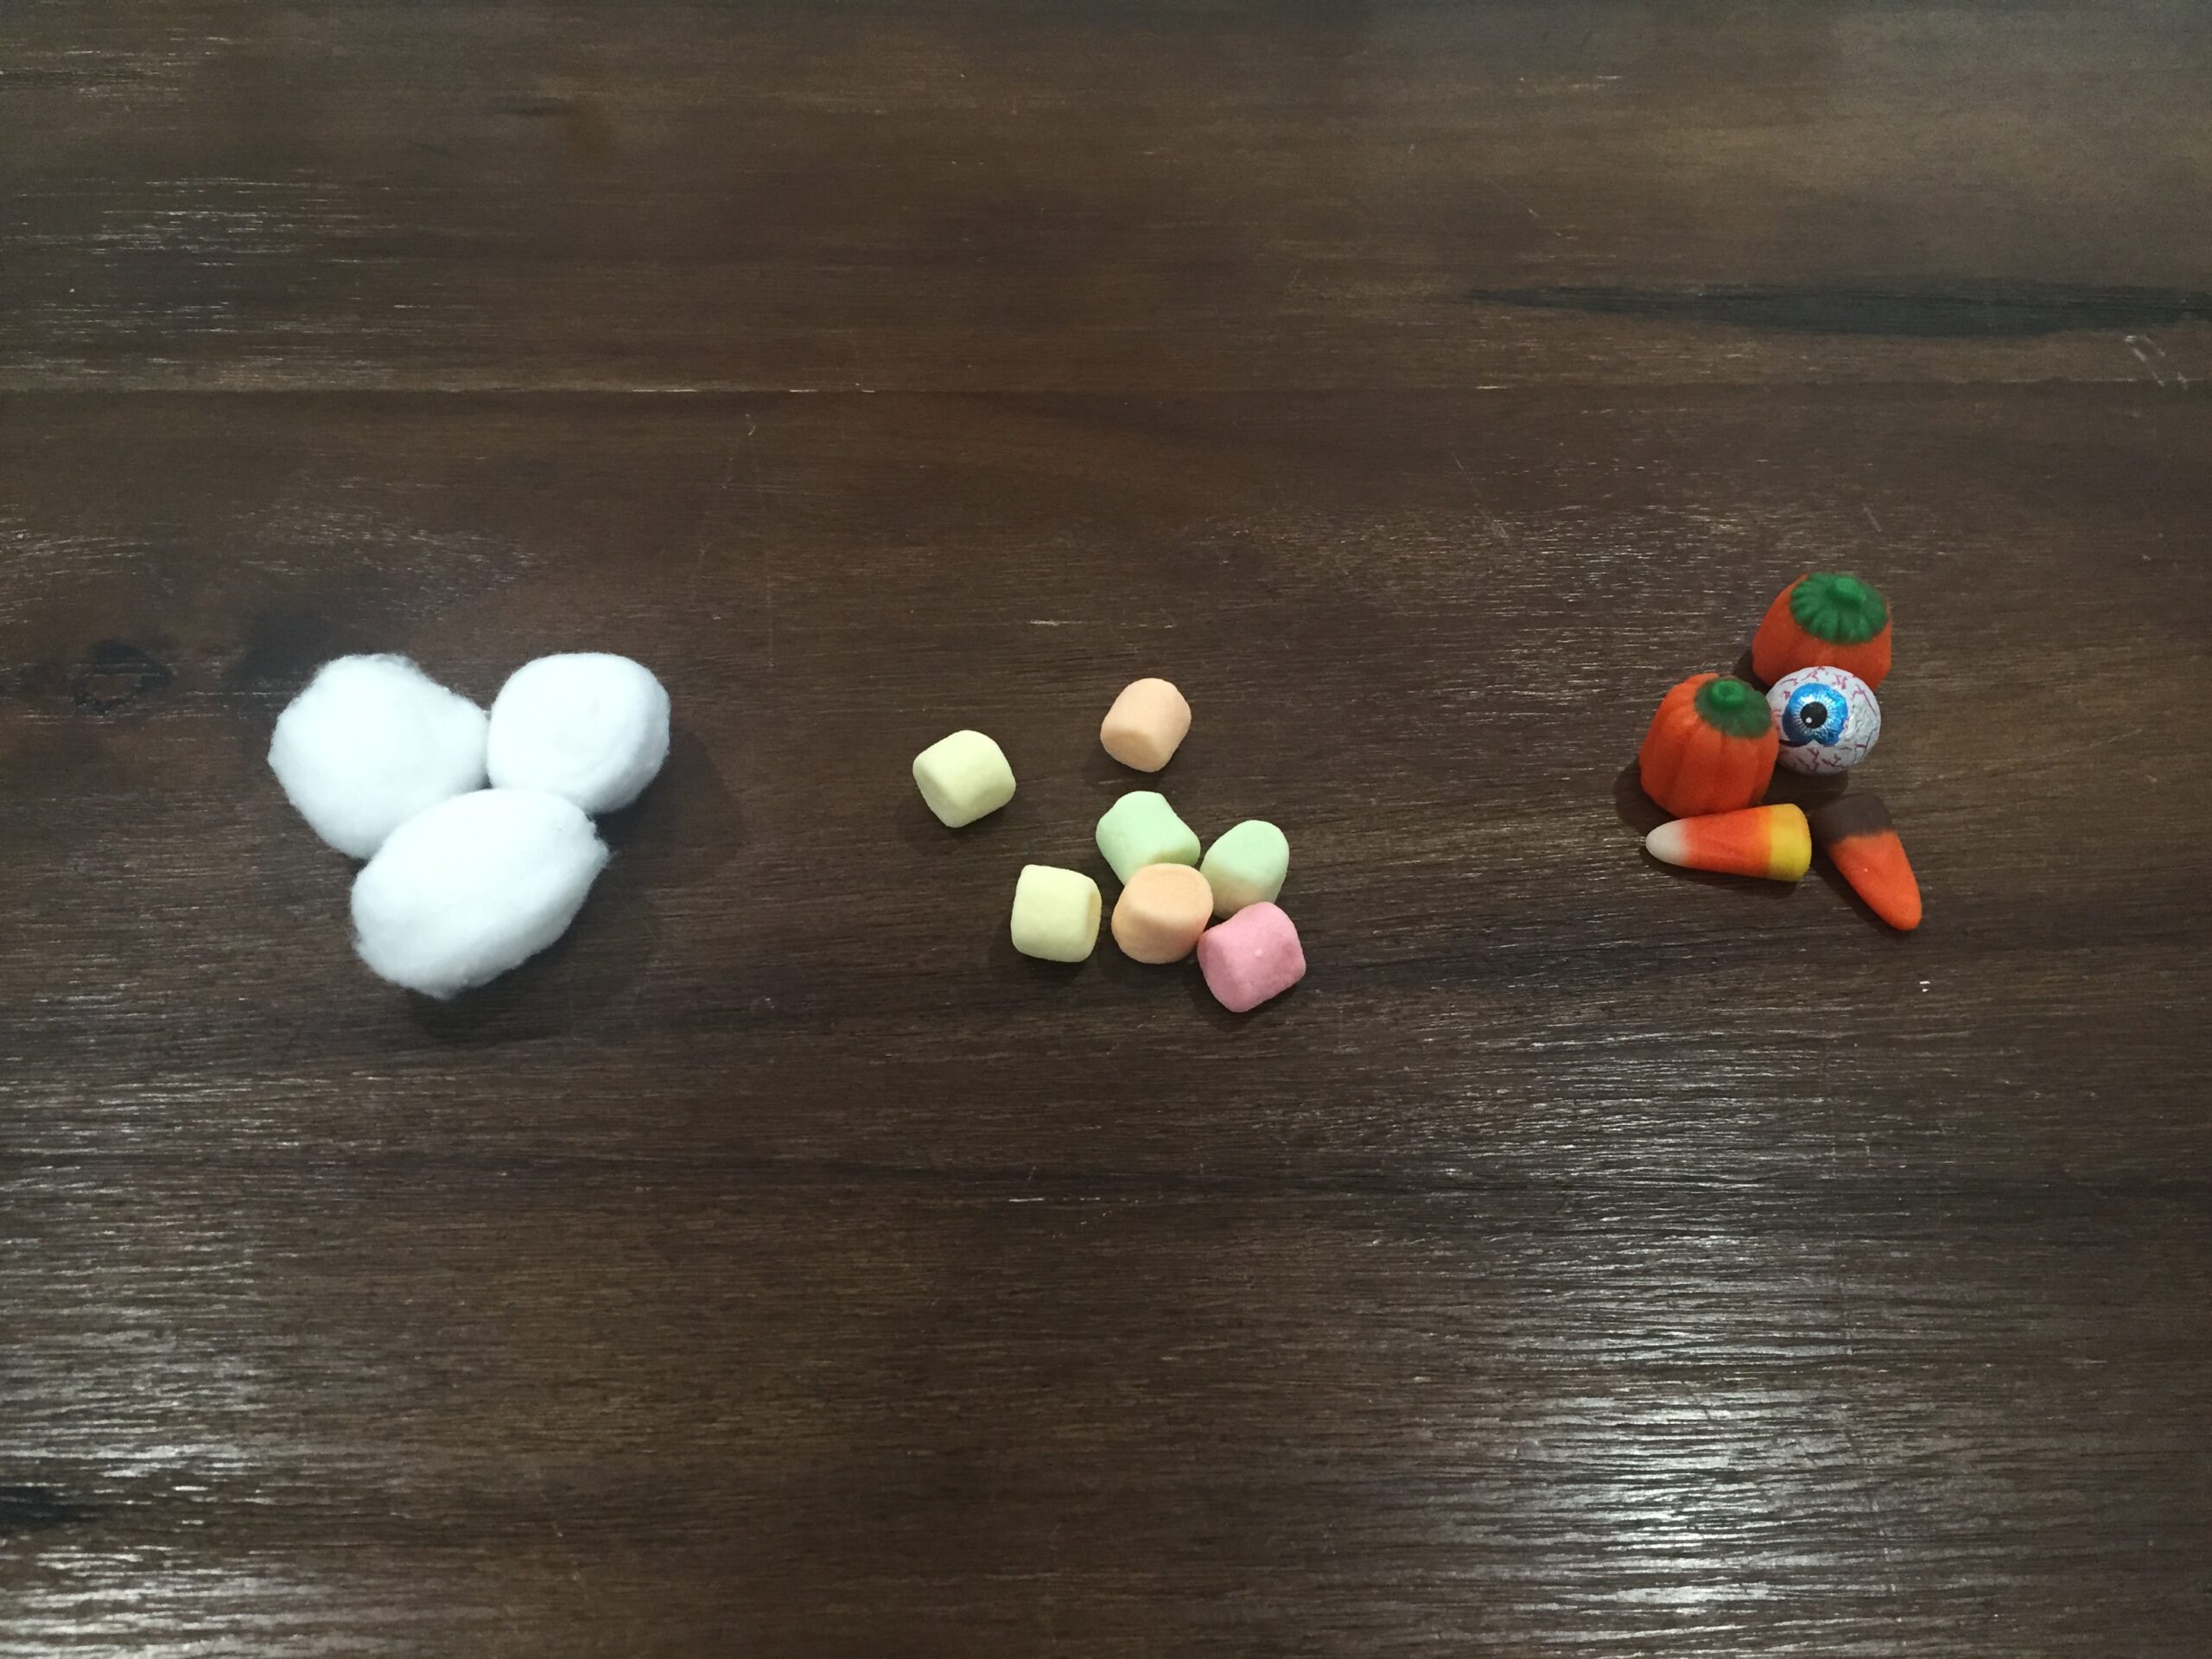
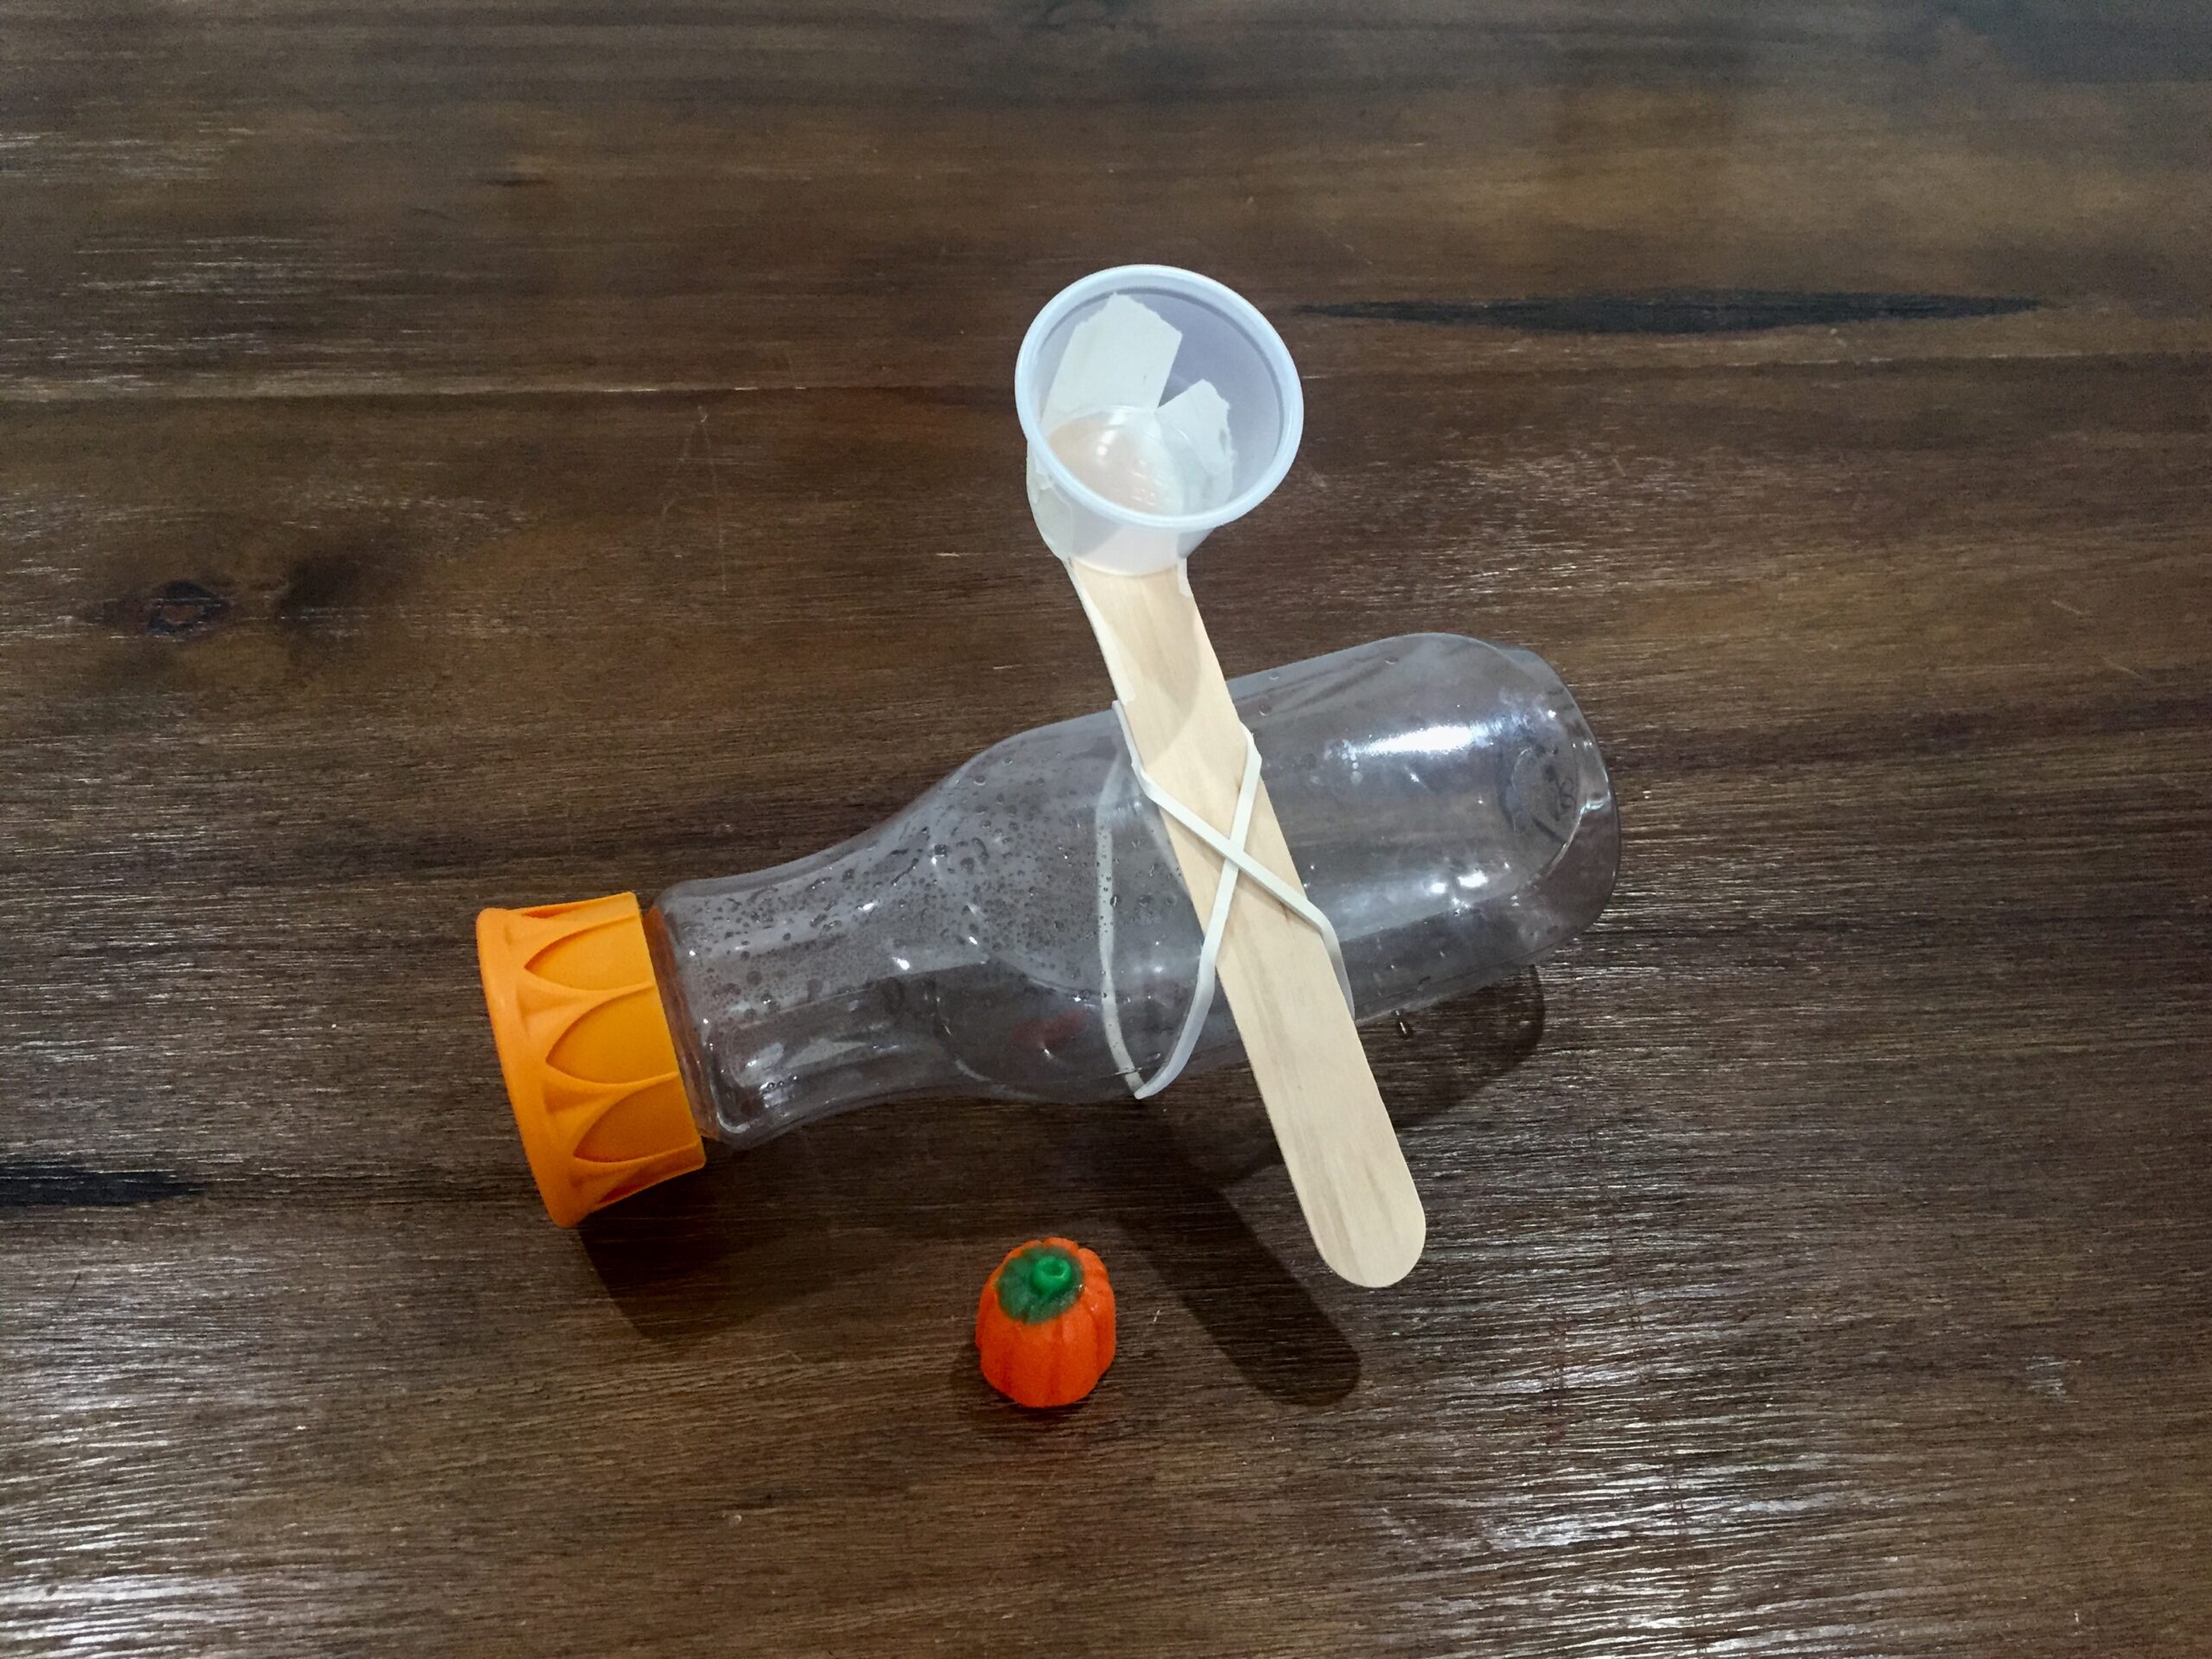
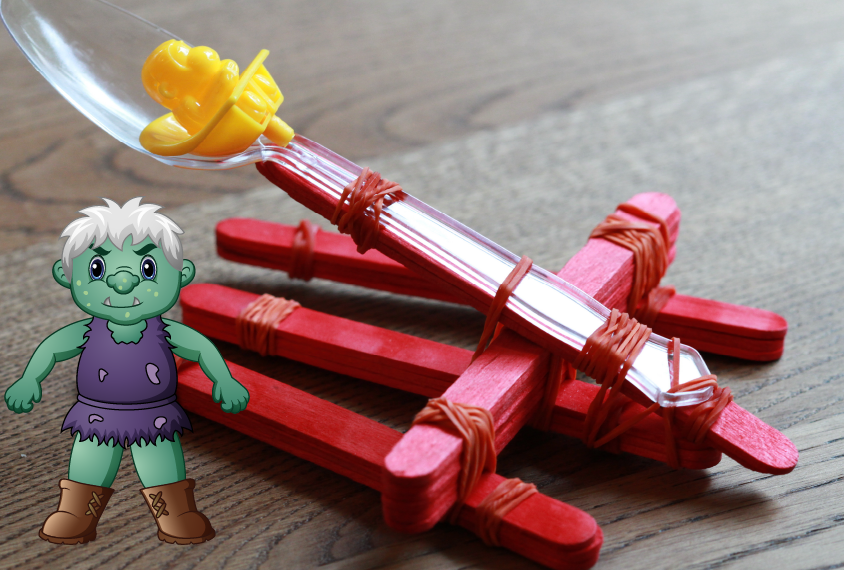
There are lots of ways to make a catapult, so be creative, put on your engineering hat, and give some a try! Go to the next step to see some sample materials you could use.
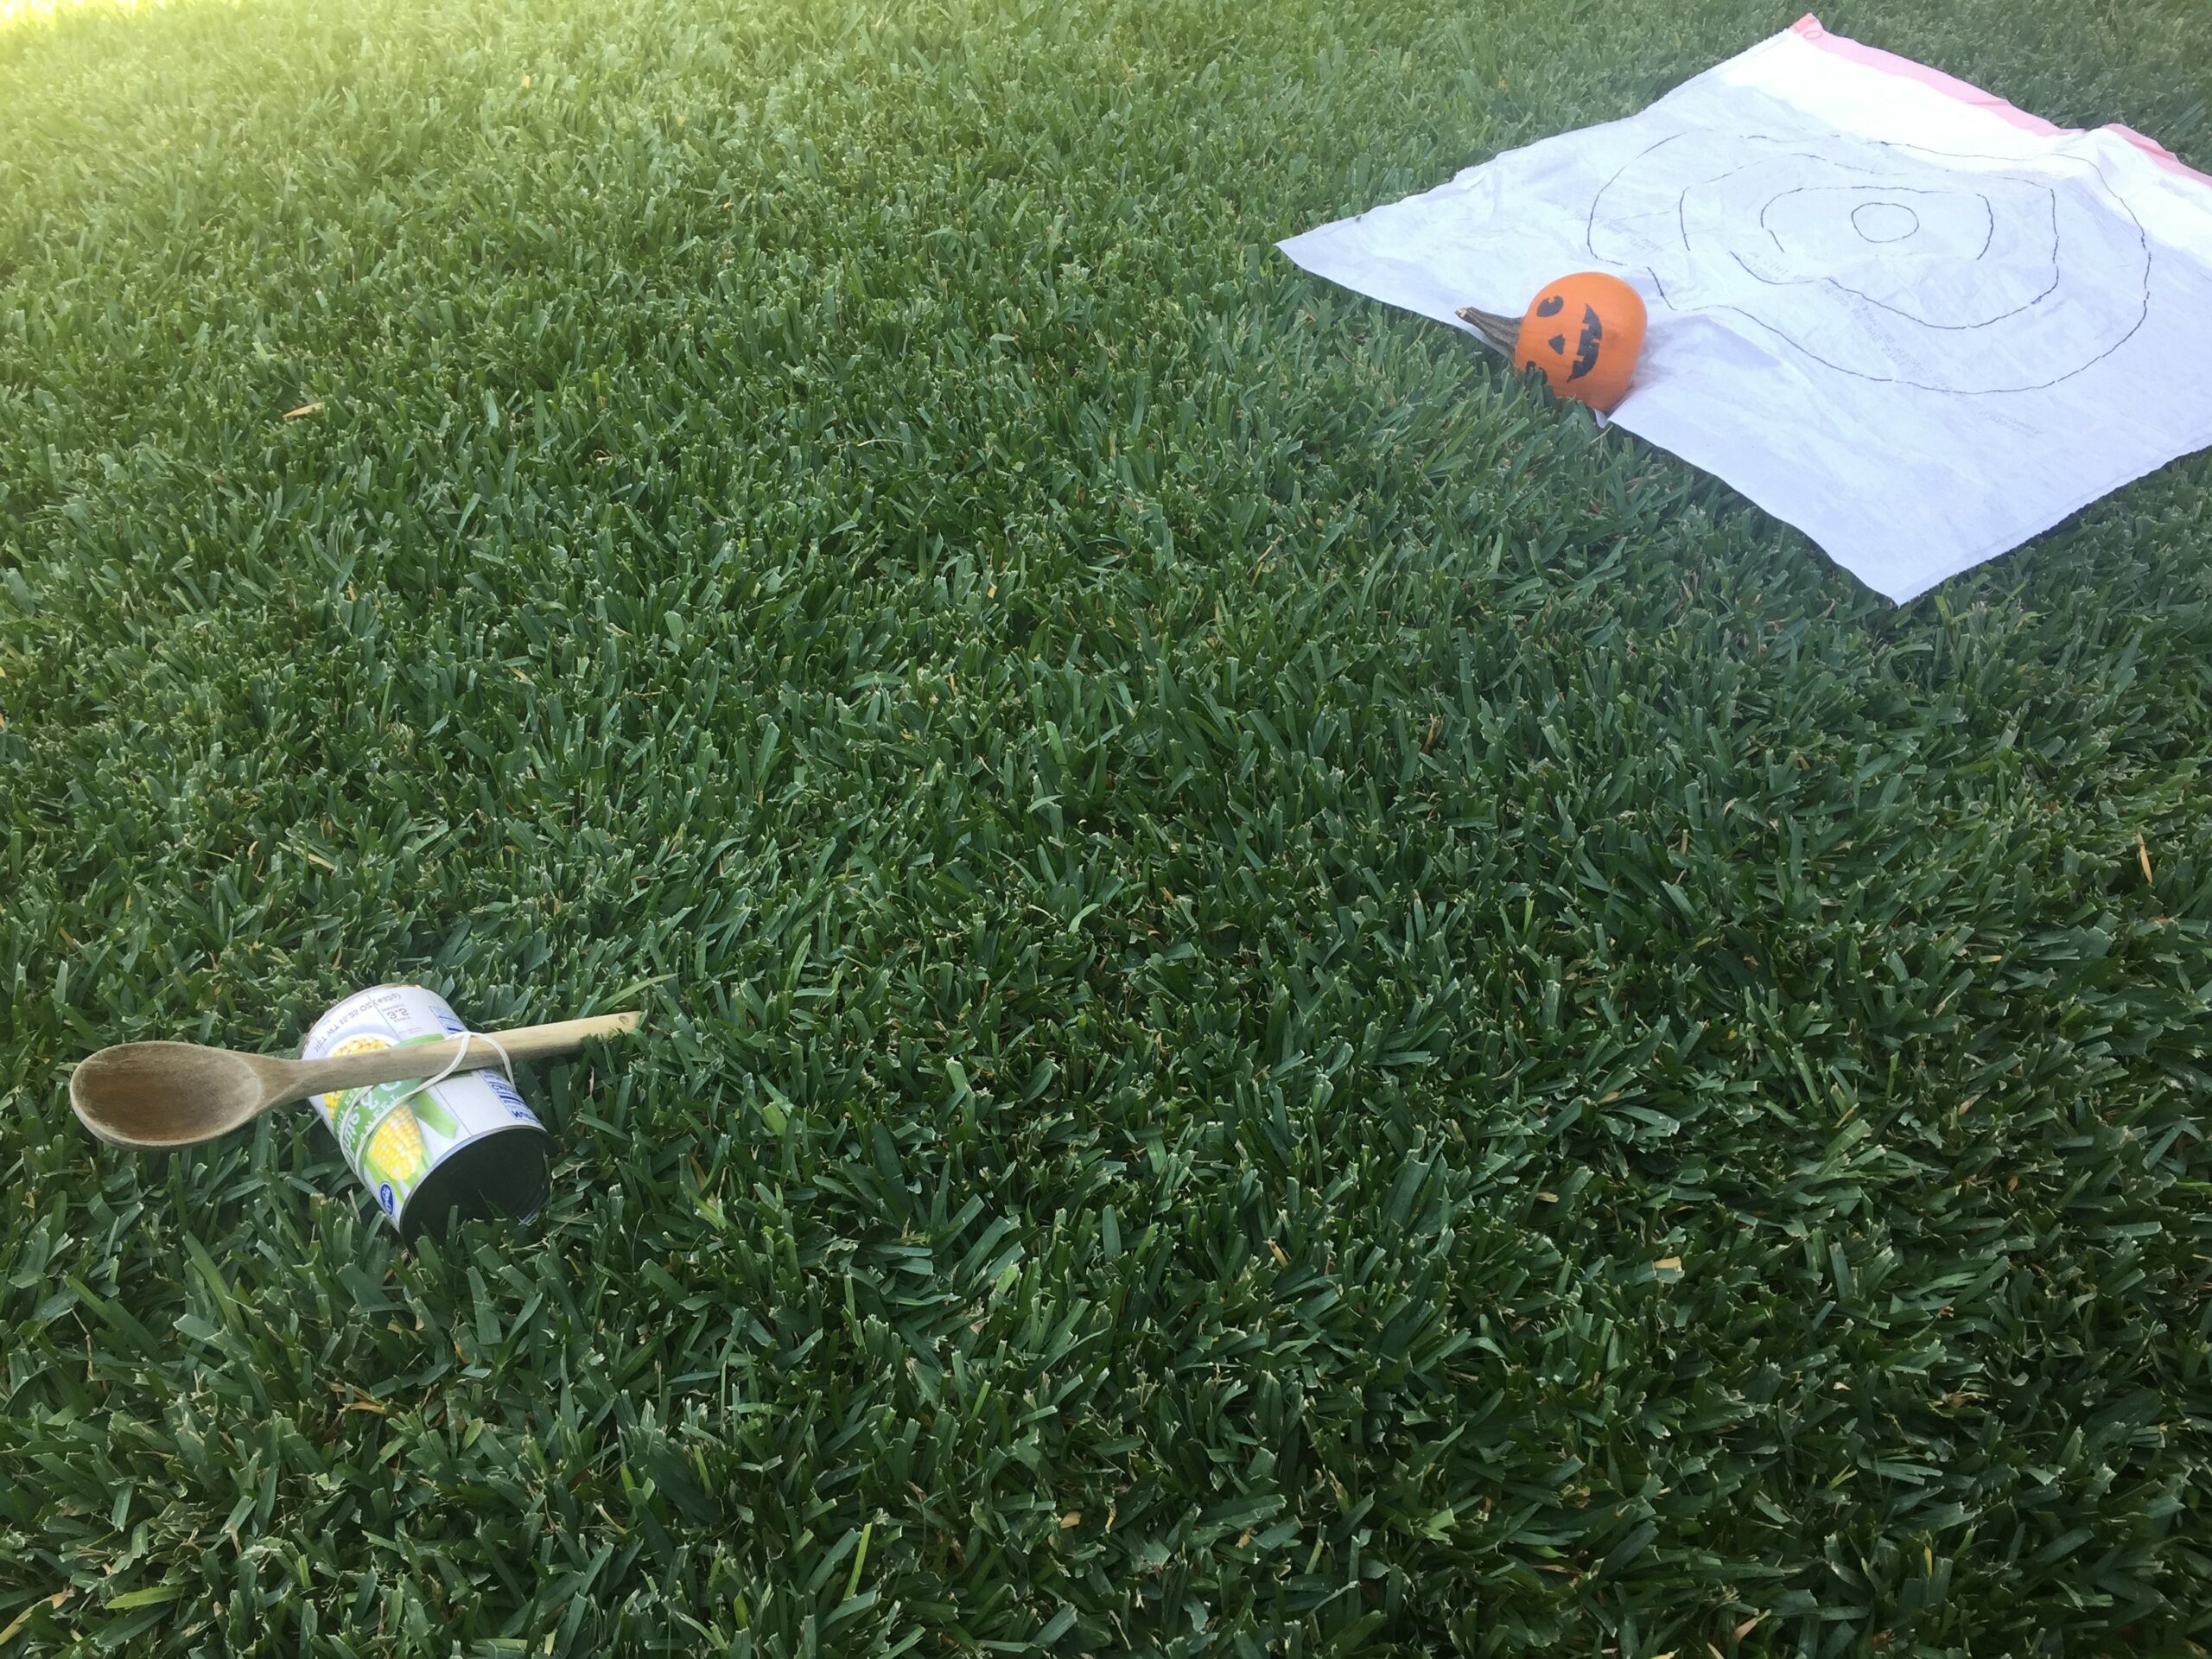
https://discoverycubeconnect.org/wp-content/uploads/2020/09/Catapult01-copy-scaled.jpg
2

In steps 3-6, we’ll show you how to make a classic at-home catapult using simple materials you probably already have around your home. You can also look around you and think creatively: what materials could you use for your catapult’s frame, arm, and bucket?  What can you use to hold your catapult together?  See some ideas in the image to help you get started.

https://discoverycubeconnect.org/wp-content/uploads/2020/09/Catapult02-scaled.jpg
3

To create a catapult using sticks, start by gathering your supplies: 7-8 popsicle sticks (or other sticks you have around the house, such as pencils, chopsticks, or even sturdy sticks from outside), 10 rubber bands, a flexible (disposable) plastic spoon, and some masking tape. Or design your own launcher and skip ahead to step 7 for the next part of this challenge.

Fun Fact:

Catapults are simple machines that can launch objects through the air without needing an explosion.  Originally used for wars in Ancient Greece over 2,000 years ago, catapults use a lever to sling a payload toward a target.
https://discoverycubeconnect.org/wp-content/uploads/2020/09/Step-3-1-scaled.jpg
4

To start making your launcher’s “frame”, use 6 popsicle sticks and 6 rubber bands to form 2 triangles. Set them aside.  To create your launcher’s “arm and bucket”, tape the plastic spoon to 1 or 2 popsicle sticks (the second stick can be used for added length, if you like).  Set this aside.

Tips & Tricks:

Don’t worry if your triangles aren’t perfect – your launcher will still work!
https://discoverycubeconnect.org/wp-content/uploads/2020/09/Step-4-scaled.jpg
5

Place the 2 triangles on top of each other. Then use 2 rubber bands to join 2 sides together.

https://discoverycubeconnect.org/wp-content/uploads/2020/09/Step-5-scaled.jpg
6

Pull the 2 triangles apart and use the final 2 rubber bands to secure the arm and bucket (spoon) to the two open ends of the triangles.

Tips & Tricks:

Depending on how tightly you wrapped your two triangles together, it can be challenging to pull them apart.  Ask a friend or an adult for help, if you need it.
https://discoverycubeconnect.org/wp-content/uploads/2020/09/Step-6-scaled.jpg
7

Now that you’ve made your catapult, it’s time to create your target. A bowl can make a great target, but you can also draw a target on a piece of scrap paper.

It’s fun to see how far you can send your payload when using a catapult, but it’s even more fun to see if you can make it hit the same target in the same location over and over again.  Decide where you want to place your target: is it 2 feet away from your catapult, 5 feet away, or maybe even on the other side of the room?  You decide!

https://discoverycubeconnect.org/wp-content/uploads/2020/09/Step-7-scaled.jpg
8

Before you begin testing your catapult, you may decide it’s best to tape it to the table or ground so it doesn’t move around.  When you’re ready to launch, it’s great to start with a small payload.  Mini marshmallows, pom poms, or cotton balls all work great.  Gather your launching materials and start testing how accurately you can launch your catapult.  Feel free to modify your catapult to make it easier to hit or your target; or if your target is just too far away, try moving it closer to your catapult.

Fun Fact:

When you press down on the arm and bucket (lever) of your catapult, you are adding energy to the machine.  The energy you used to press down is stored in the catapult as “potential” energy.  When you let go, the stored energy is released, and becomes energy of motion (called “kinetic” energy).  Since the payload is resting in the bucket (but not glued or taped to the bucket), it will fly out as the lever travels upward, carrying some of the kinetic energy along with it.
https://discoverycubeconnect.org/wp-content/uploads/2020/09/Step-8-scaled.jpg
9

Ready to make this challenge a little harder?  Try launching heavier payload, such as a candy pumpkin.  Do you need to modify your catapult so it can hold this heavier item and still hit your target?

https://discoverycubeconnect.org/wp-content/uploads/2020/09/Step-9-scaled.jpg
10

Now you’re ready for the final challenge: find something even heavier to launch, such as a mini pumpkin.  Keep in mind that your pumpkin might smash into lots of little pieces, so it’s best to move your catapult outside and lay down a trash bag where you think it might land.  Remember how your catapult accuracy changed when you launched a candy pumpkin instead of a mini marshmallow – how do you think the weight of a mini pumpkin will impact your catapult?

Tips & Tricks:

If your catapult can’t hold the weight of your heavy object, try modifying your design using larger or heavier frame, arm, and bucket materials to hold the weight of your pumpkin.
https://discoverycubeconnect.org/wp-content/uploads/2020/09/Step-10-scaled.jpg
11

Keep launching until you hit your target!

https://discoverycubeconnect.org/wp-content/uploads/2020/09/Step-11-scaled.jpg