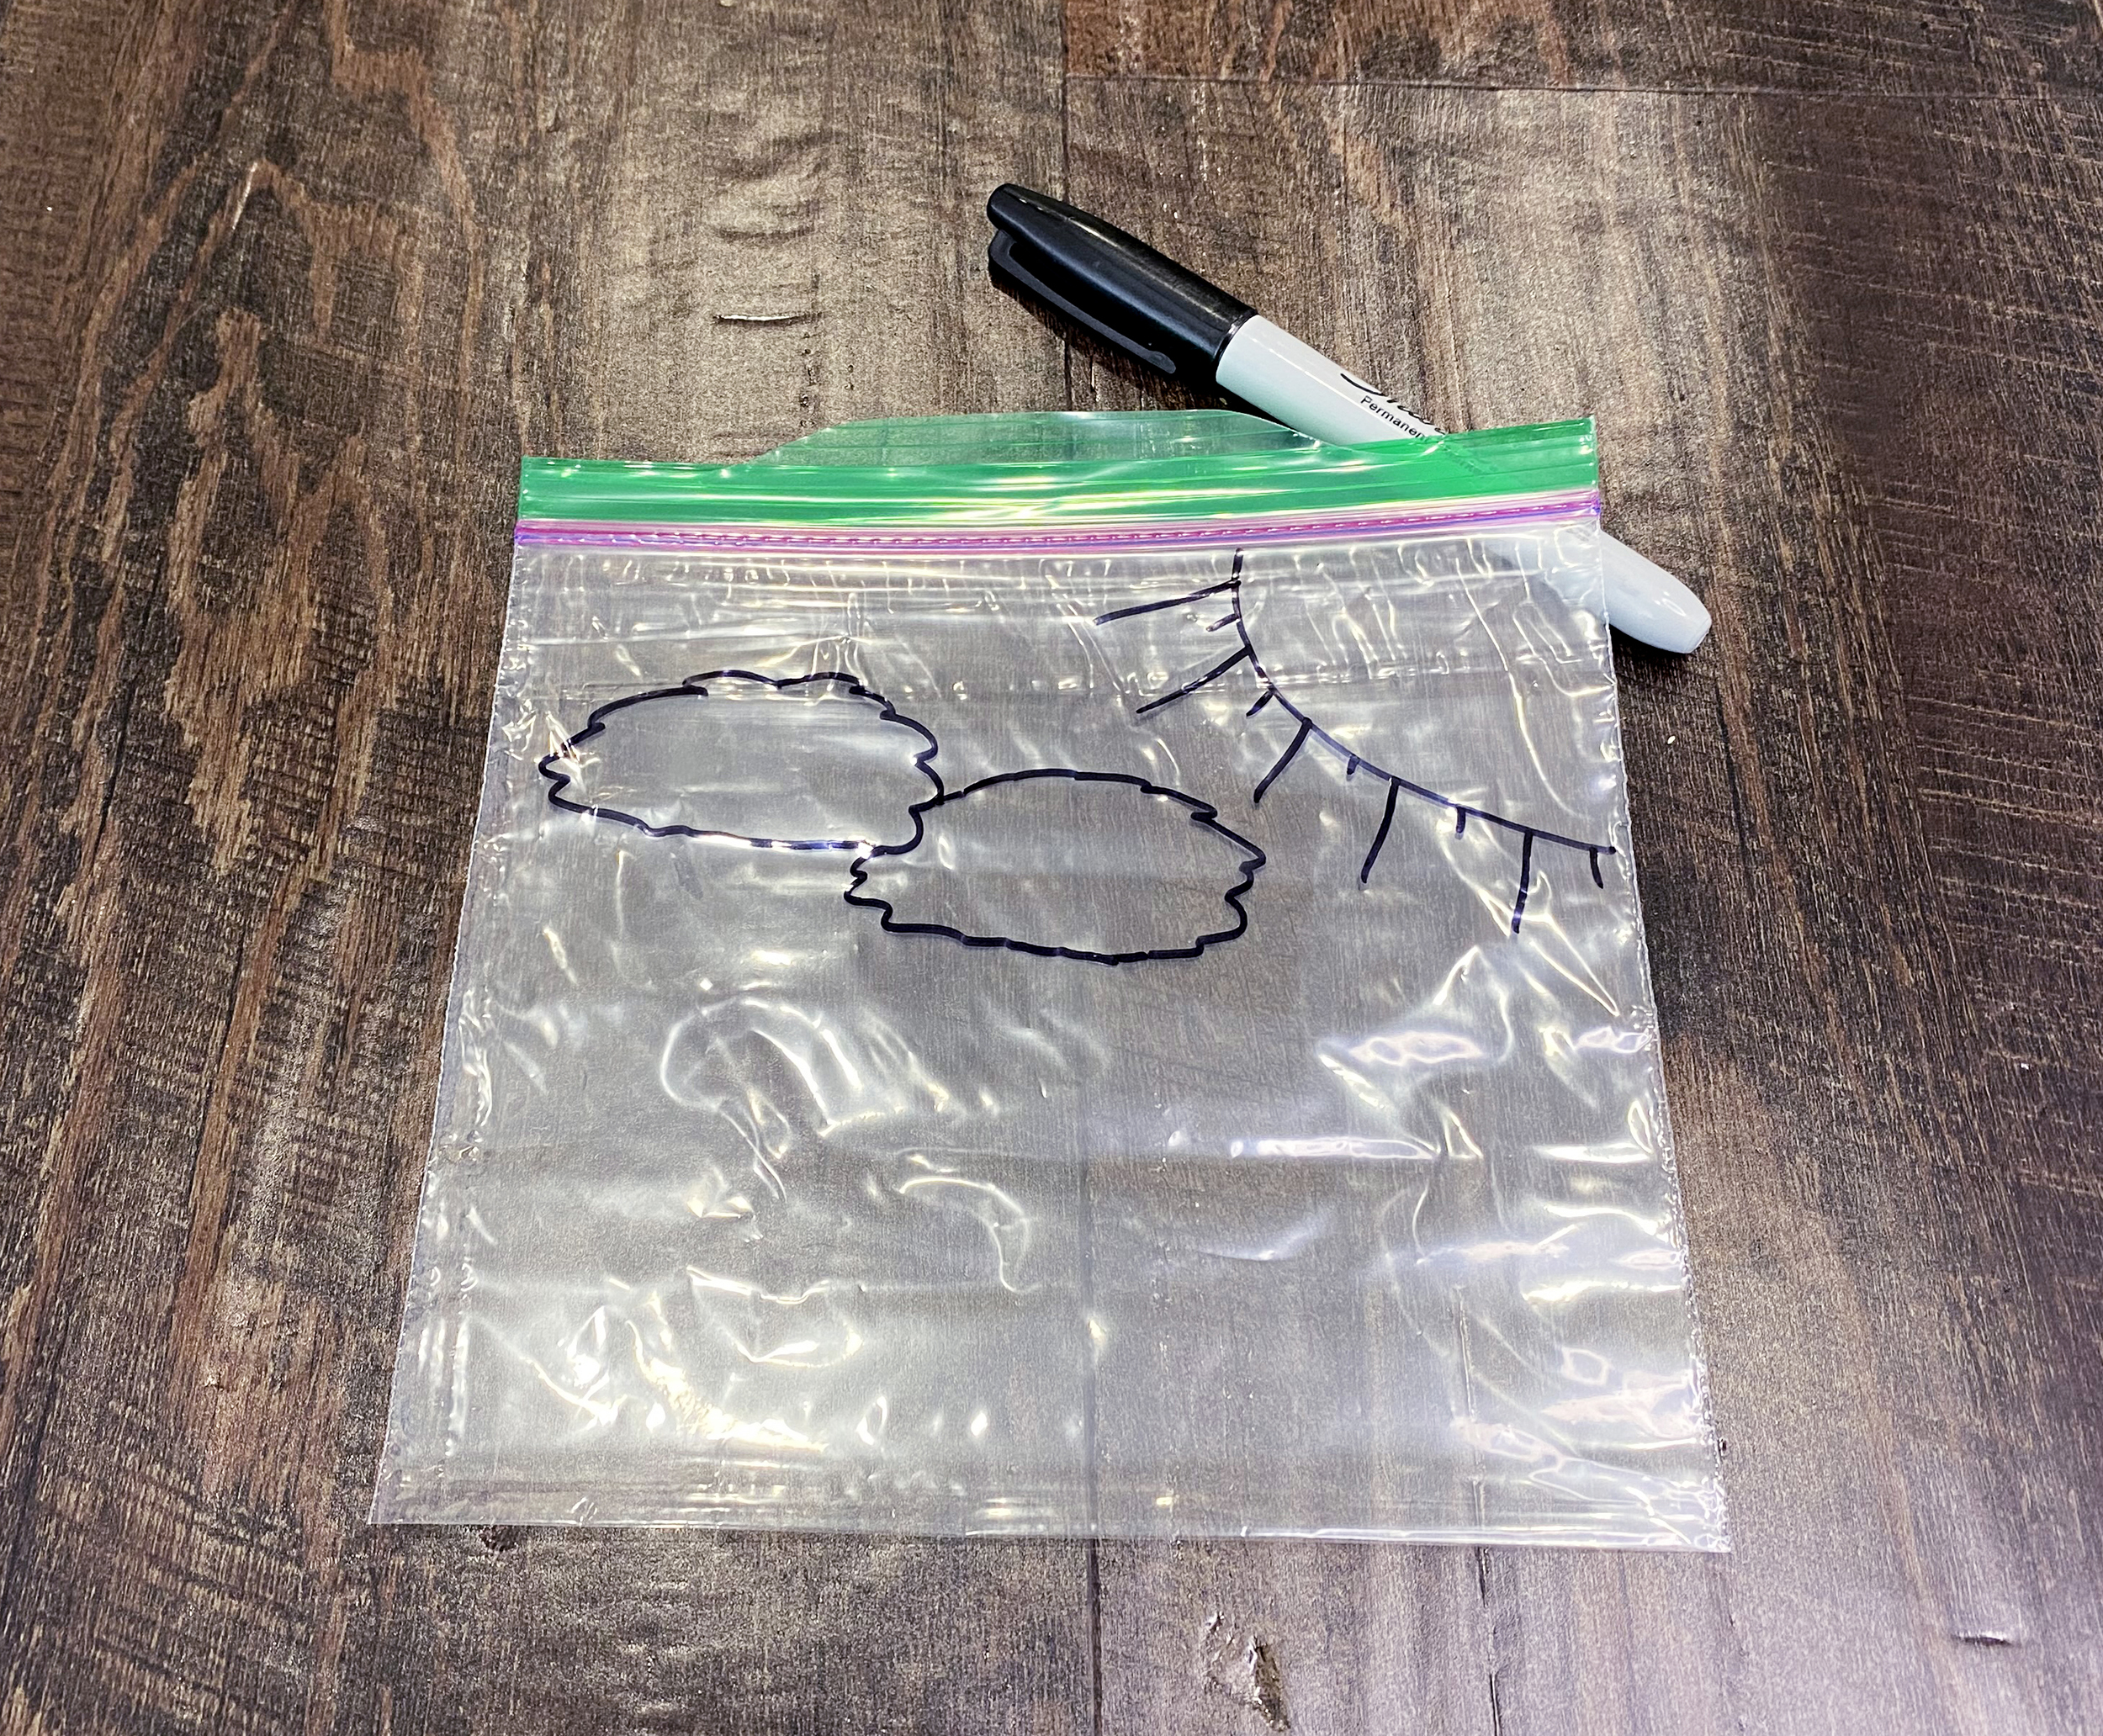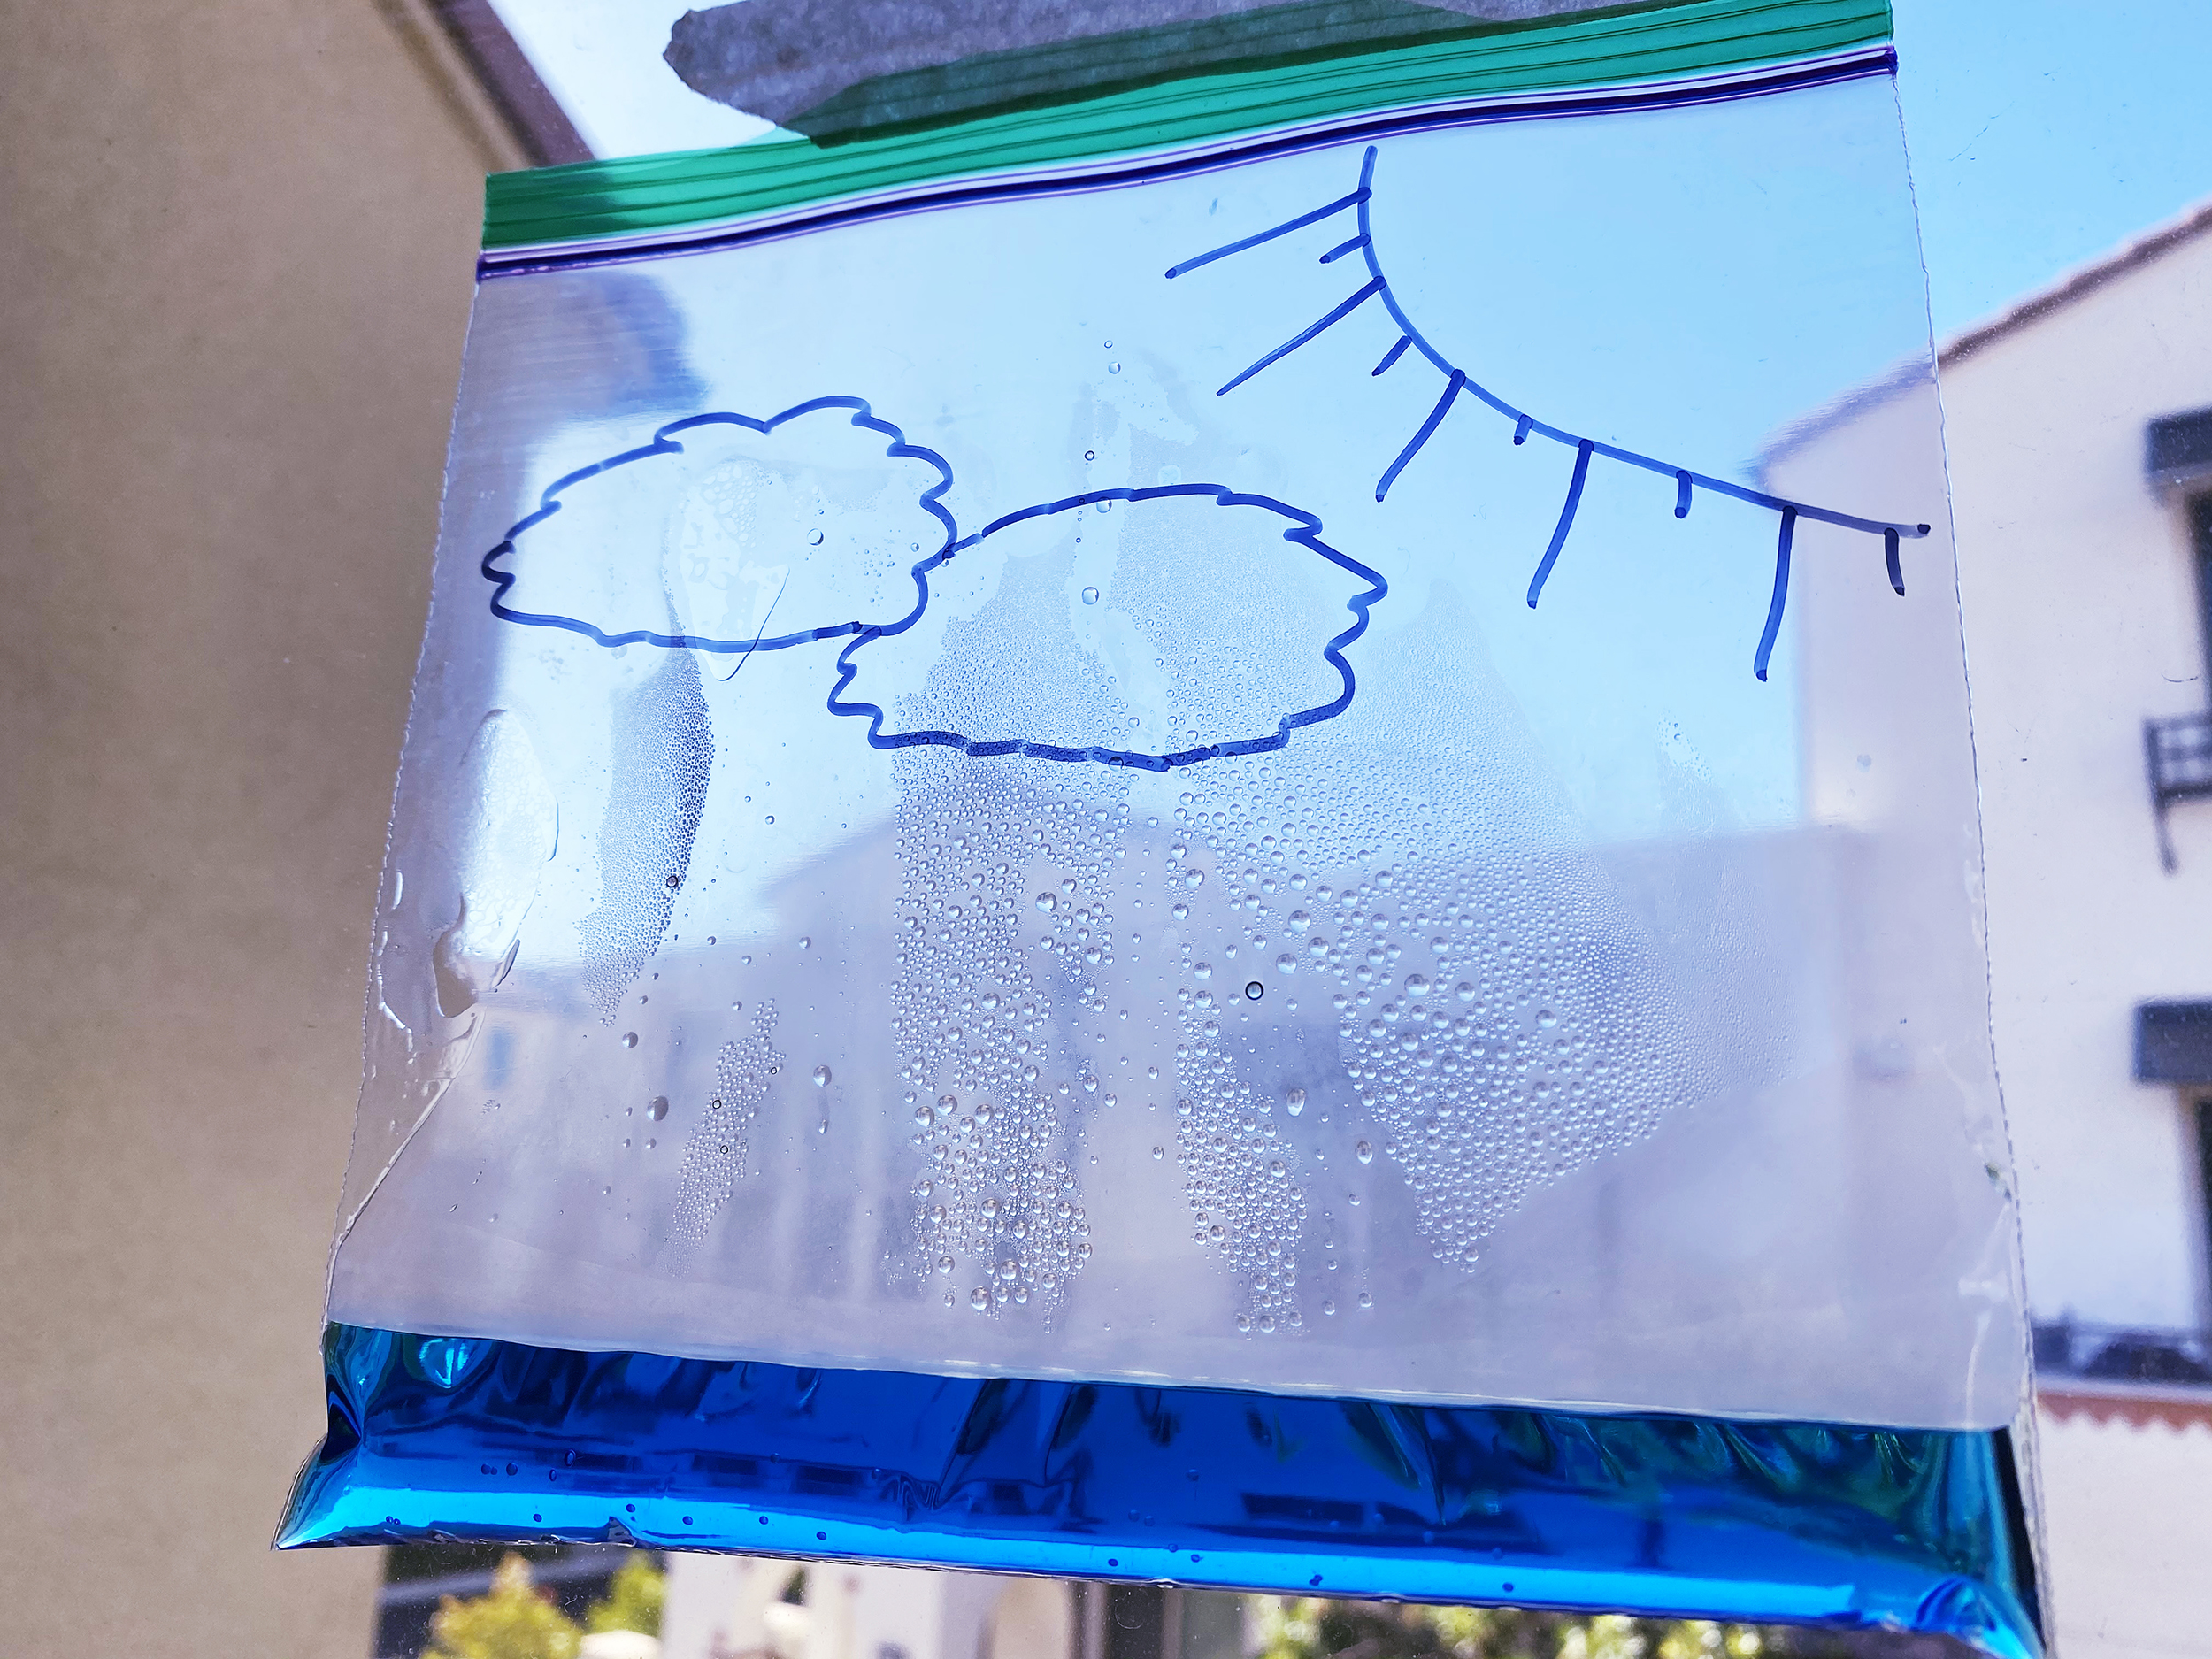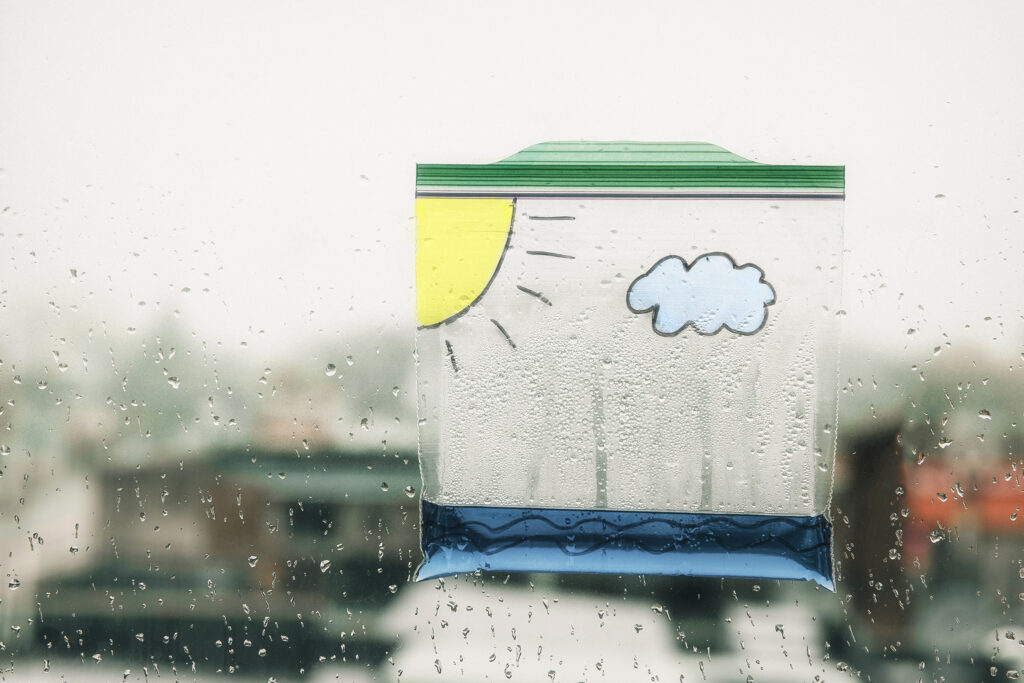

Start learning about the water cycle by experimenting with evaporation: make a water cycle in a bag. Use a permanent marker to draw the Sun and some clouds on your sandwich bag.
Shrink the Cycle
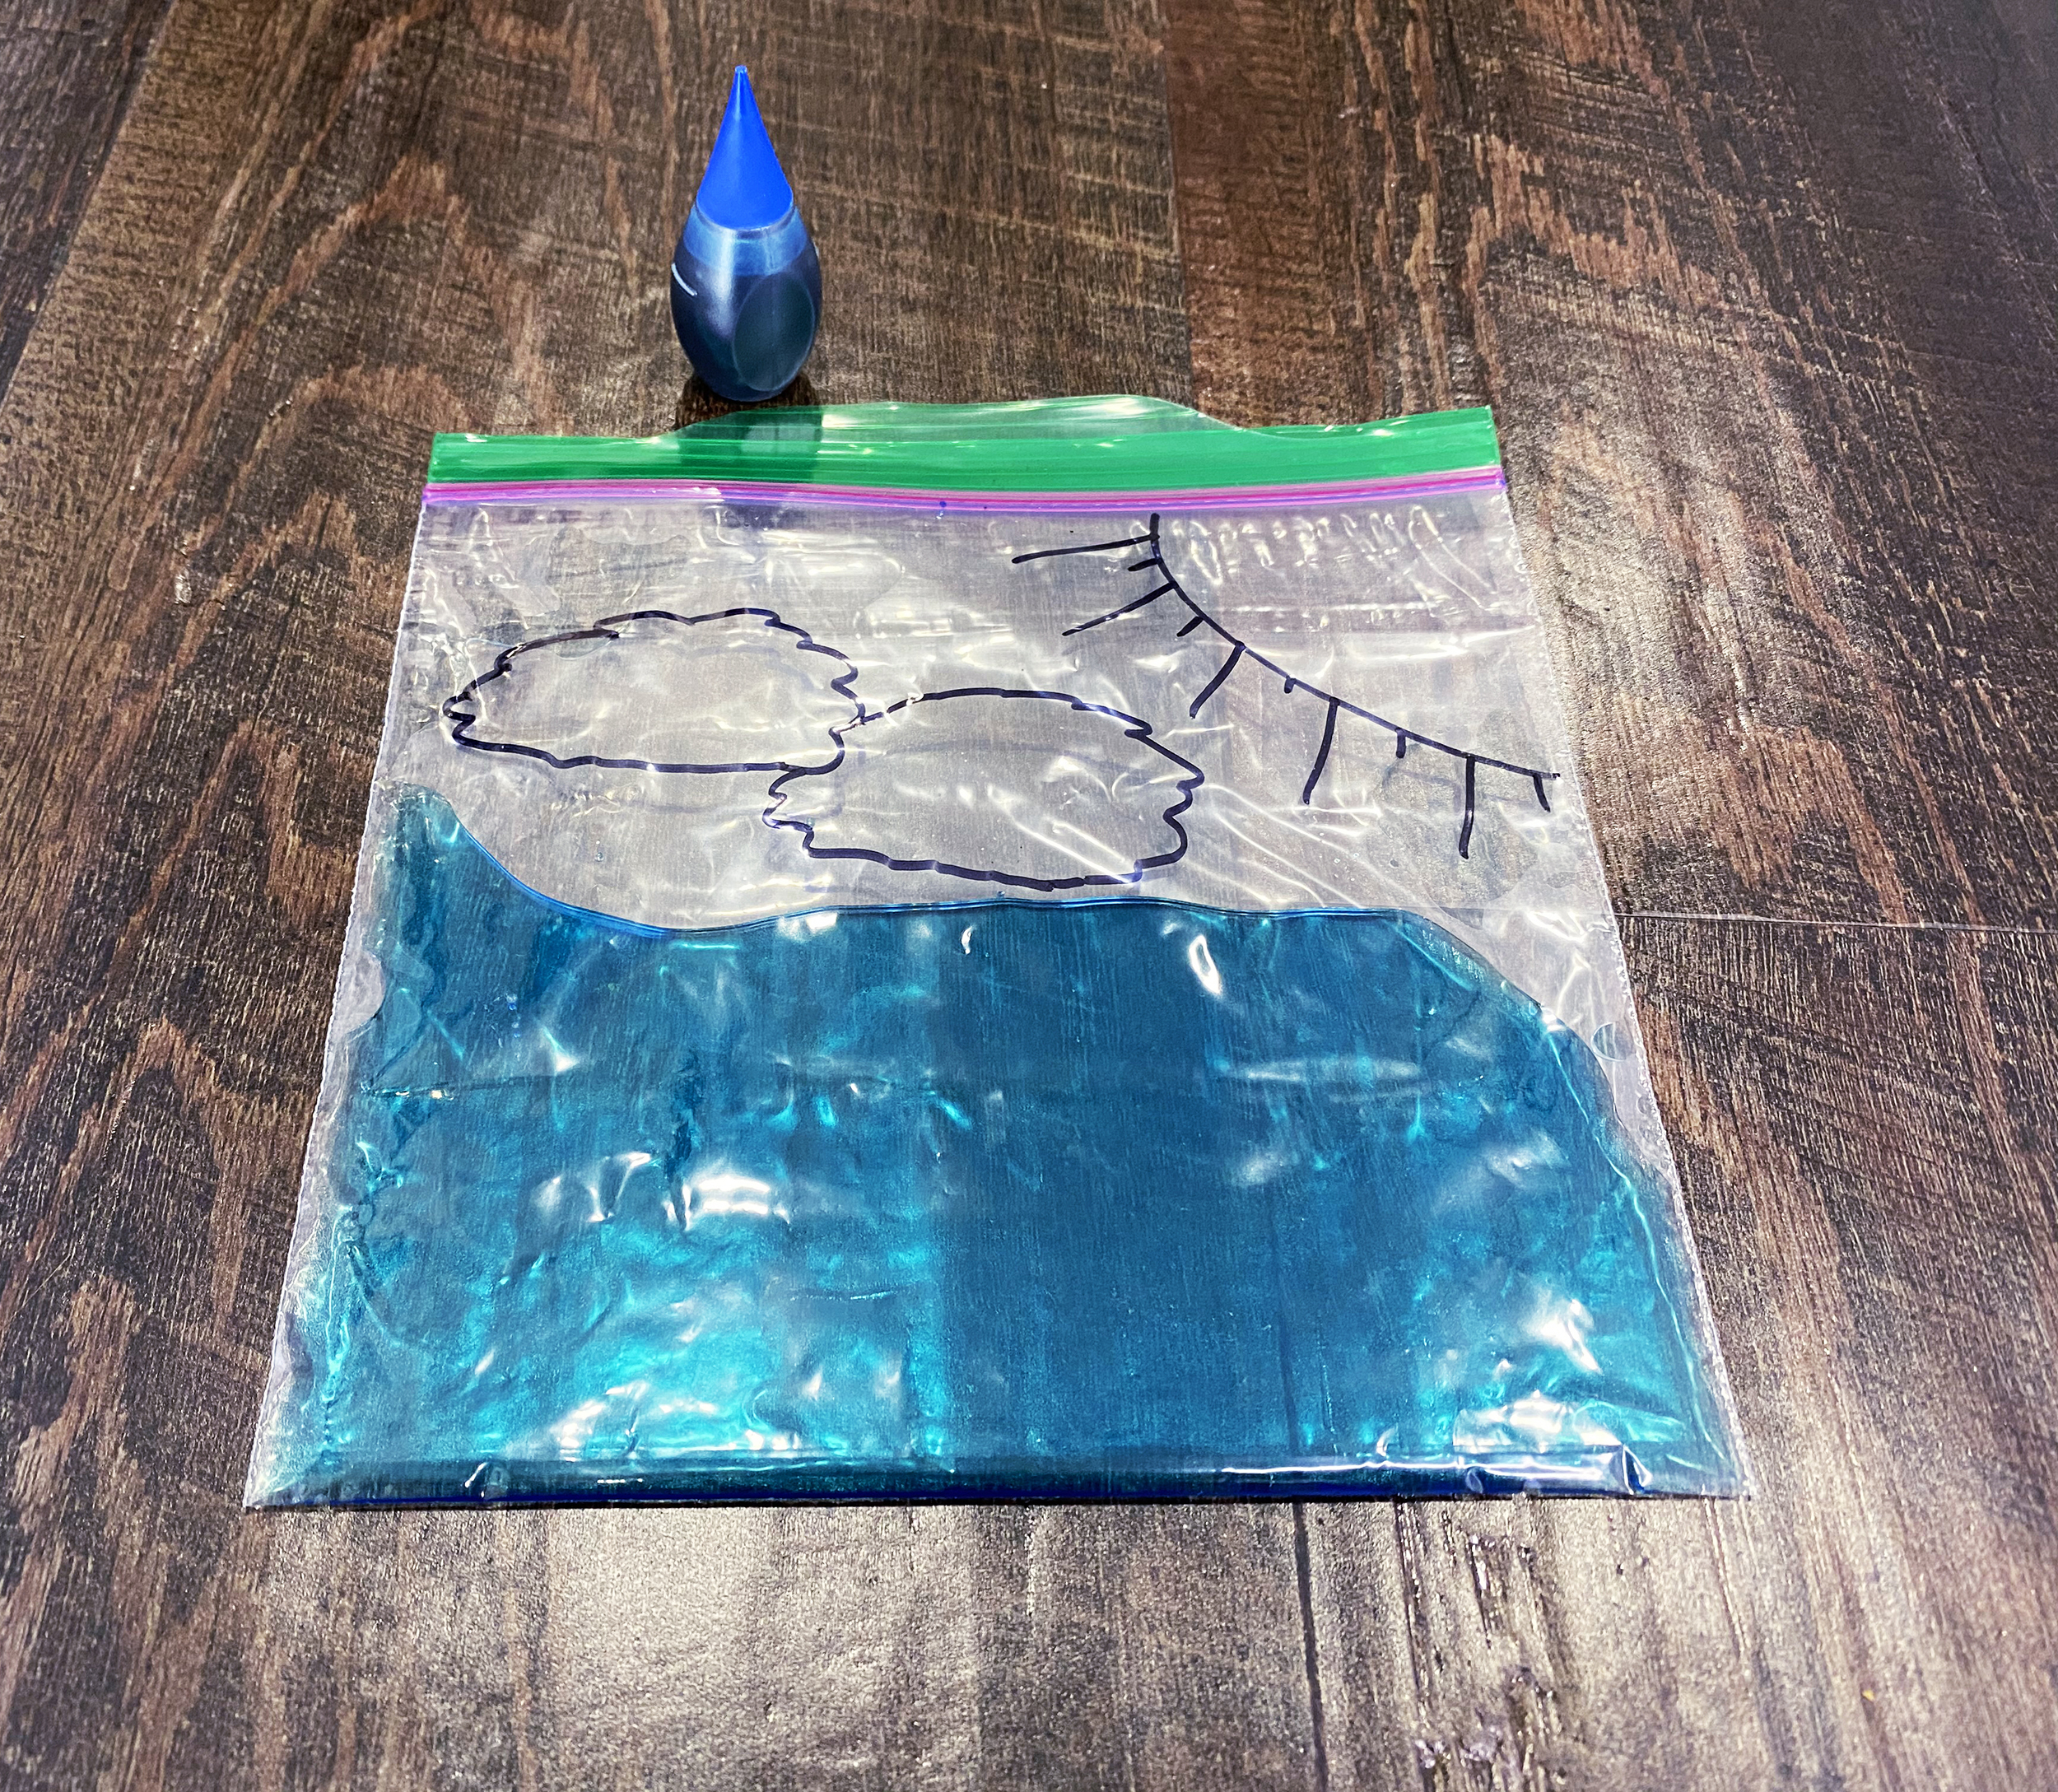
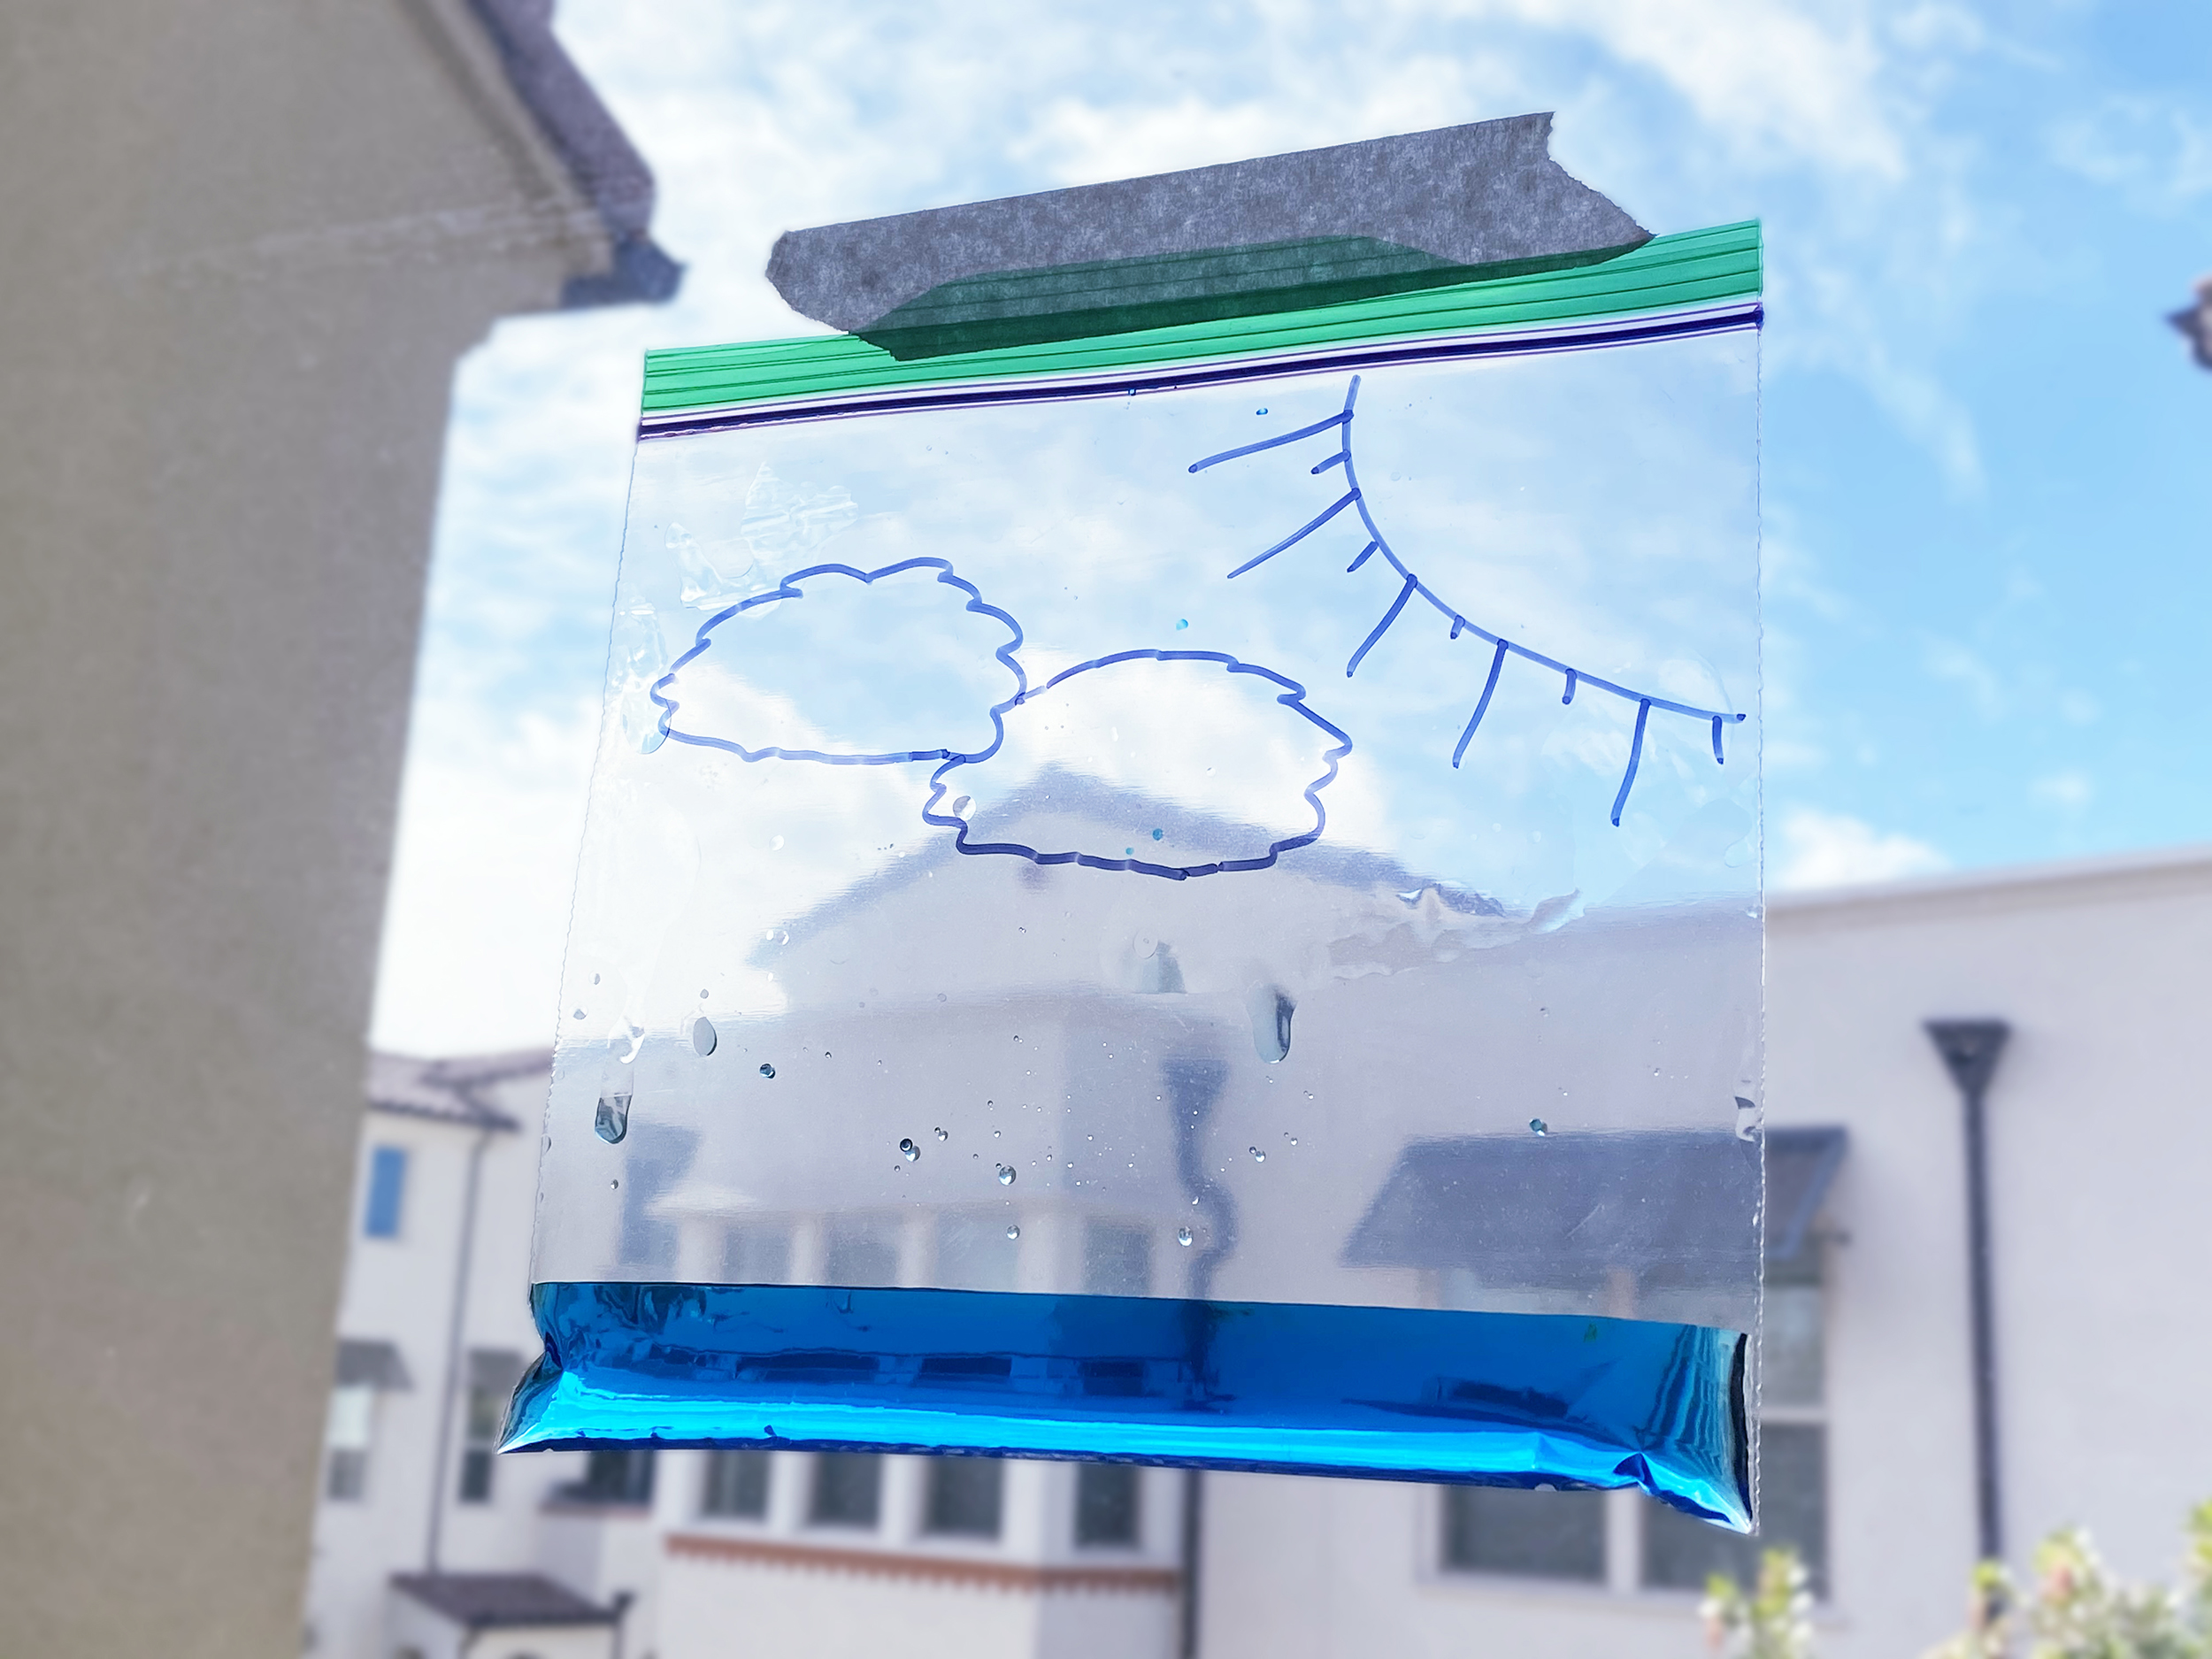
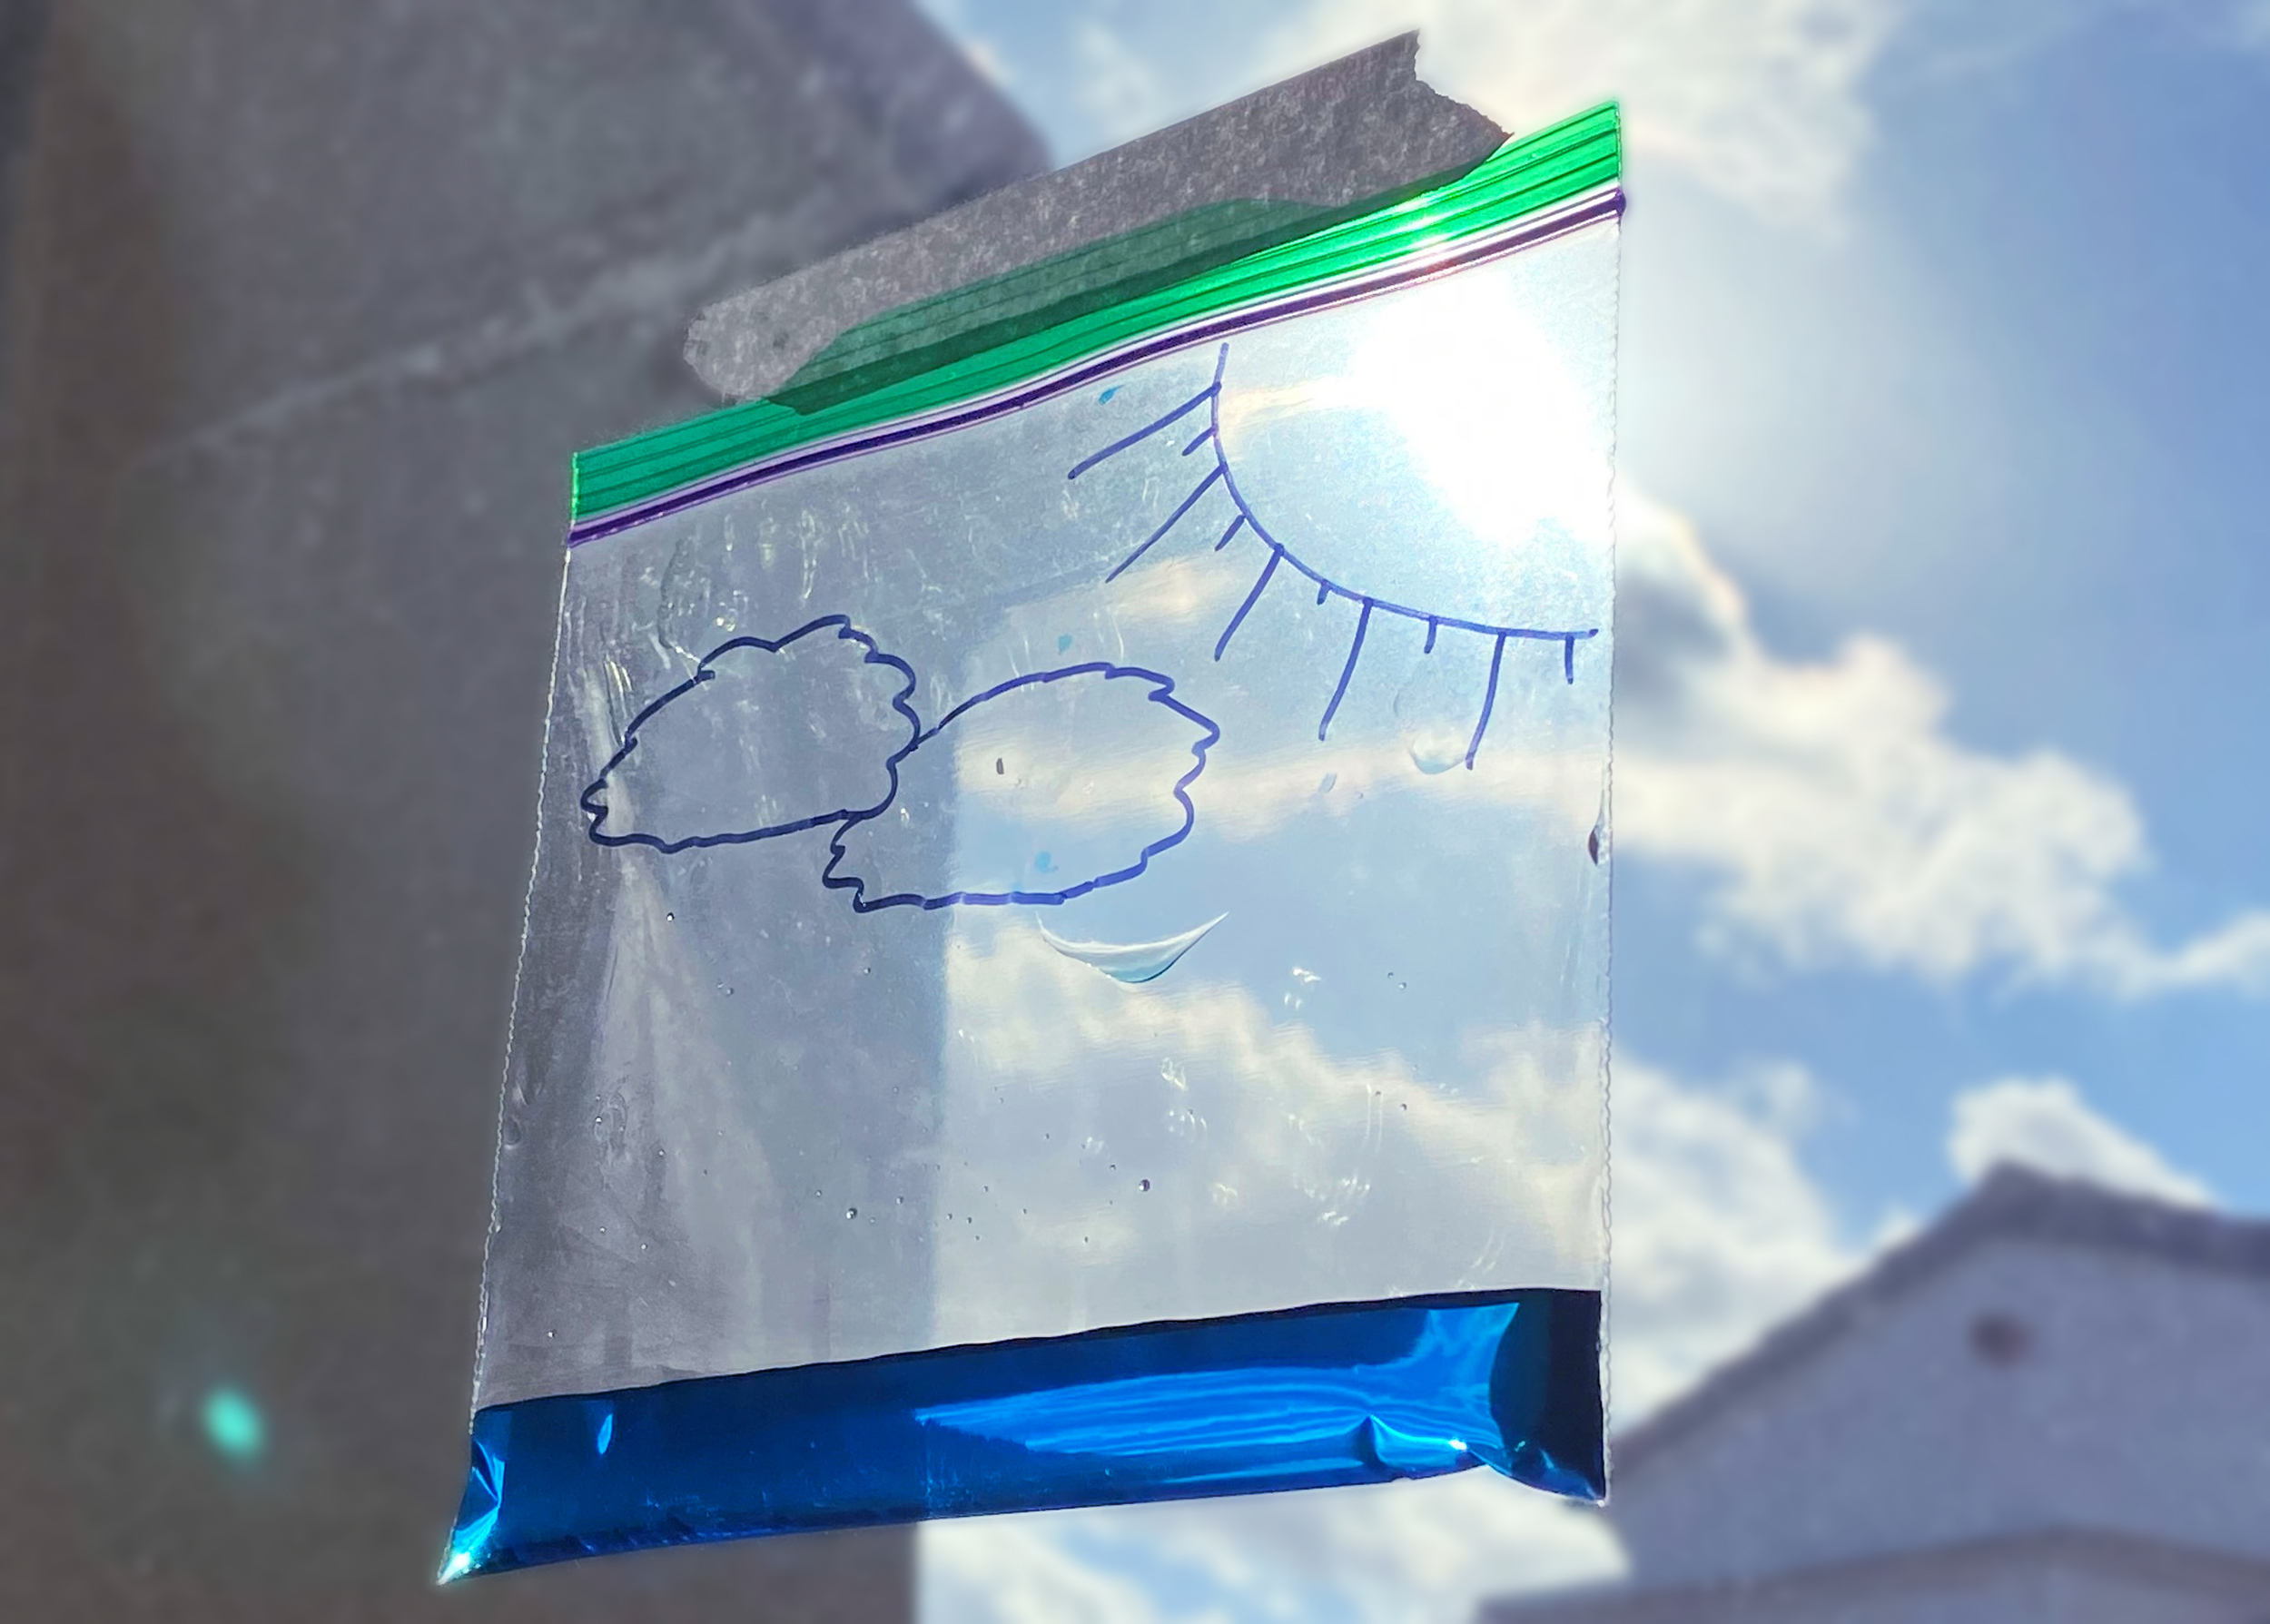
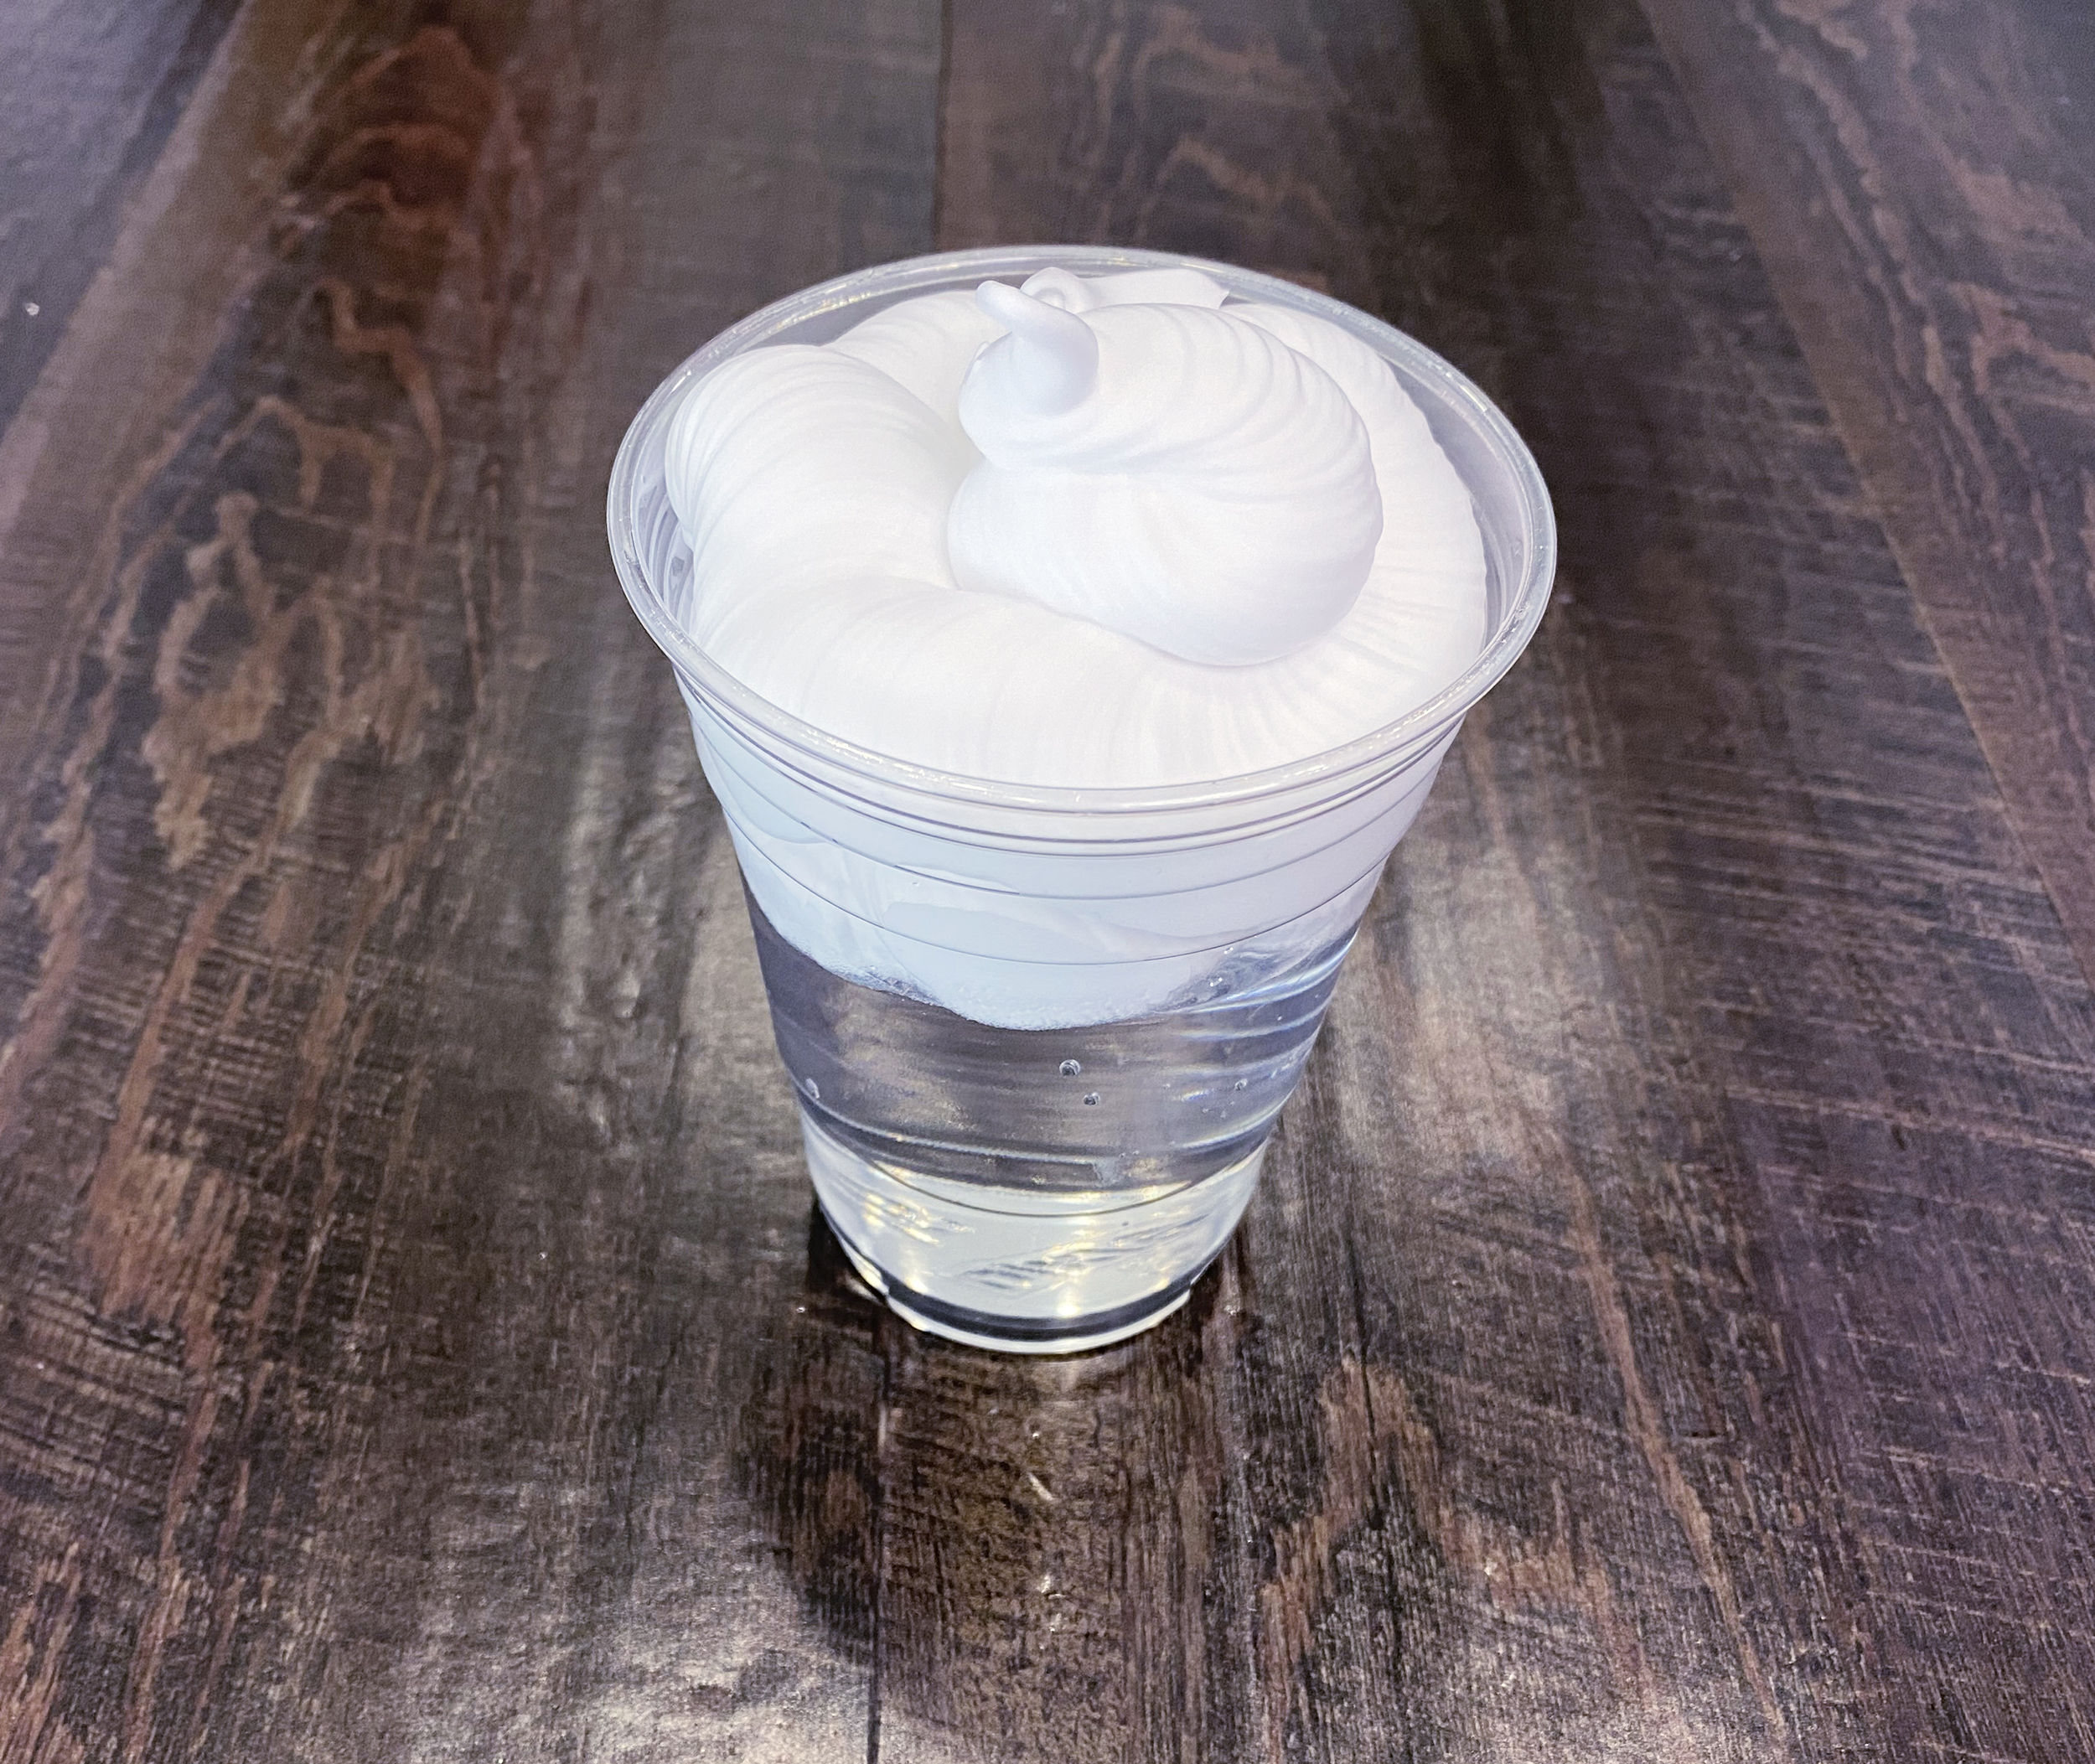
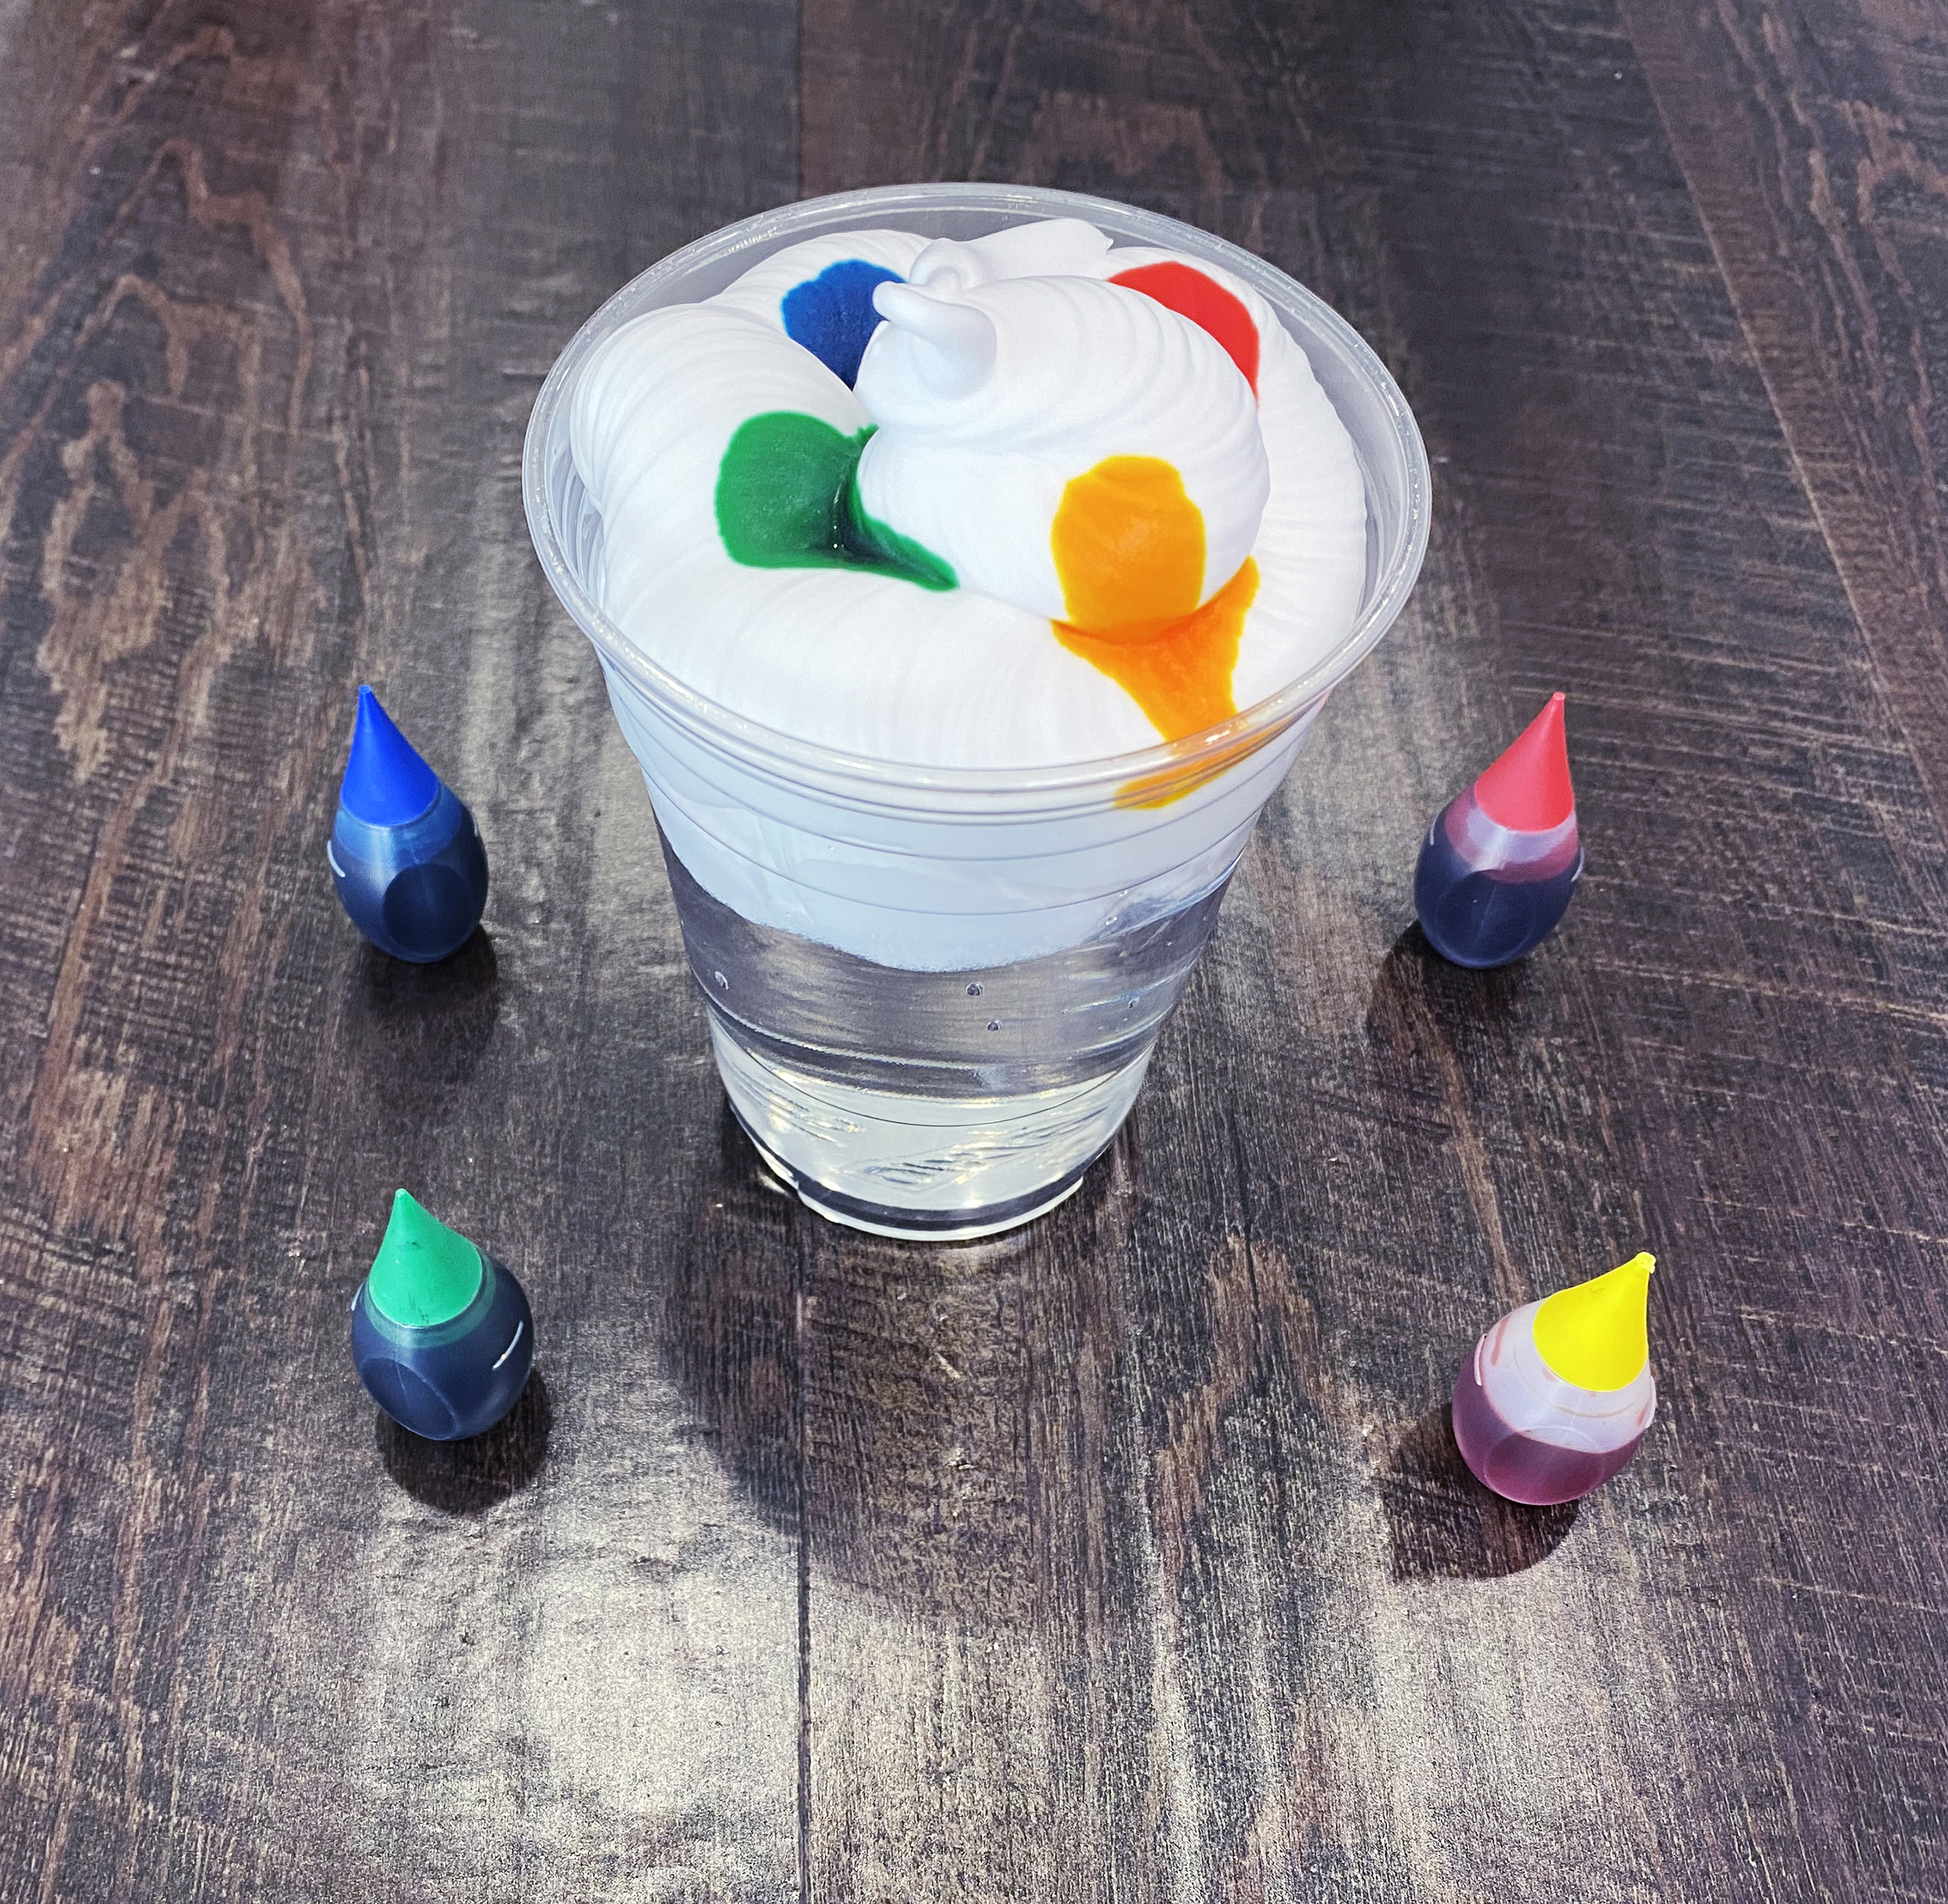
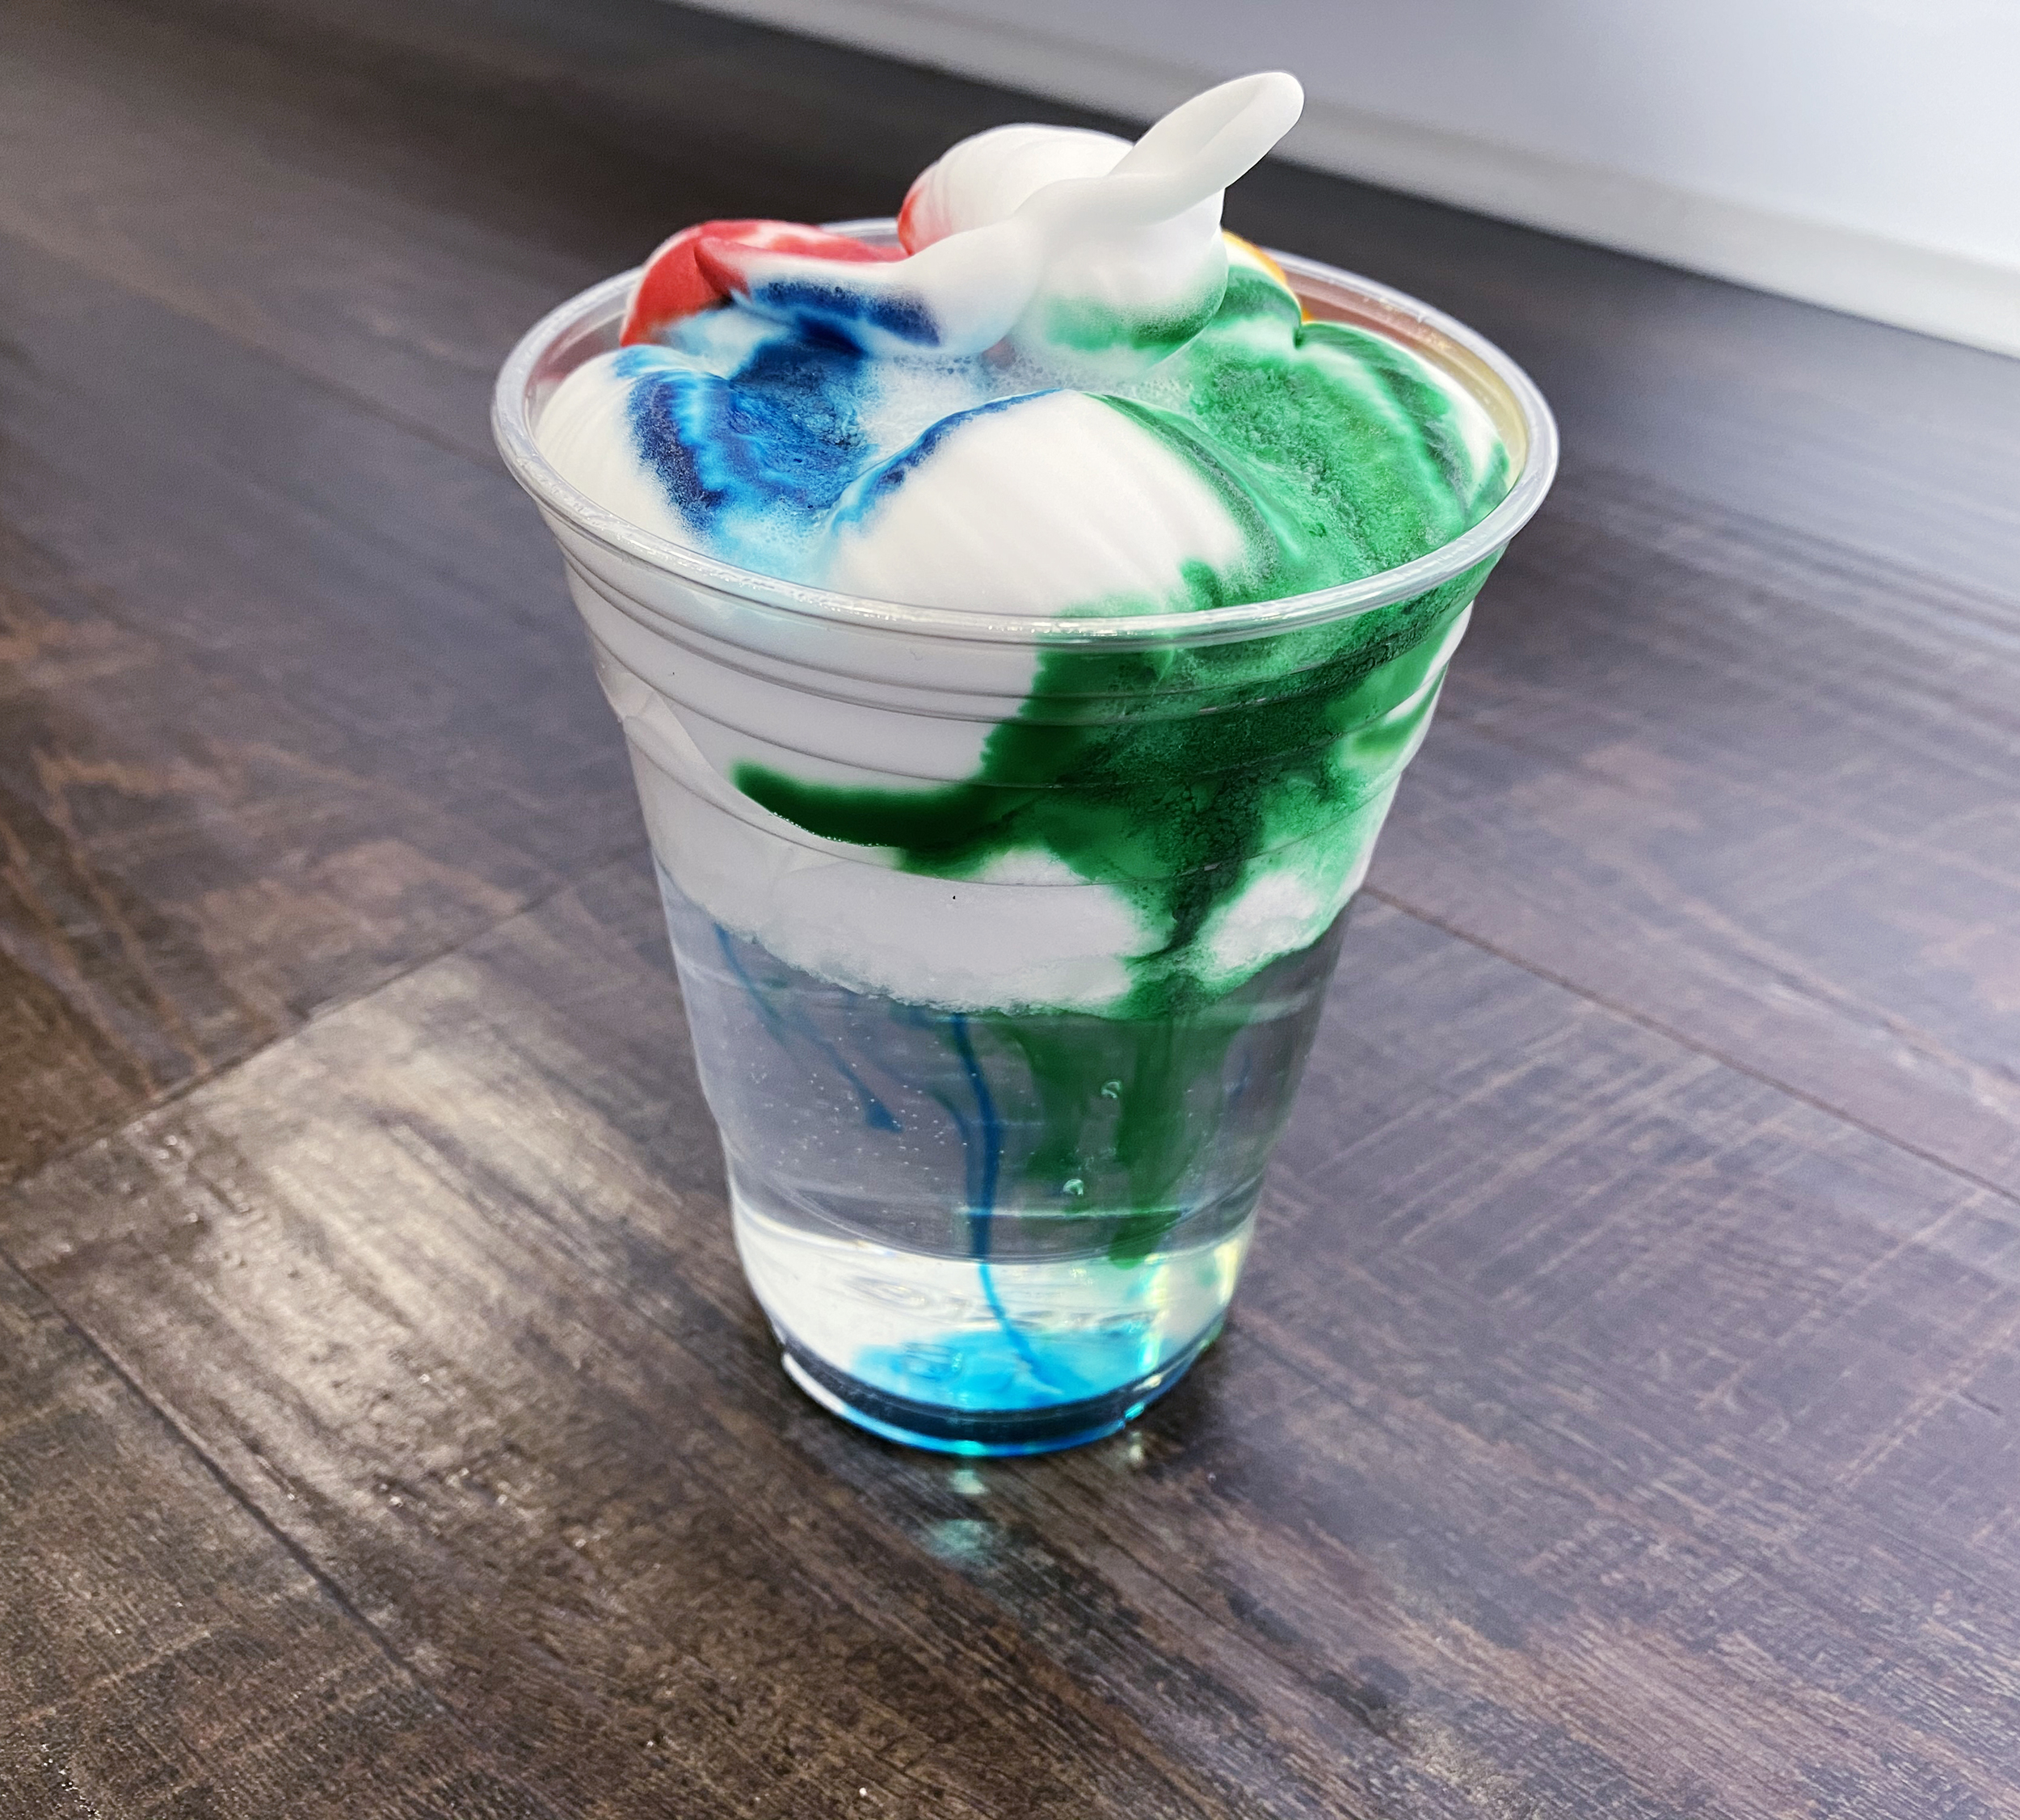
It can take thousands of years for one water molecule to move its way through the entire water cycle. Create your own mini-water cycle model at home!