Pour a small amount of thick bubble solution into the bottom of the can or onto the plate. If using the can, make sure it is upside down. You don’t need a lot of bubble solution to make this work!
 Tips & Tricks:

Take bubble fun to the next level by turning a regular soap bubble into a frozen bubble! All you need is bubble solution, a plate, and a freezer. This activity is fun for all ages.
Lleva la diversión de las burbujas a otro nivel a través de la congelación de una burbuja. Lo único que necesitas es solución para hacer burbujas, y un congelador. Este vídeo es divertido para todas las edades.
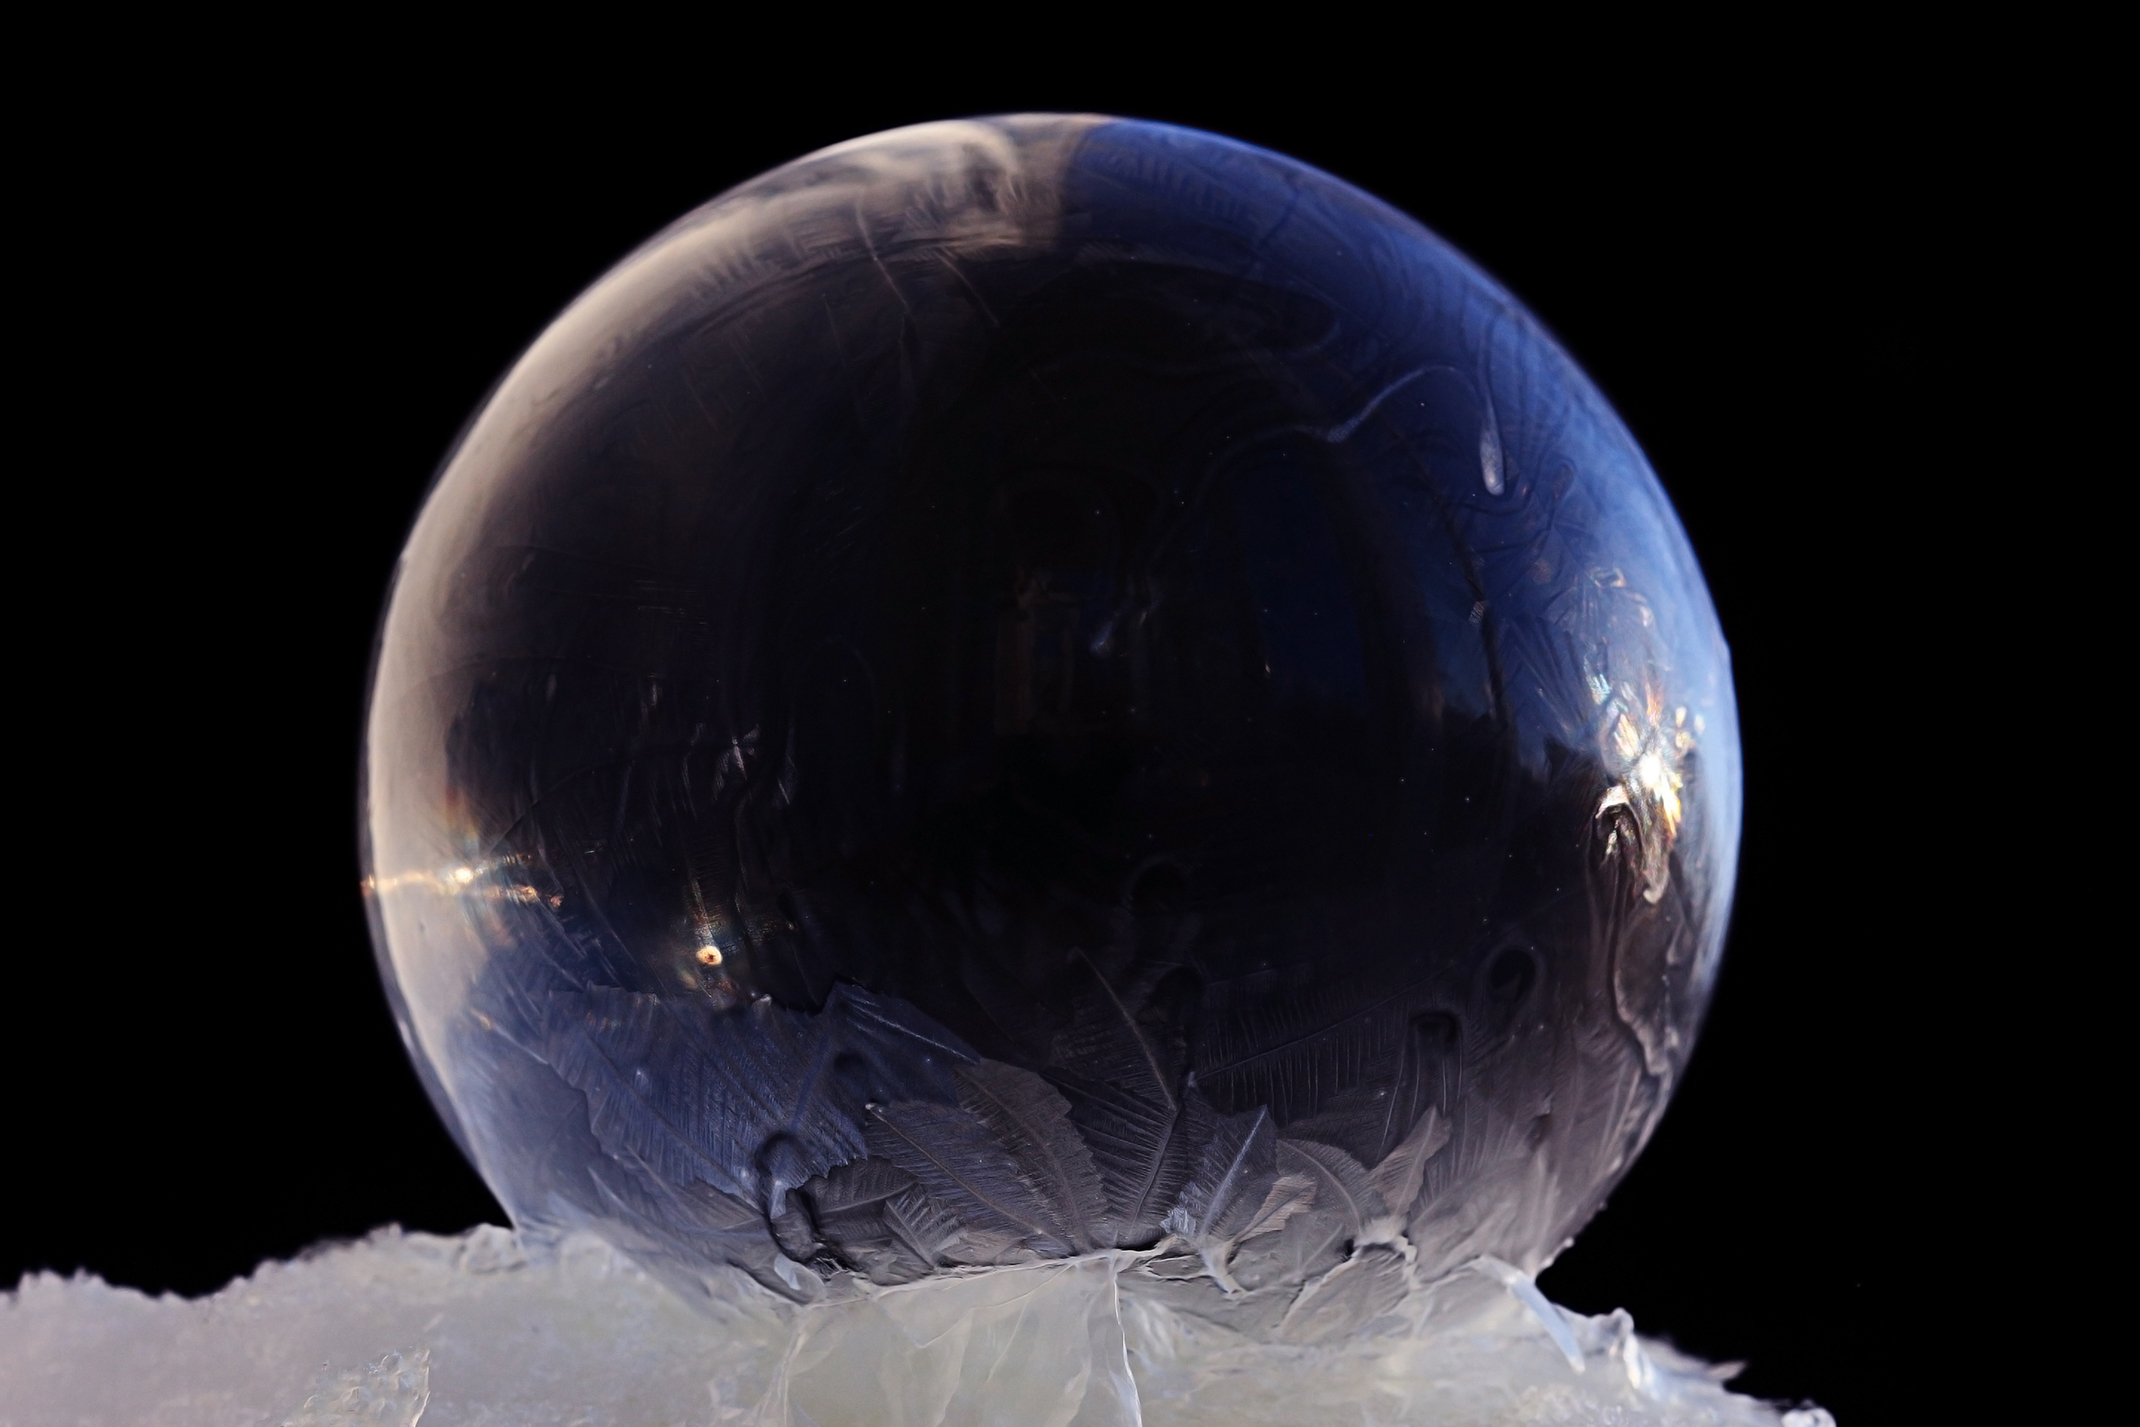
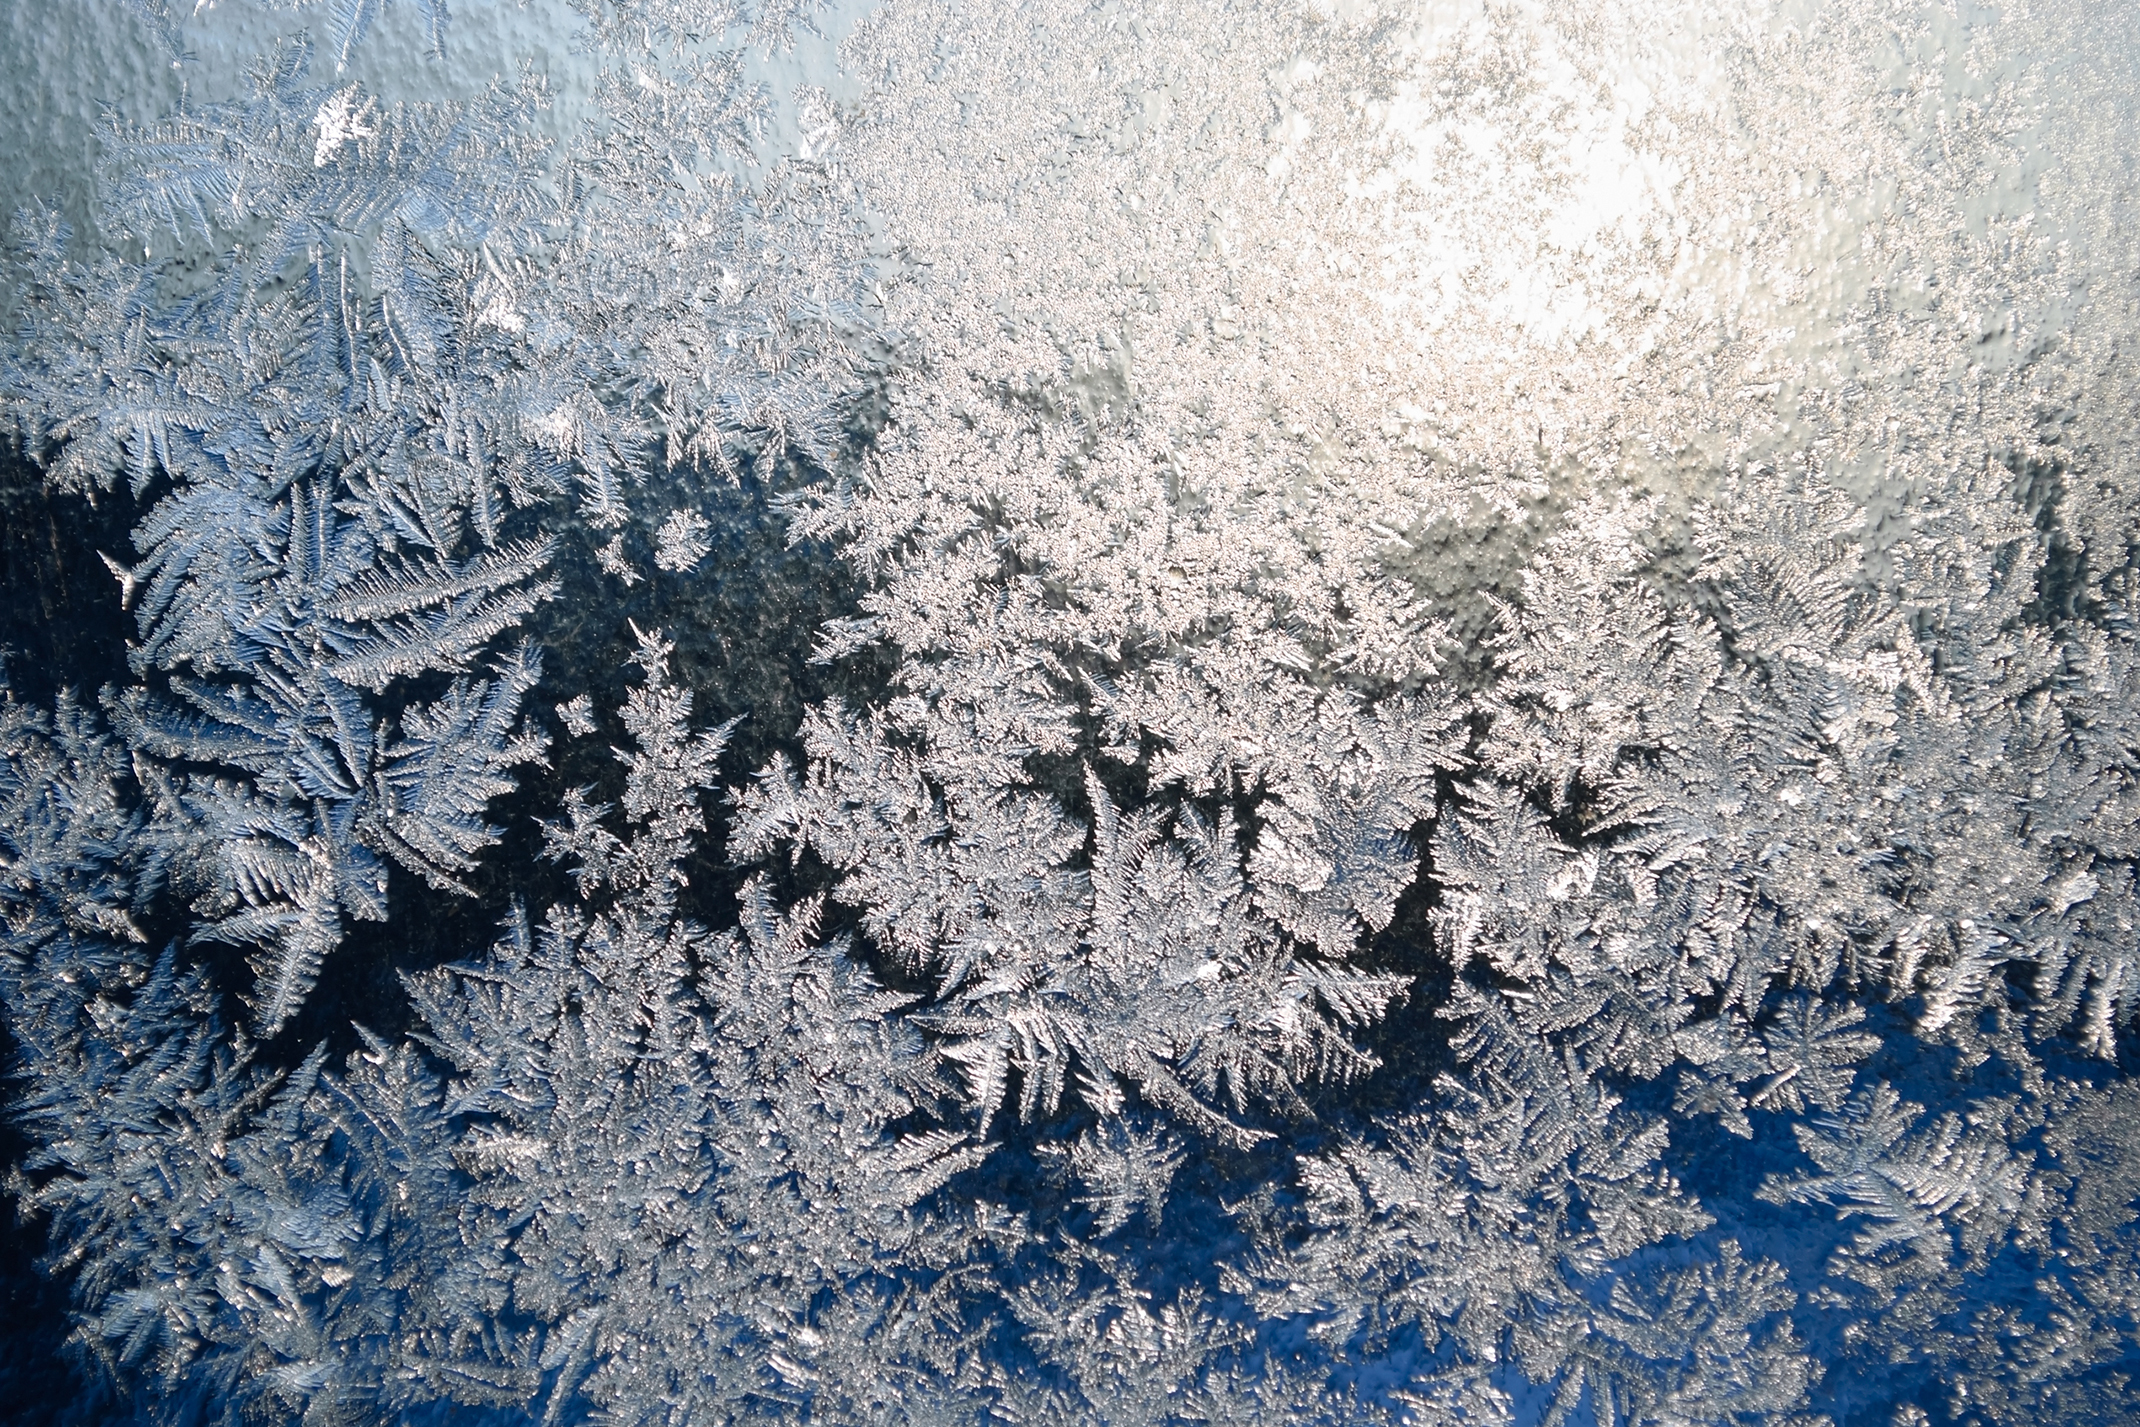
Every bubble is made of three individual layers: a thin layer of water molecules squished between two layers of soap. When the water in a bubble freezes, you can see ice crystals frozen into the shape of a bubble.
Pour a small amount of thick bubble solution into the bottom of the can or onto the plate. If using the can, make sure it is upside down. You don’t need a lot of bubble solution to make this work!
Tips & Tricks:
Use the straw to slowly blow a large bubble, making sure the bottom of the straw is touching the bottom of the can or plate as you blow. Gently remove the straw, making sure you don’t pop your fragile bubble.
Tips & Tricks:
Carefully move the bubble to the freezer. Let it cool for 1-3 minutes.
Tips & Tricks:
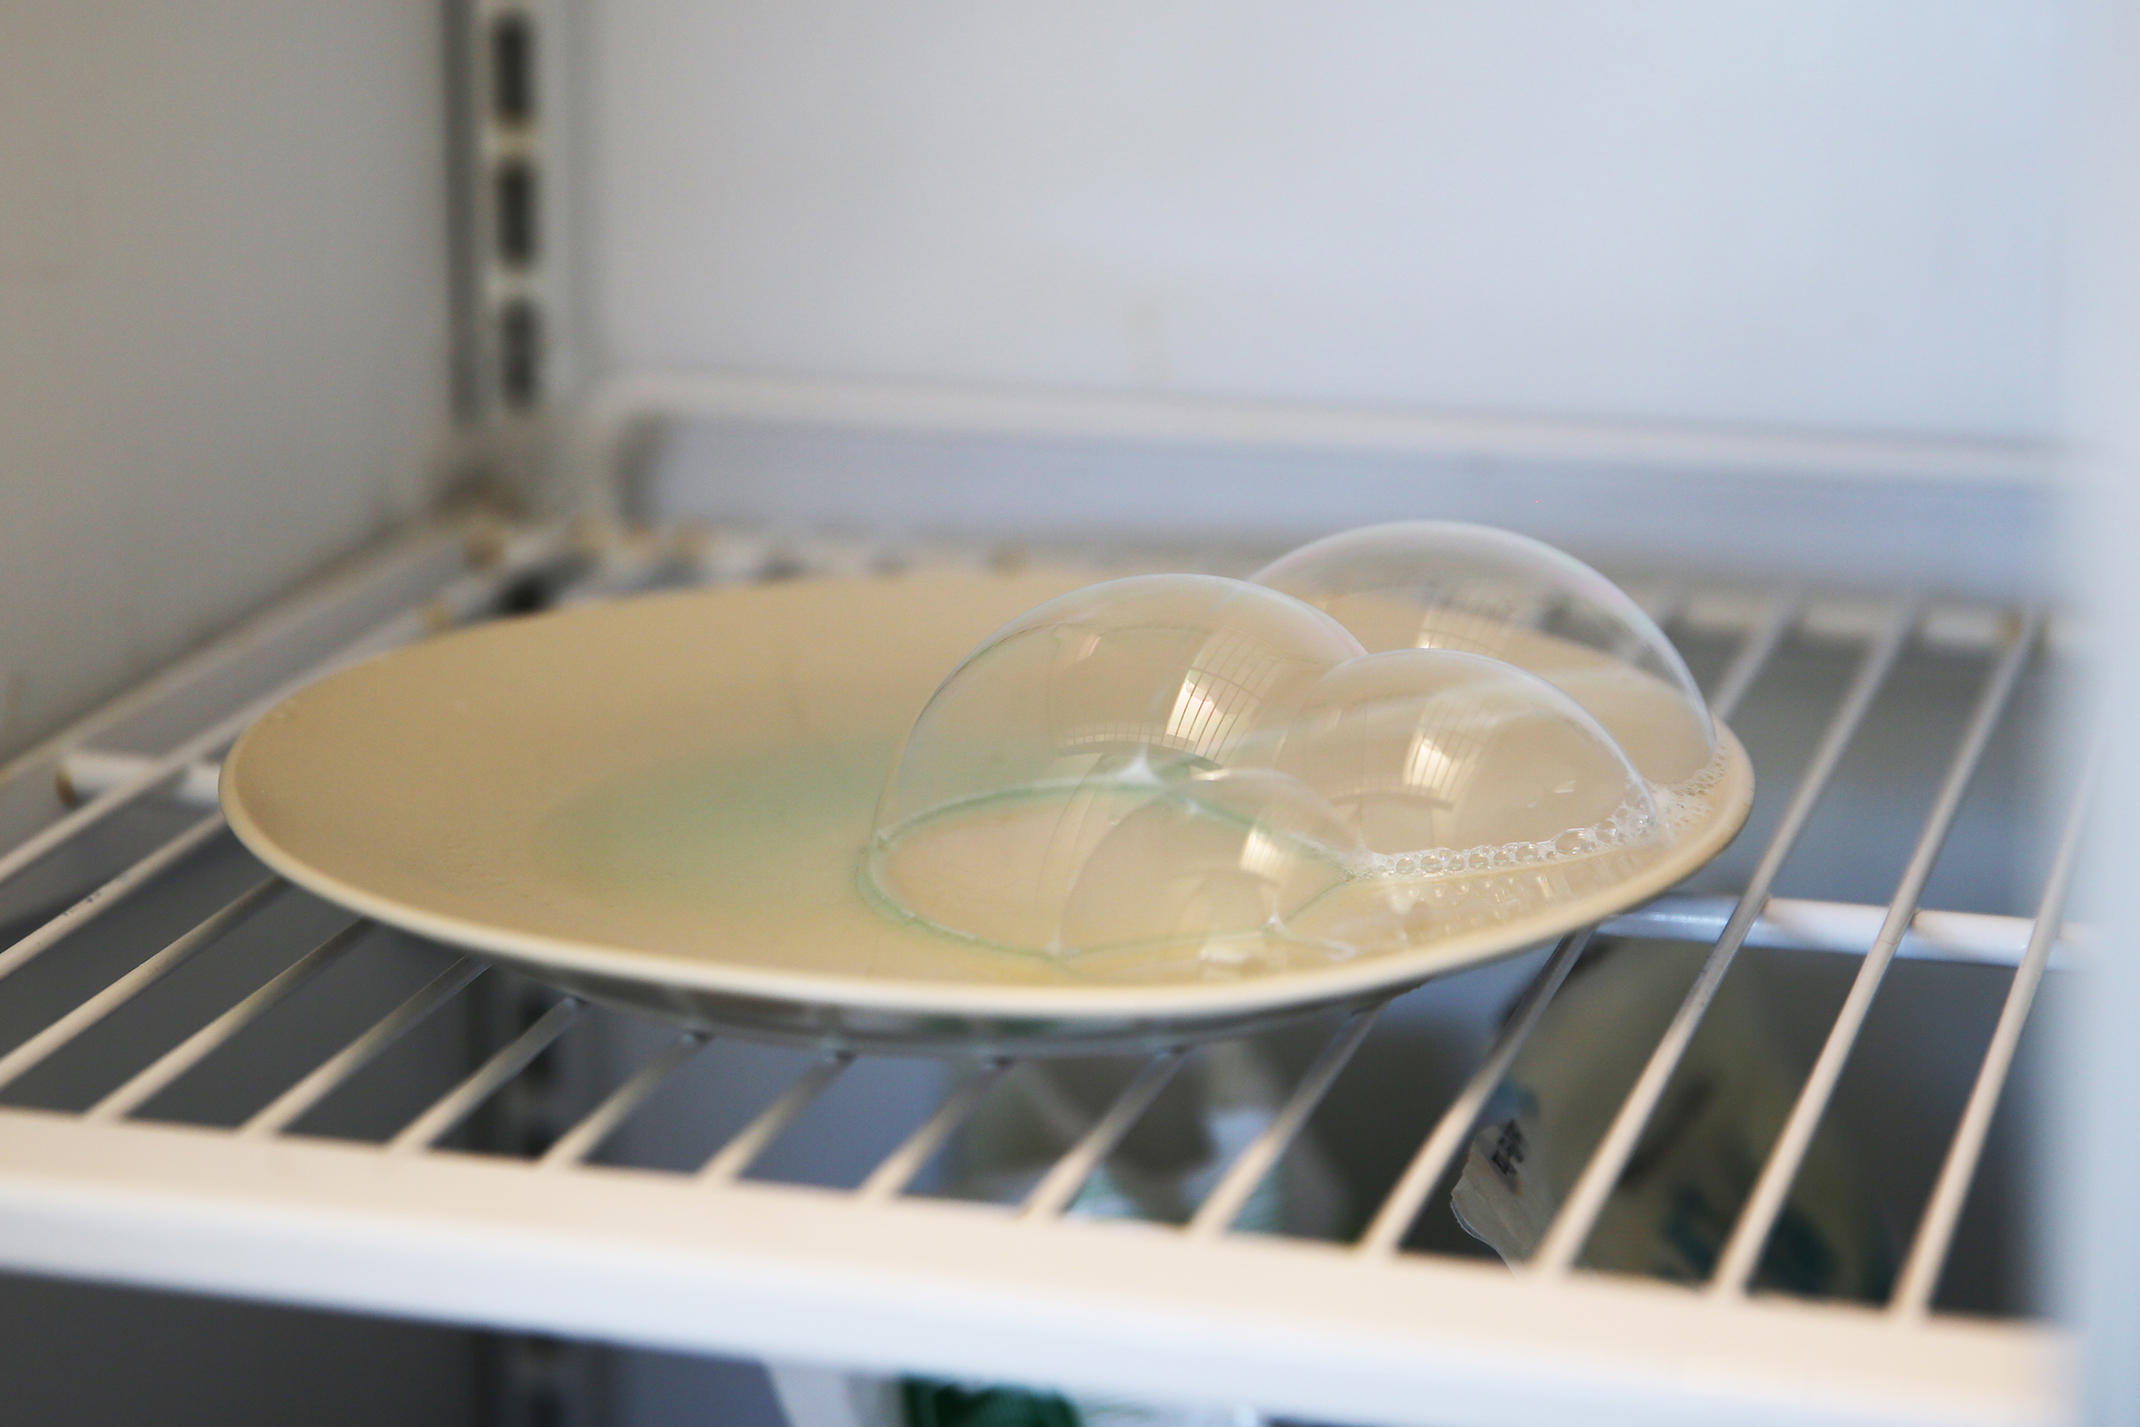
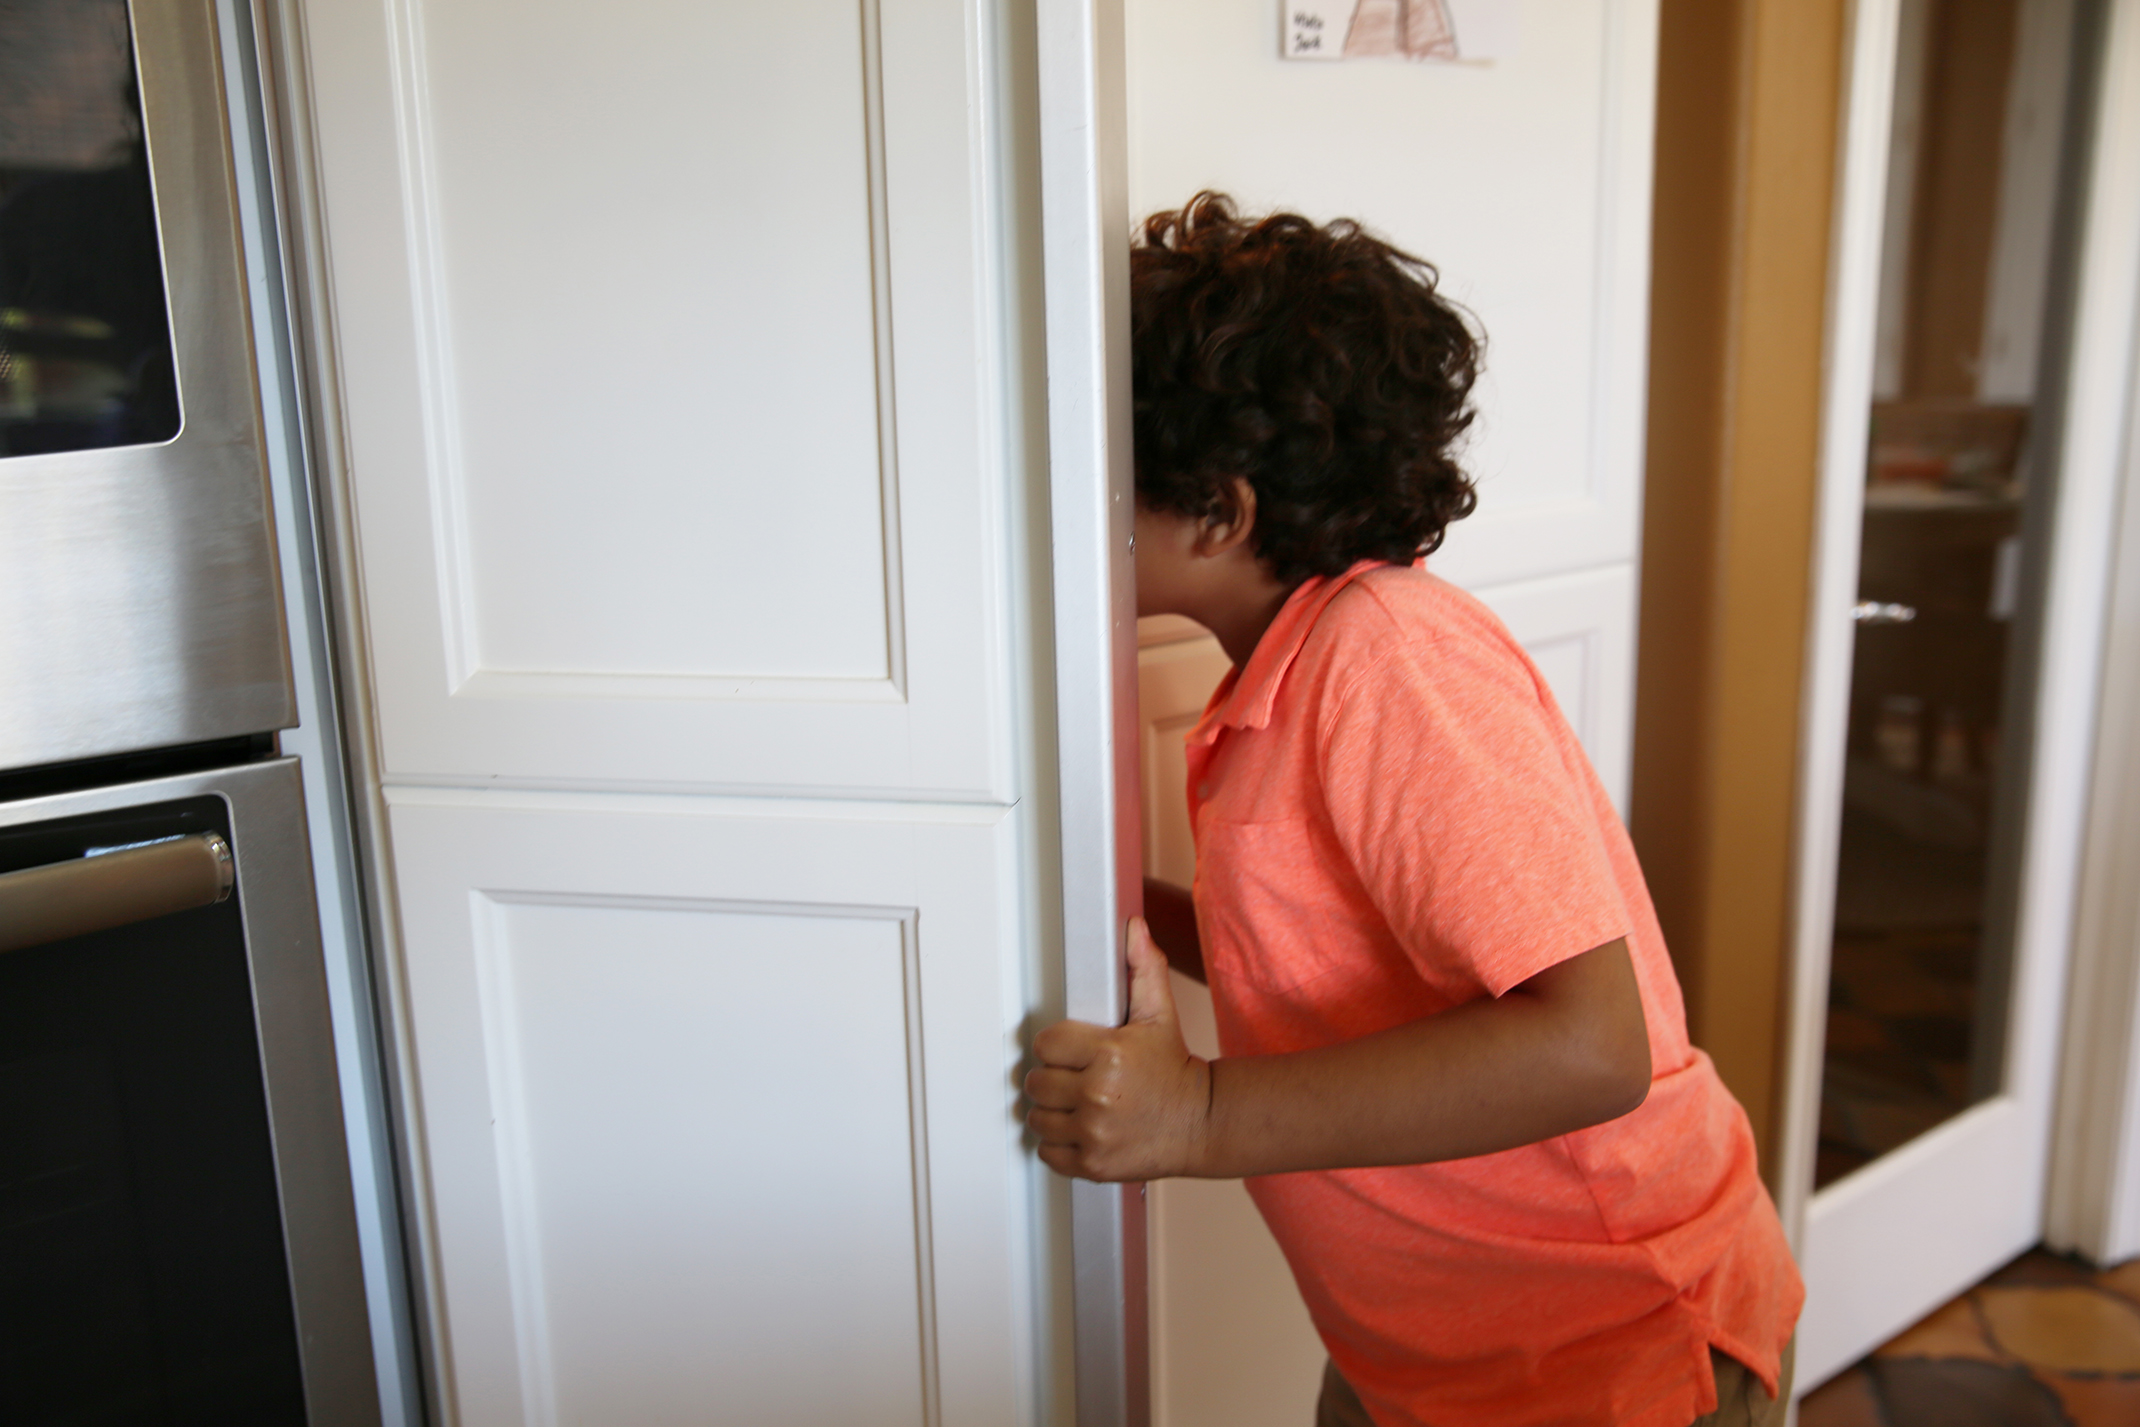
Open the freezer door very slowly. Is your bubble still colorful or has it taken on a dull appearance? If it’s still colorful, it hasn’t frozen yet. Slowly close the door and wait a little longer.
 Fun Fact:
If you can, carefully take your bubble out of the freezer. Bubbles are very thin so on a warm day, they can go back to room temperature and melt very quickly, or even pop! A popped frozen bubble is still fun to observe.
Fun Fact:
Repeat this process as many times as you like. How many different types of ice crystals can you see?
Fun Fact:
If you are in a cold climate, you can make frozen bubbles outside! Just go outside when the temperature is below freezing, and blow bubbles onto a wet surface. You will be able to see the ice crystals form right before your eyes!