Open Main Menu
Engineer an Aqueduct

Engineer an Aqueduct

Put your engineer cap on as you design, build, and test your own aqueduct maze to learn how we transport water.

Part of our Sustainability Science Adventures

Go With the Flow

Educator Rating:
0
Parent Rating:
0

What I'll Learn

Engineers build aqueducts to bring clean, fresh water from places where it rains or snows to places where people live in more arid environments, like Southern California.

What to Do

What I Need

What to Do: Step-by-Step Instructions

1

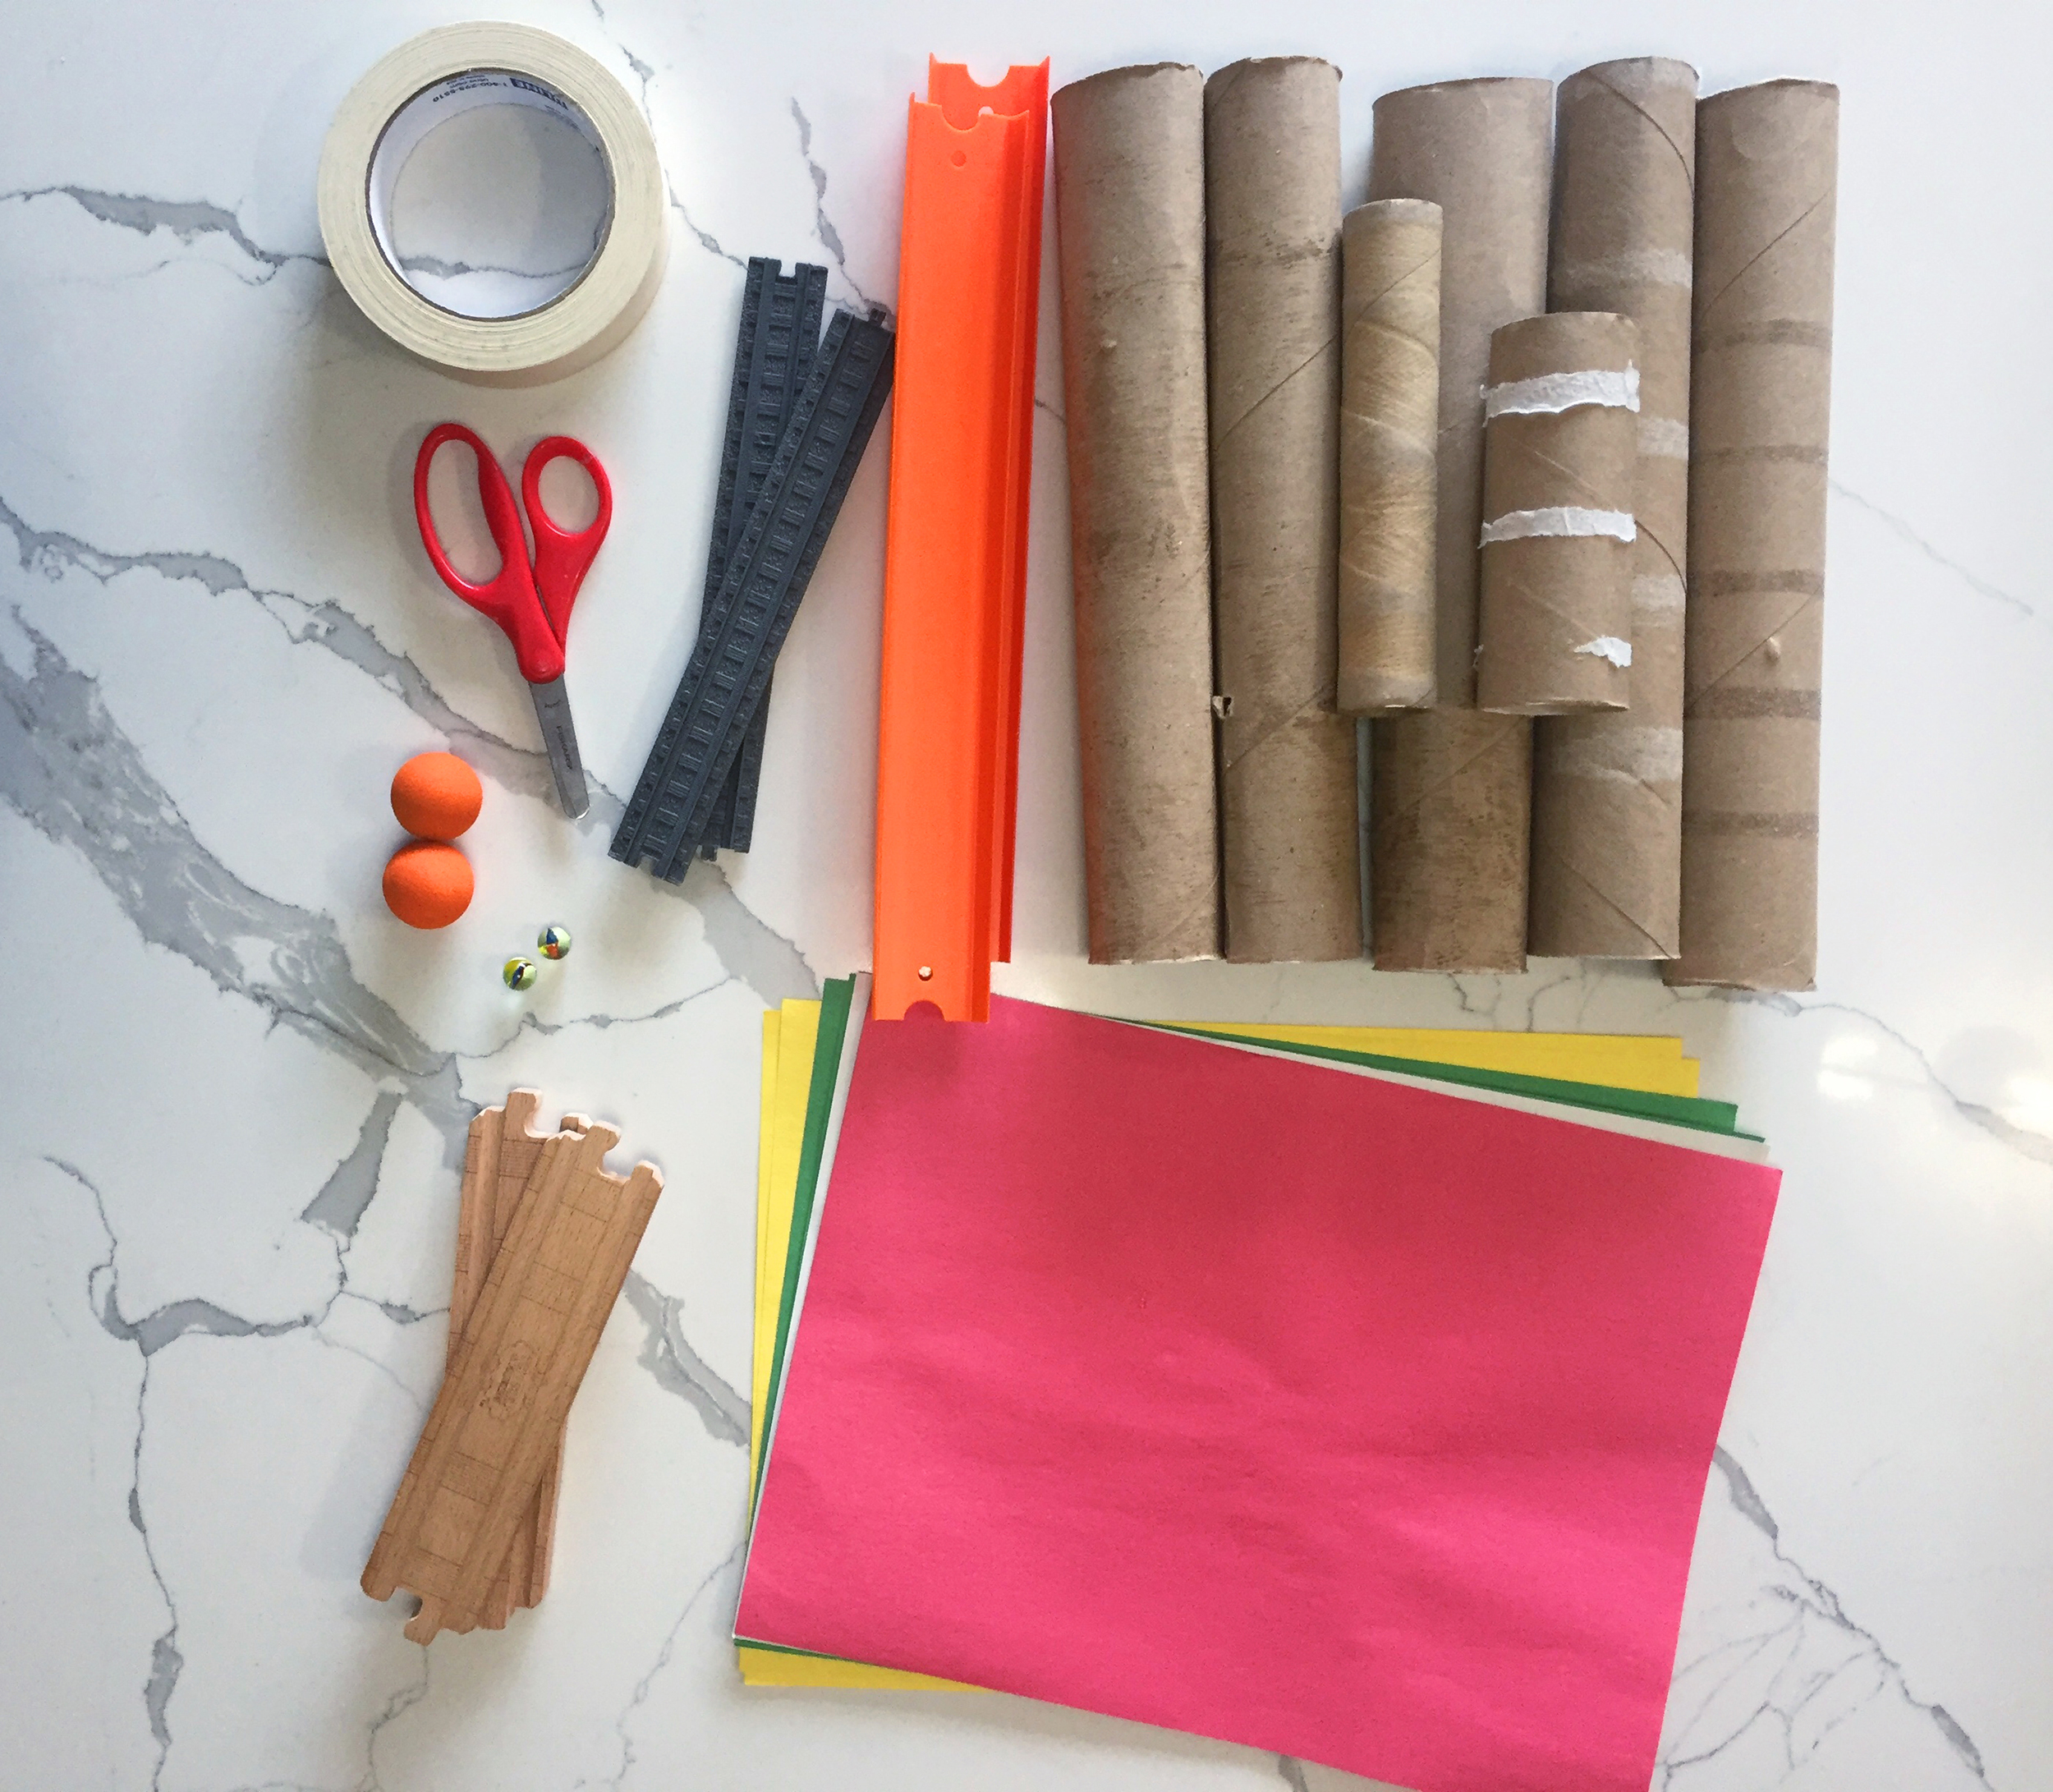
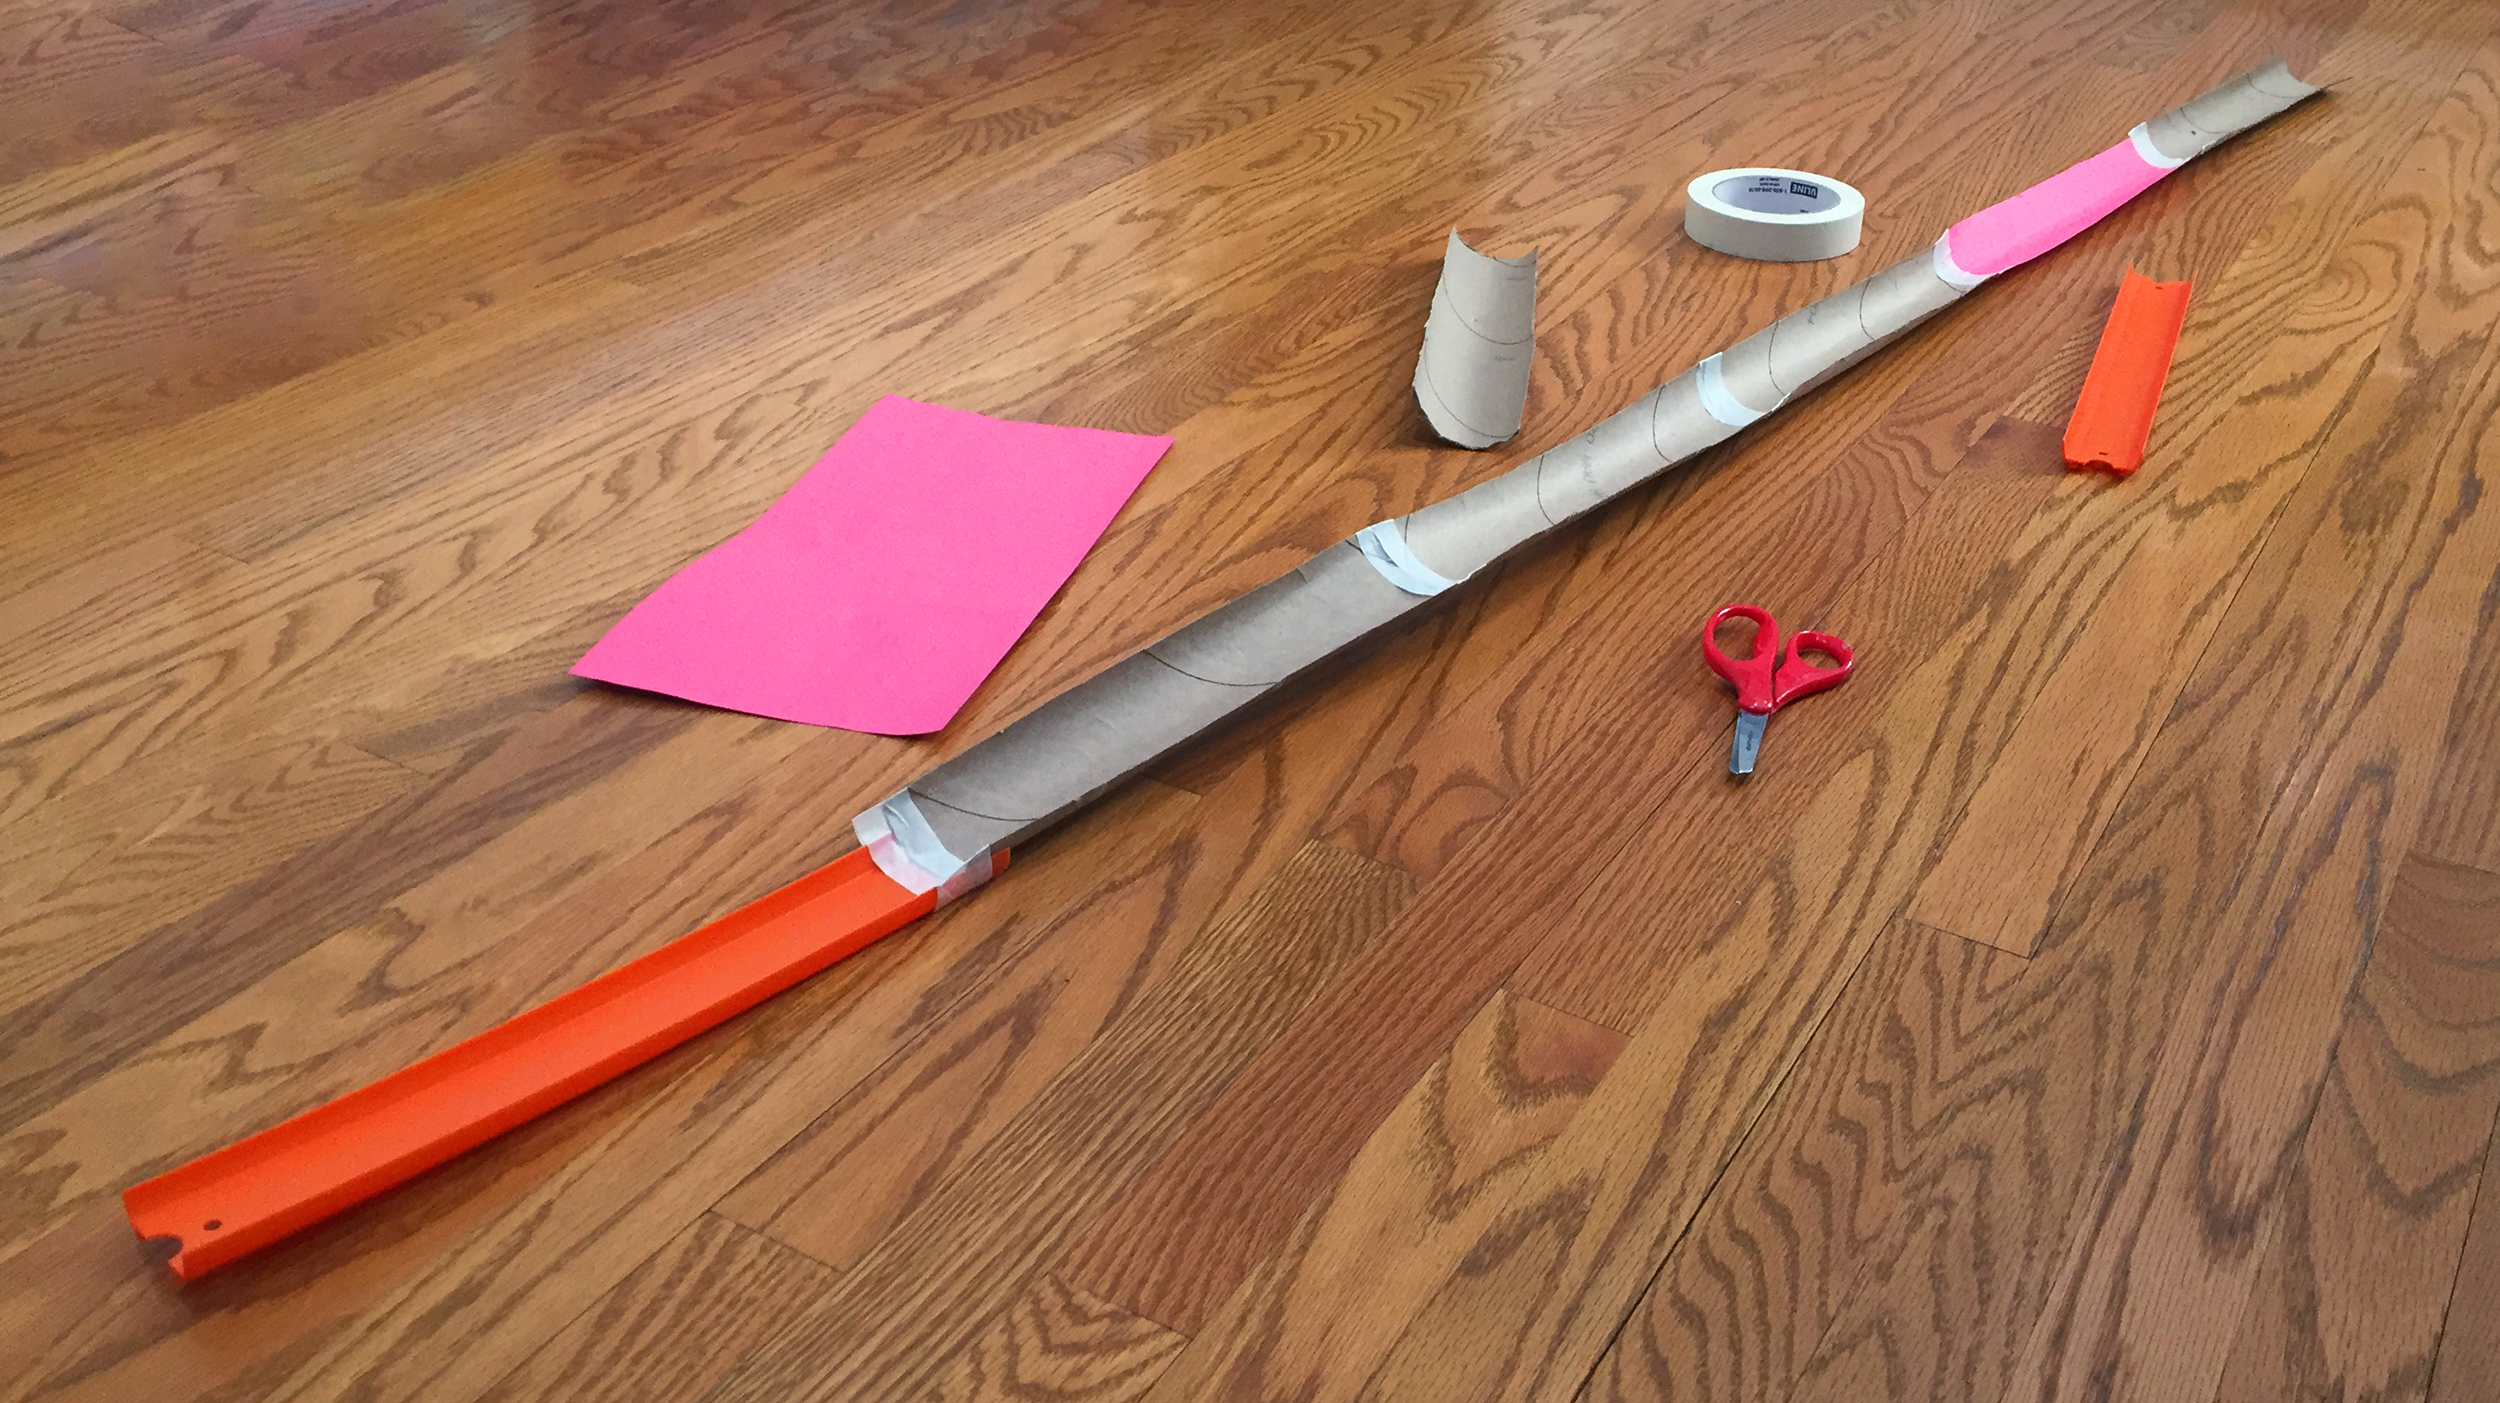
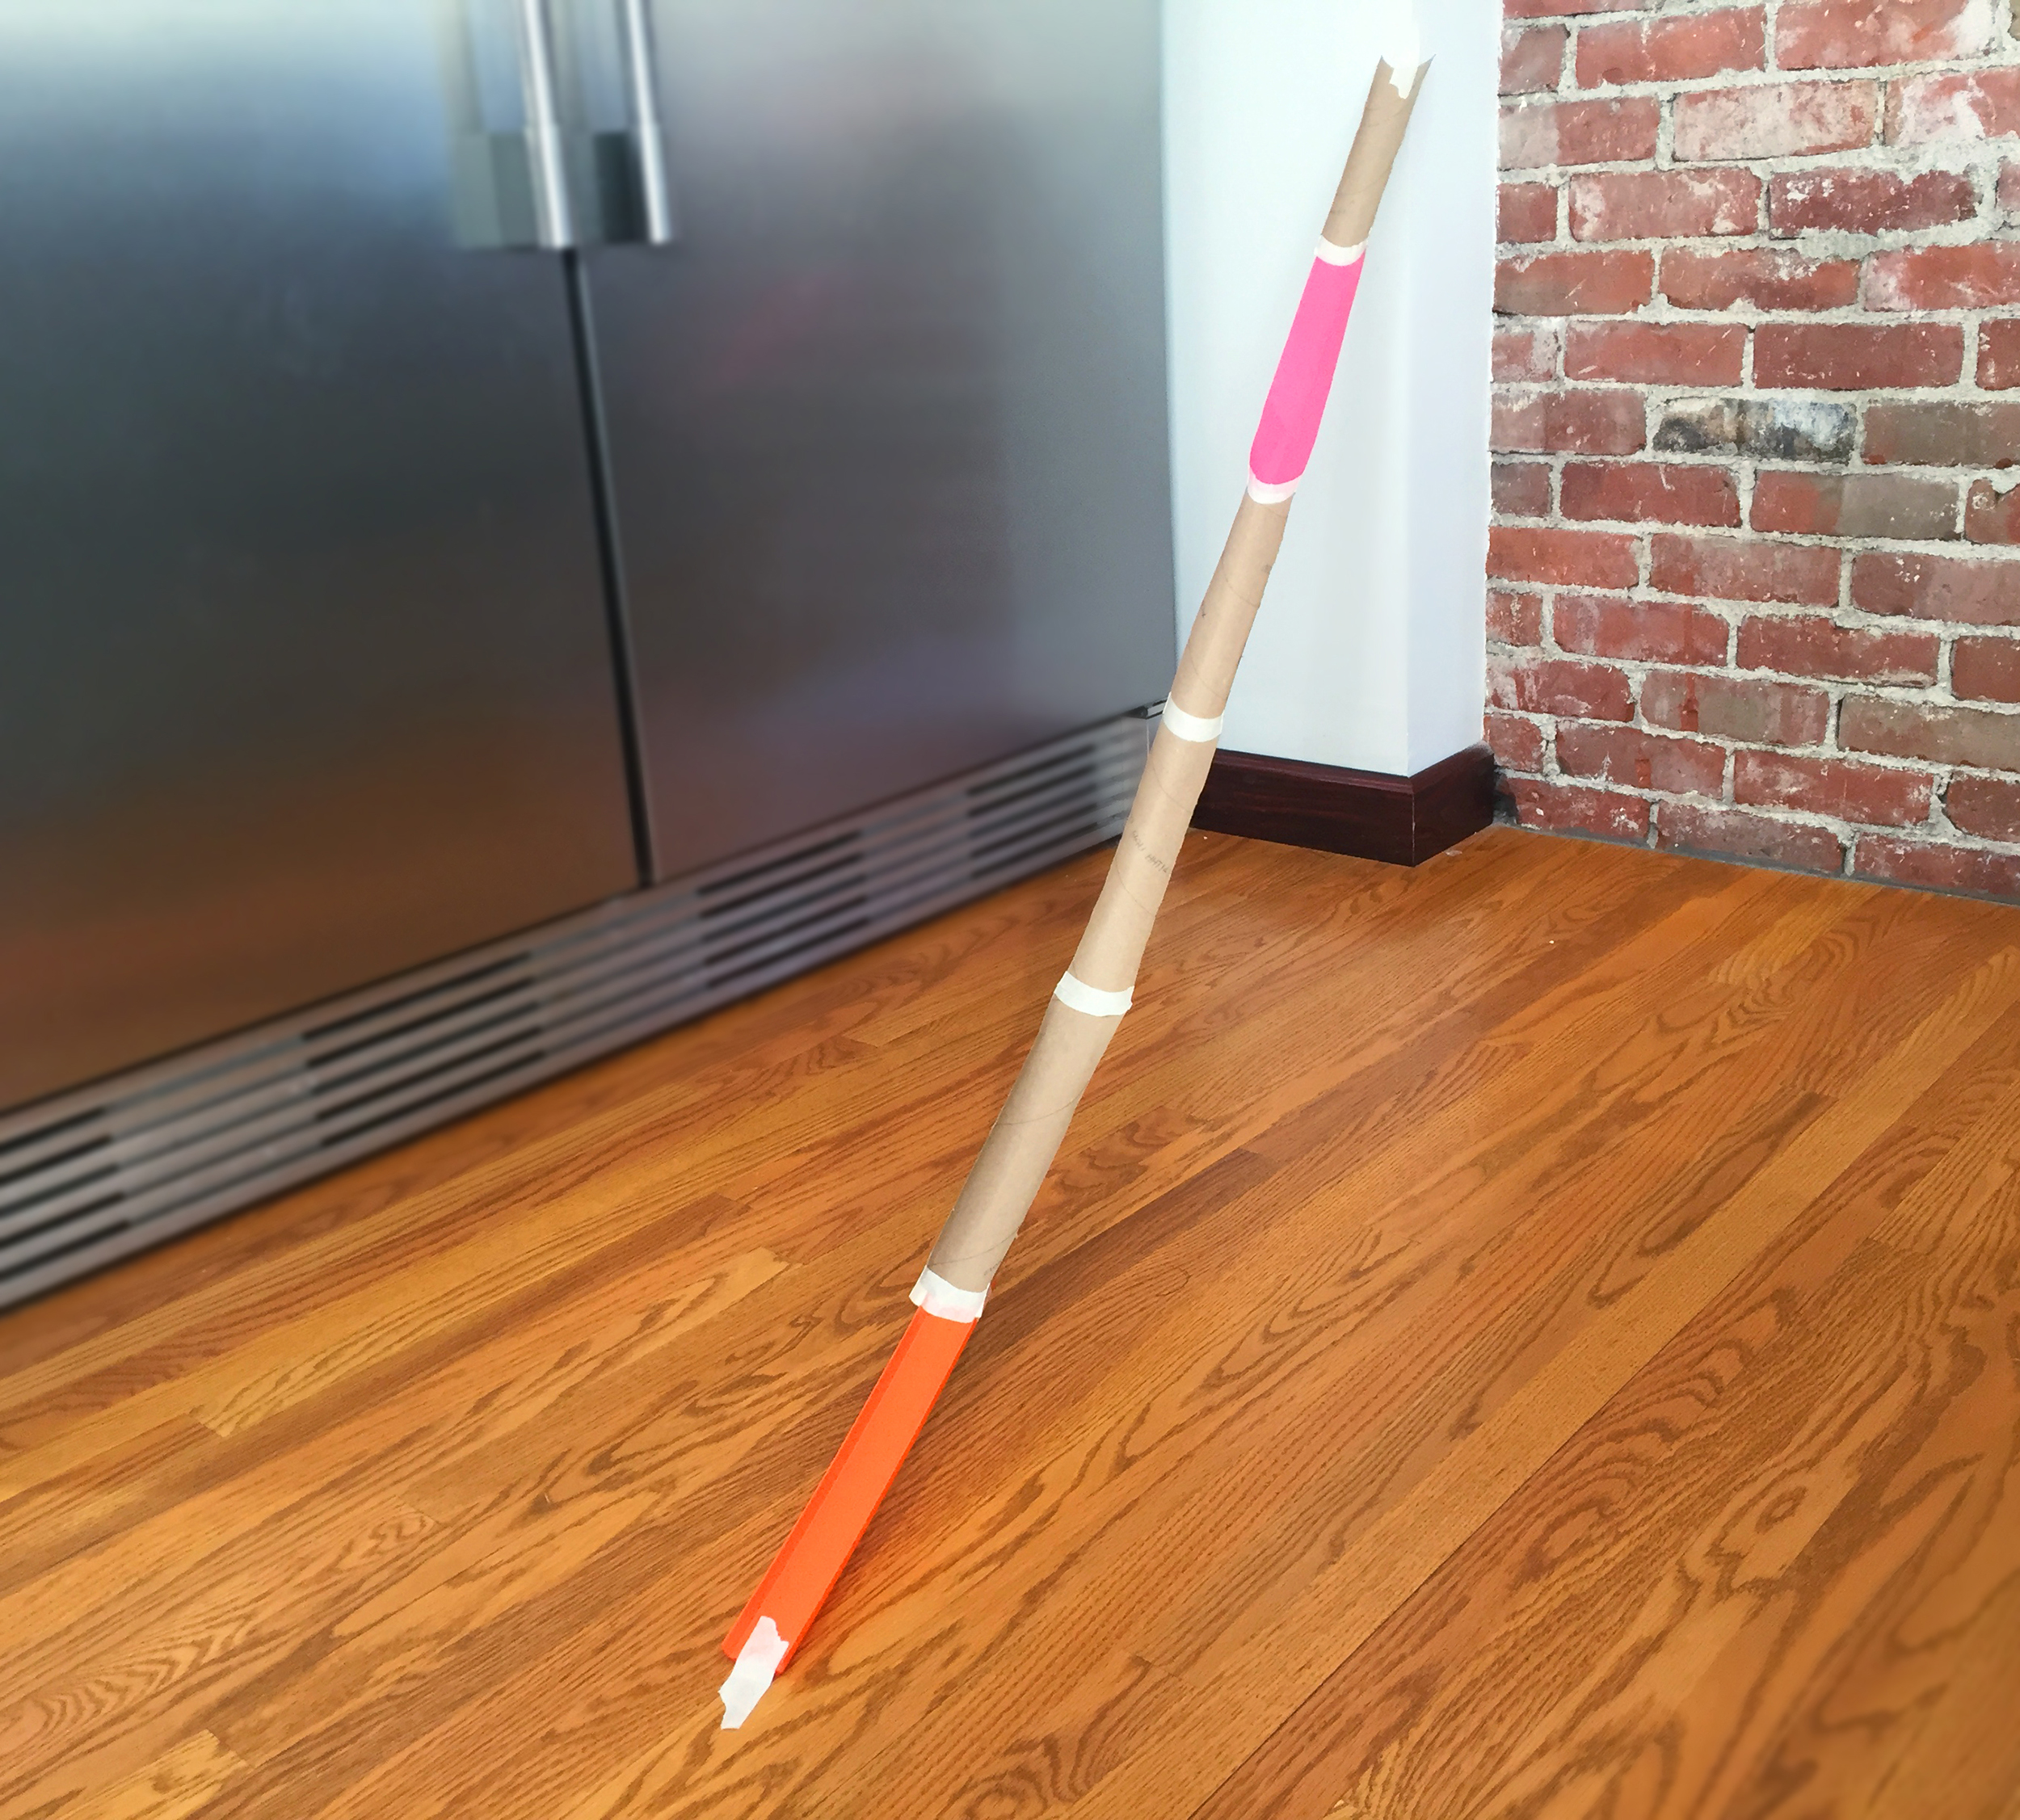
Gather your supplies. You will be creating a ramp, so think creatively about what materials you already have that you can use. Just make sure you have a small, spherical object, such as a marble, so you can test your ramp.

https://discoverycubeconnect.org/wp-content/uploads/2020/12/EngineerAnAqueduct_Step-1.jpg
2

Aqueducts are structures designed by engineers to move water from one place to another. To build your own aqueduct, start by cutting the cardboard rolls in half lengthwise to make a semi-circle bowl shape.

Fun Fact:

Much of the water in Southern California starts out as snow high in the mountains. When it melts, it travels down a series of rivers and streams, through aqueducts created by engineers, and into pipes – that lead right to your faucet!
https://discoverycubeconnect.org/wp-content/uploads/2020/12/EngineerAnAqueduct_Step-2.jpg
3

Create a long ramp by taping several cardboard tubes together. You can also try bending flat pieces of cardboard or rolling construction paper and adding them to your tubes. Do you have any toy car or train tracks you could try using in your ramp? Be creative and experiment with different materials.

https://discoverycubeconnect.org/wp-content/uploads/2020/12/EngineerAnAqueduct_Step-3.jpg
4

Lay your ramp flat on the ground. Then place the marble at one end and watch what happens.

https://discoverycubeconnect.org/wp-content/uploads/2020/12/EngineerAnAqueduct_Step-4.jpg
5

Did your marble move? Did it travel all the way down the length of your ramp? It probably didn’t because, just like aqueducts, ramps use gravity to pull objects such as marbles or water downhill. To create your “hill”, try taping one end of the ramp to a wall, the top of a table, or a stack of books.

https://discoverycubeconnect.org/wp-content/uploads/2020/12/EngineerAnAqueduct_Step-5.jpg
6

Place your marble at the high end of your ramp and let it go. What happens this time?

Fun Fact:

When you release the marble, the act of you letting it go gives it an initial push (also called an action or a force). As the force of gravity pulls it down the ramp, it gains speed.
7

Try adding more “hills” to your ramp by putting objects under part of the ramp. Can you create a long, twisty, roller coaster-like ride for your marble?

Fun Fact:

Aqueducts can transport water over long distances, making the water travel through straight or twisty channels, winding their way underground, and even going uphill.